🚀 Welcome to Day 52 of the #90DaysOfDevOpsChallenge! Today, we're diving deeper into our CI/CD pipeline on AWS with Part 3. Let's explore AWS CodeDeploy, CodePipeline, and S3!
☁️ CodeDeploy:

AWS CodeDeploy is a powerful deployment service that automates the process of deploying applications to various targets such as EC2 instances, Lambda functions, and ECS services.
Create a deployment and select the appropriate deployment group. Monitor the deployment process in the CodeDeploy console to ensure it completes successfully.
🚀 Deploying Your Website with AWS CodeDeploy and Nginx on EC2
Welcome to an exciting journey of deploying your website seamlessly using AWS CodeDeploy and Nginx on EC2 instances! 🌐
Let's embark on this journey step by step:
Setting Up Your CodeDeploy Application 🛠️
Navigate to the AWS CodeDeploy console and click on "Create Application".

Enter a name for your application, select the compute platform, and hit "Create application".


Establishing Connections with IAM 🔗
Head over to IAM and create a new role named 'code-deploy-service-role'.


Update the trust relationship to allow CodeDeploy access.

Creating a Deployment Group 🚀

In the CodeDeploy console, go to the Deployment Groups tab and click on "Create deployment group".


Specify a name and select the service role.
Choose deployment type as "In-place" and configure the environment for Amazon EC2 instances.
Installing the CodeDeploy Agent on EC2 💻
Run the provided script to install the CodeDeploy agent on your EC2 instance.
ure, here's your script with some minor modifications and a few added comments for clarity:
  #!/bin/bash
  sudo apt-get update
  sudo apt-get install ruby-full ruby-webrick wget -y
  cd /tmp
  wget https://aws-codedeploy-us-east-1.s3.us-east-1.amazonaws.com/releases/codedeploy-agent_1.3.2-1902_all.deb
  mkdir codedeploy-agent_1.3.2-1902_ubuntu22
  dpkg-deb -R codedeploy-agent_1.3.2-1902_all.deb codedeploy-agent_1.3.2-1902_ubuntu22
  sed 's/Depends:.*/Depends: ruby3.0/' -i ./codedeploy-agent_1.3.2-1902_ubuntu22/DEBIAN/control
  dpkg-deb -b codedeploy-agent_1.3.2-1902_ubuntu22/
  sudo dpkg -i codedeploy-agent_1.3.2-1902_ubuntu22.deb
  systemctl list-units --type=service | grep codedeploy
  sudo service codedeploy-agent status
Preparing Your Website Files 📂
Create an index.html file containing your website content.
Craft an appspec.yaml file to instruct CodeDeploy on deployment actions.
Include scripts for installing and starting Nginx.
  version: 0.0
      os: linux
      files:
        - source: /
          destination: /var/www/html
      hooks:
        AfterInstall:
          - location: scripts/install_nginx.sh
            timeout: 300
            runas: root
        ApplicationStart:
          - location: scripts/start_nginx.sh
            timeout: 300
            runas: root
Create start_nginx.sh in the scripts folder
  #!/bin/bash
  sudo service nginx start
Create install_nginx.sh in the scripts folder
  #!/bin/bash
  sudo apt-get update
  sudo apt-get install nginx -y
- Pushing Files to CodeCommit Repository 🚀
Utilize Git commands to add and commit your files to the CodeCommit repository.
Configuring CodeBuild 🛠️
Modify the buildspec.yml file to build the appspec.yaml file and package the artifact.
    version: 0.2

    phases:
      install:
        commands:
          - echo Installing NGINX
          - sudo apt-get update
          - sudo apt-get install nginx -y
      build:
        commands:
          - echo Build started on 'date'
          - cp index.html /var/www/html/
      post_build:
        commands:
          - echo Configuring NGINX

    artifacts:
        files:
          - '**/*'
Configure the Artifacts section to specify the path and packaging type.
Initiating the Build Process 🚀
Start the build process in CodeBuild.
After completion, navigate to the S3 bucket and copy the S3 URI.
Creating Deployment 🚀
In the CodeDeploy console, navigate to Deployments and click on "Create deployment".
Select Amazon S3 as the revision type and paste the S3 URL.
Initiate the deployment process.
Ensuring EC2-S3 Communication 🔒
Create a new IAM role named 'EC2-S3-CodeDeploy' with necessary permissions.
Go to IAM service and create ‘EC2-S3-CodeDeploy’ with permissions.
“AmazoneEC2FullAccess”, “AmazoneS3FullAccess”, “AWSCodeDeployFullAccess”.Attach the role to your EC2 instance for accessing S3 and CodeDeploy.
  sudo service codedeploy-agent restart
  sudo service codedeploy-agent status
Restart the CodeDeploy agent for changes to take effect.
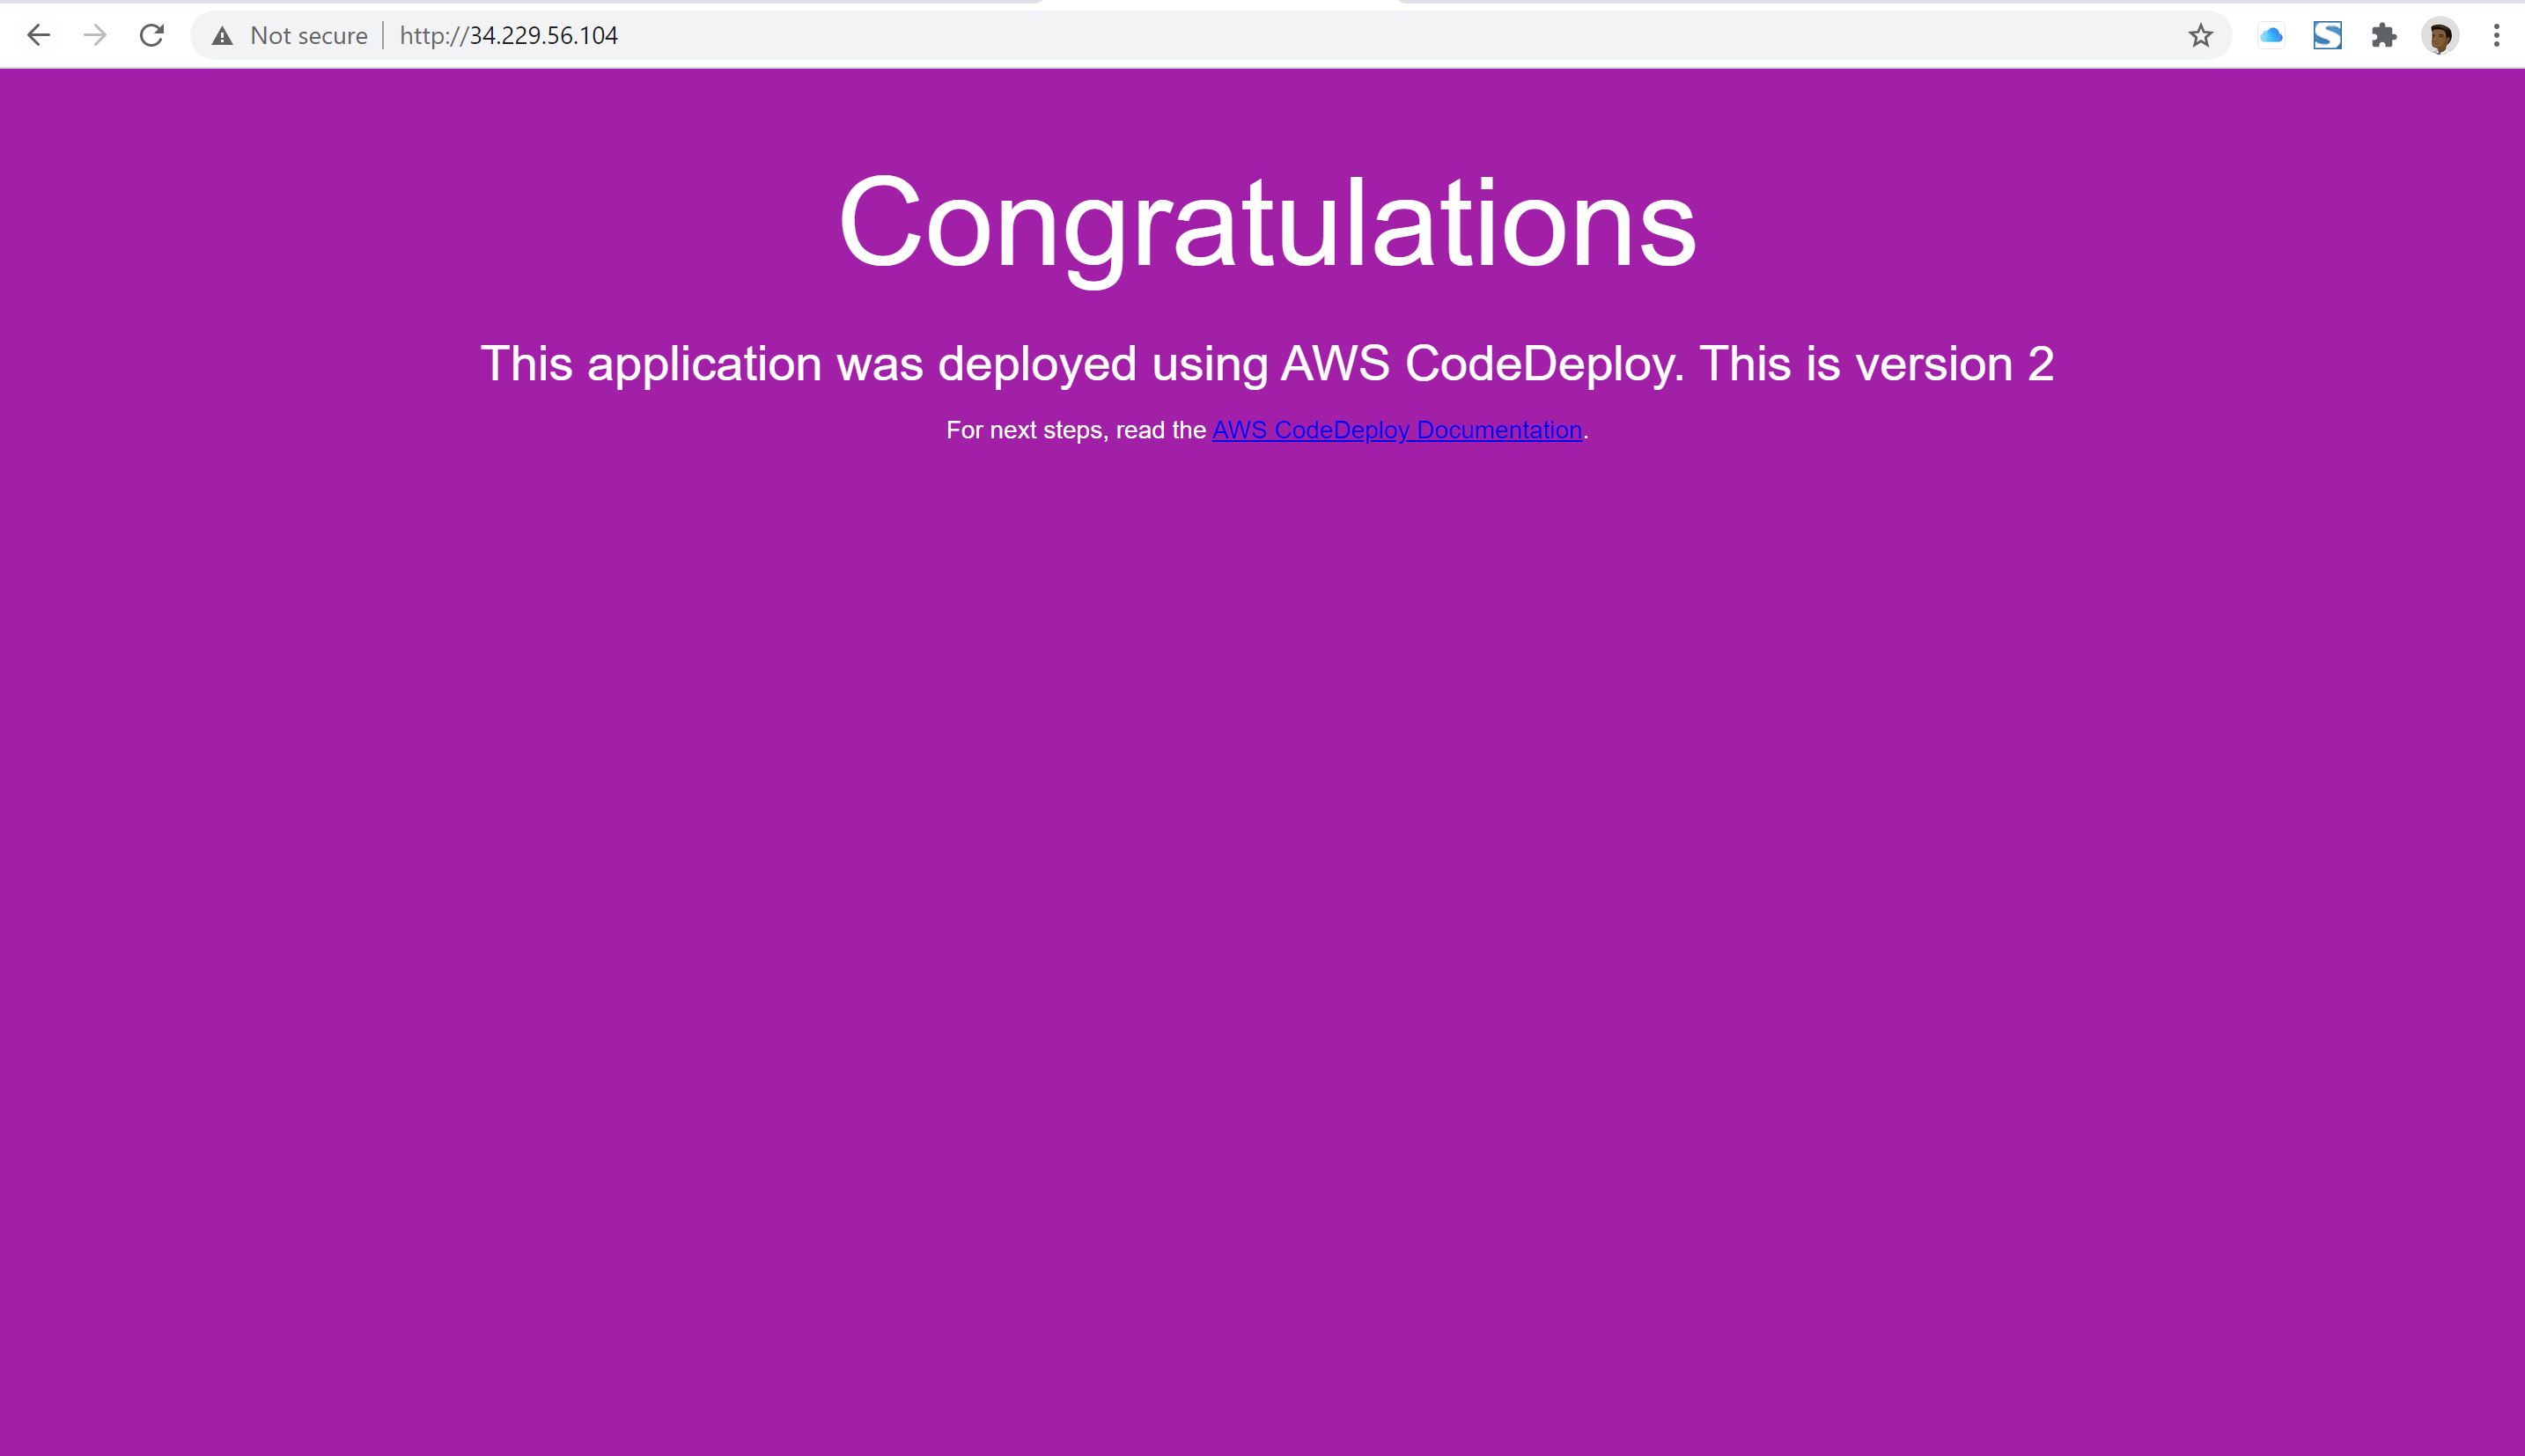
Successful Deployment! ✅
Your deployment is now successful!
Access your website by browsing the public IP address of your EC2 instance.
🎉 Congratulations on deploying your website with AWS CodeDeploy and Nginx on EC2! 🎉
Thank you for joining me on this journey. I hope you found this guide helpful and informative. If you enjoyed it, don't forget to like, share, and follow for more exciting content in the future!
Happy Deploying! 🚀🌟

