

Today, we're taking our DevOps skills to the next level by setting up WordPress on our EC2 instance, powered by MySQL RDS. Get ready for an exciting journey! 🚀
Step 5: Connect to RDS MySQL Instance
🔌 Install a MySQL client, such as
mysql.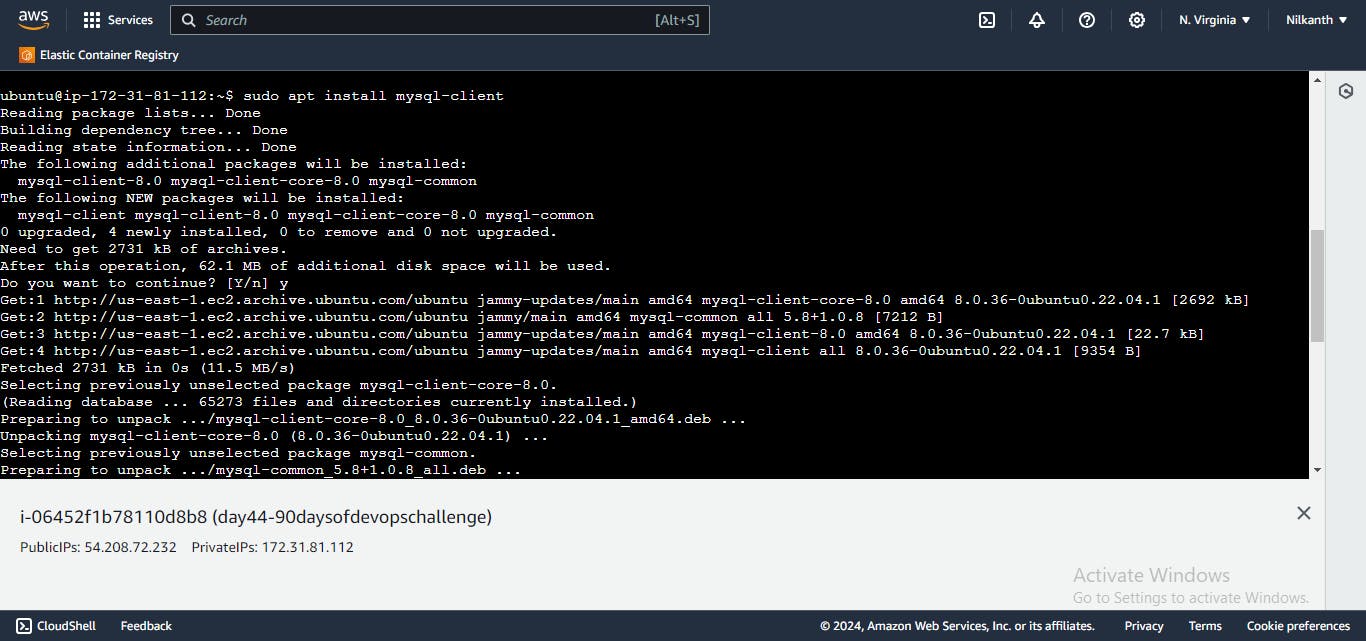
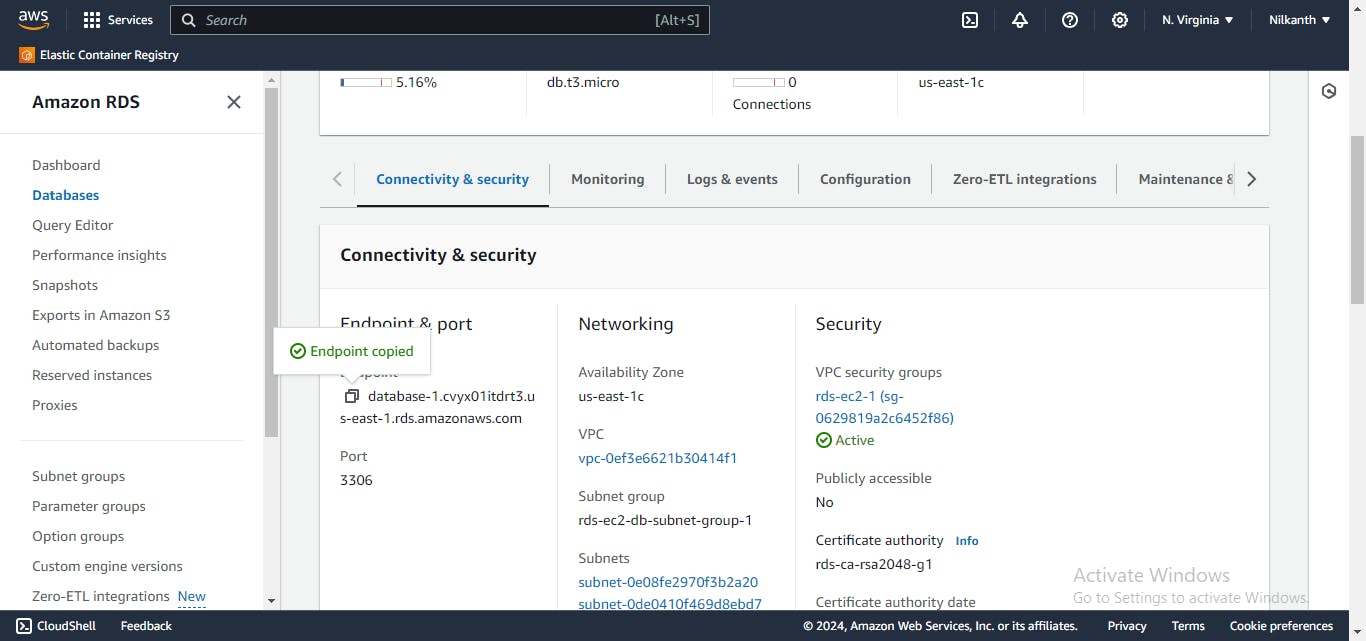
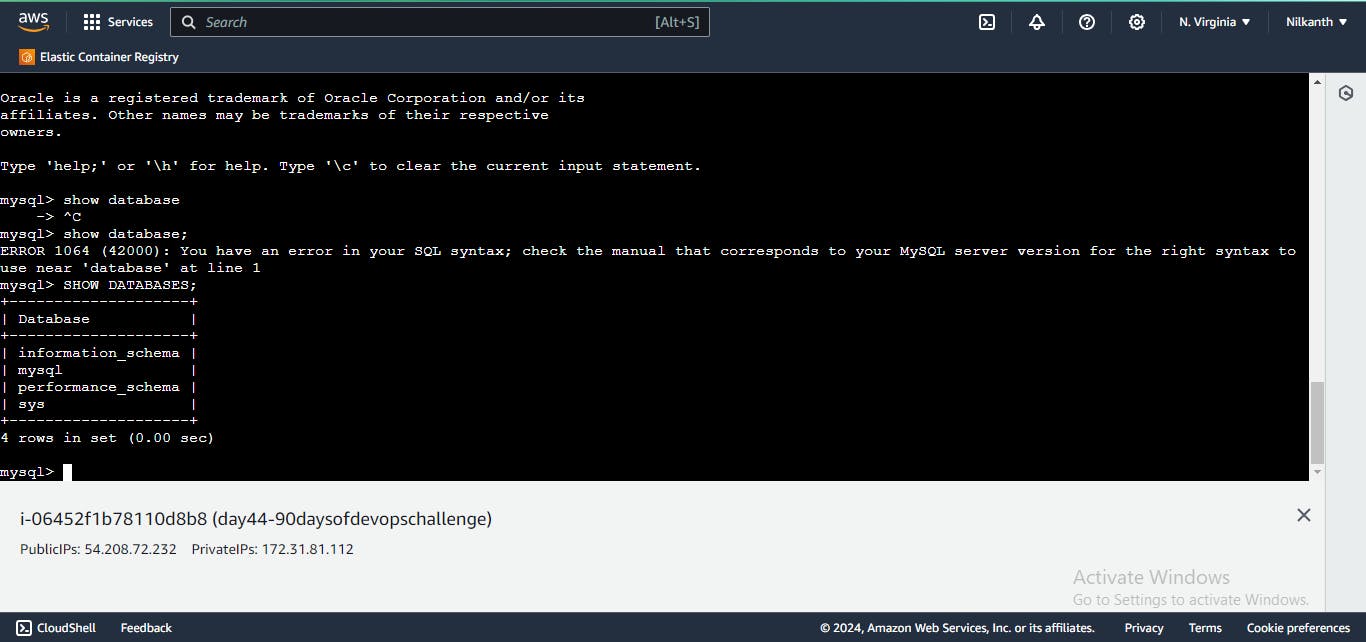
🖥️ Connect to the RDS instance using the MySQL client and the endpoint address, username, and password:
mysql -h <endpoint address> -P <port.no> -u <username> -p
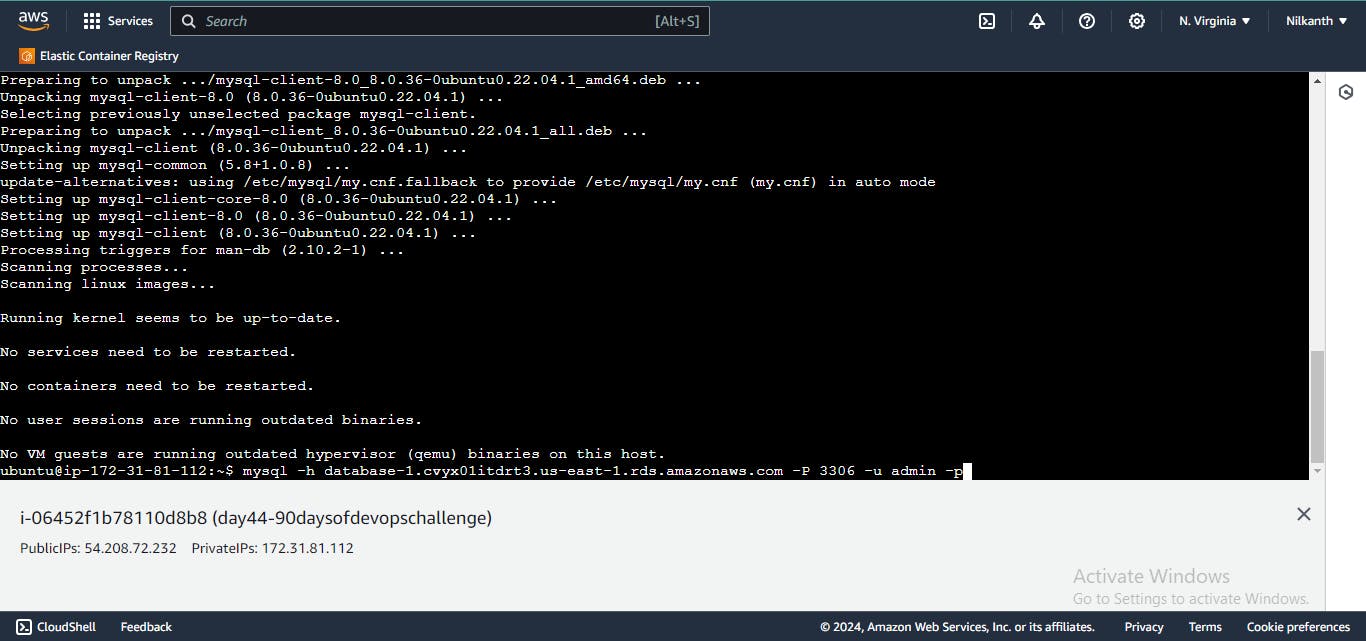
🔑 Enter the password when prompted and press enter. You should now be connected to the MySQL database on the RDS instance.
Step 6: Configure WordPress Database and Installation
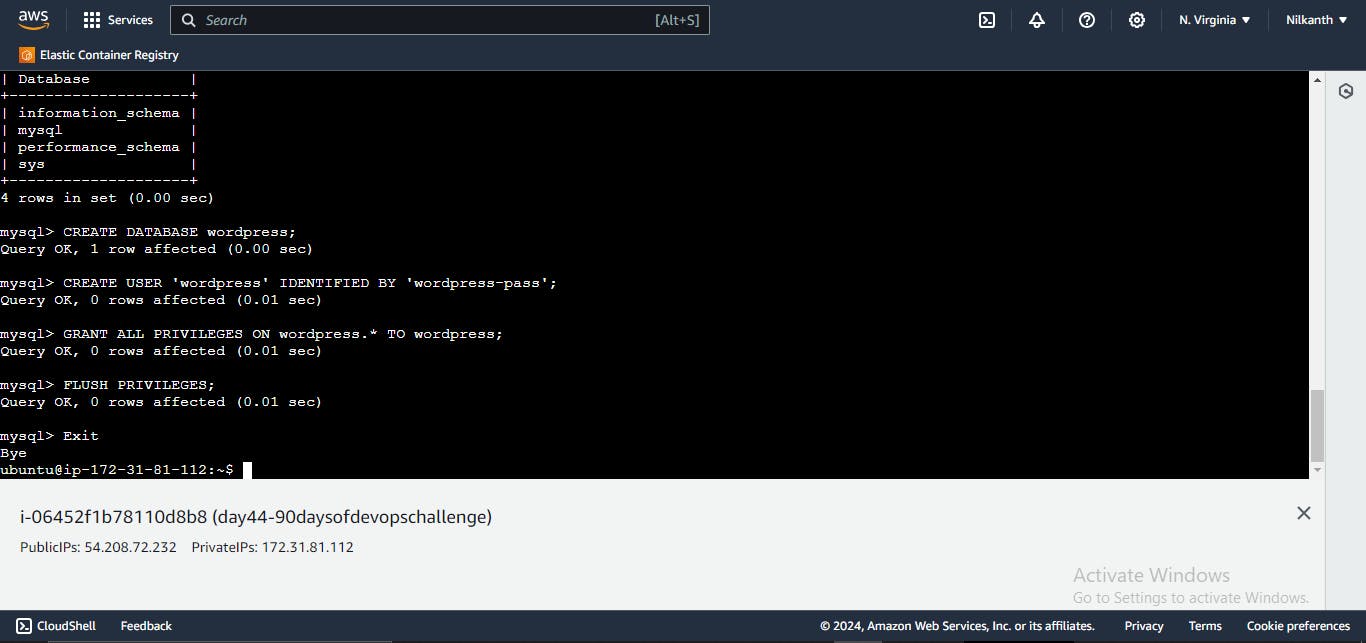
- 🛠️ Create a database user for your WordPress application and give the user permission to access the WordPress database. Run the following commands in your terminal:
CREATE DATABASE wordpress;
CREATE USER 'wordpress' IDENTIFIED BY 'wordpress-pass';
GRANT ALL PRIVILEGES ON wordpress.* TO wordpress;
FLUSH PRIVILEGES;
Exit
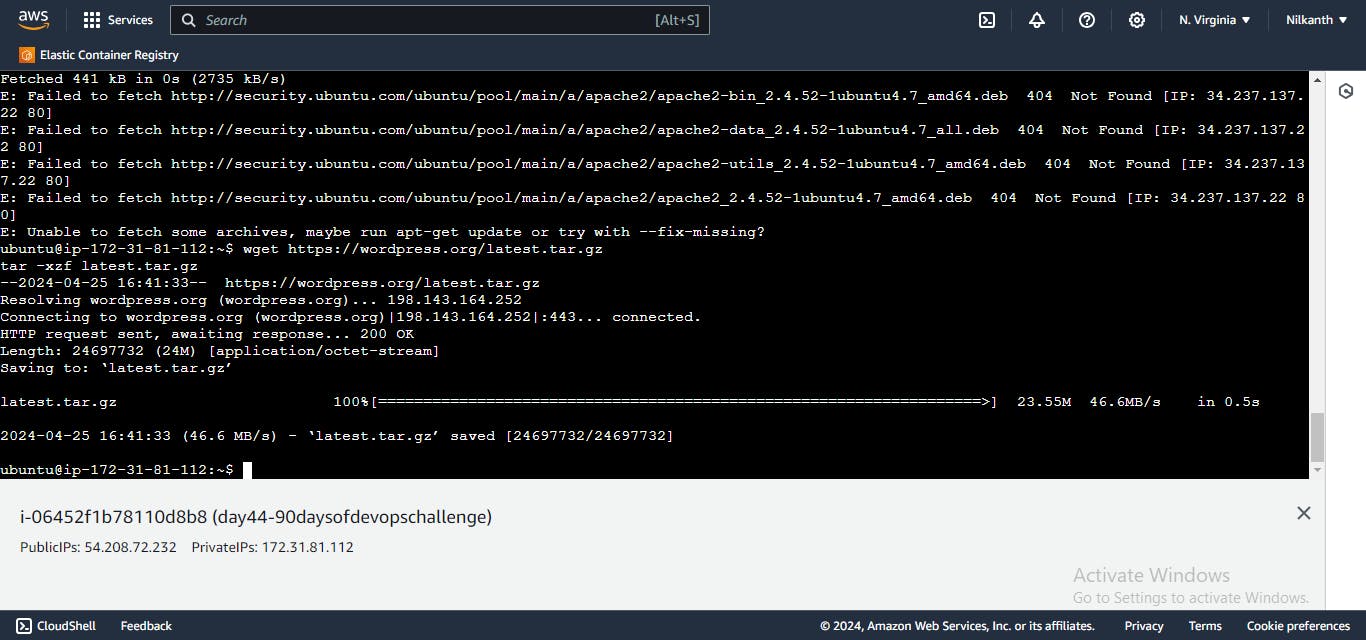
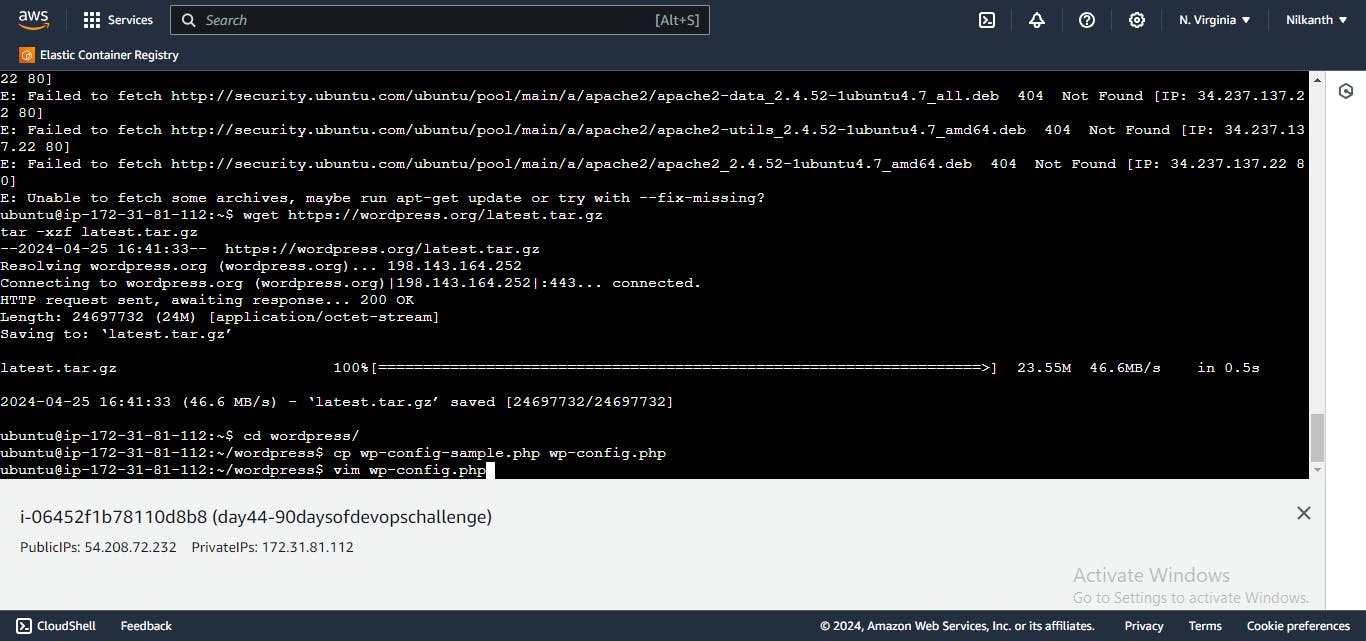
- 📦 Download and uncompressed the WordPress software:
wget https://wordpress.org/latest.tar.gz
tar -xzf latest.tar.gz
- 📝 Edit the
wp-config.phpfile to configure the database:
cd wordpress
cp wp-config-sample.php wp-config.php
vim wp-config.php
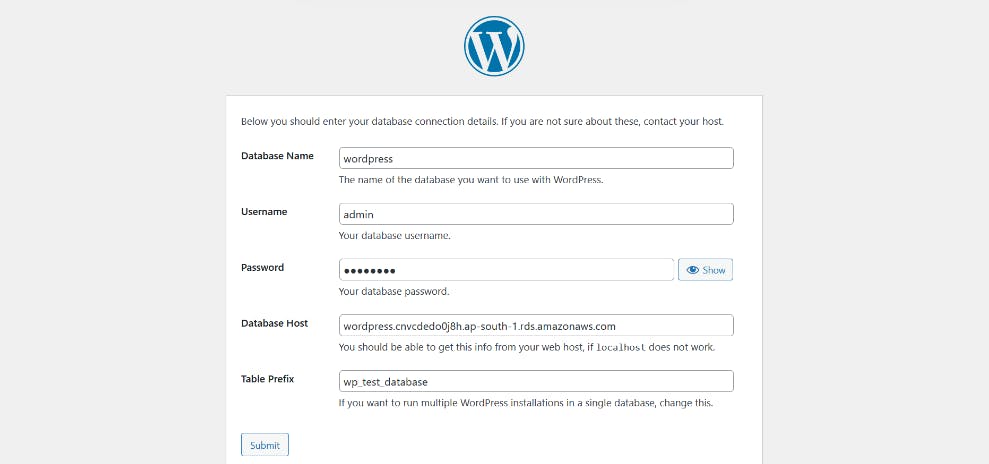
🛠️ Edit the database configuration:
DB_NAME: Your RDS database nameDB_USER: The name of the user you created in the databaseDB_PASSWORD: The password for the userDB_HOST: The hostname of the RDS database (endpoint)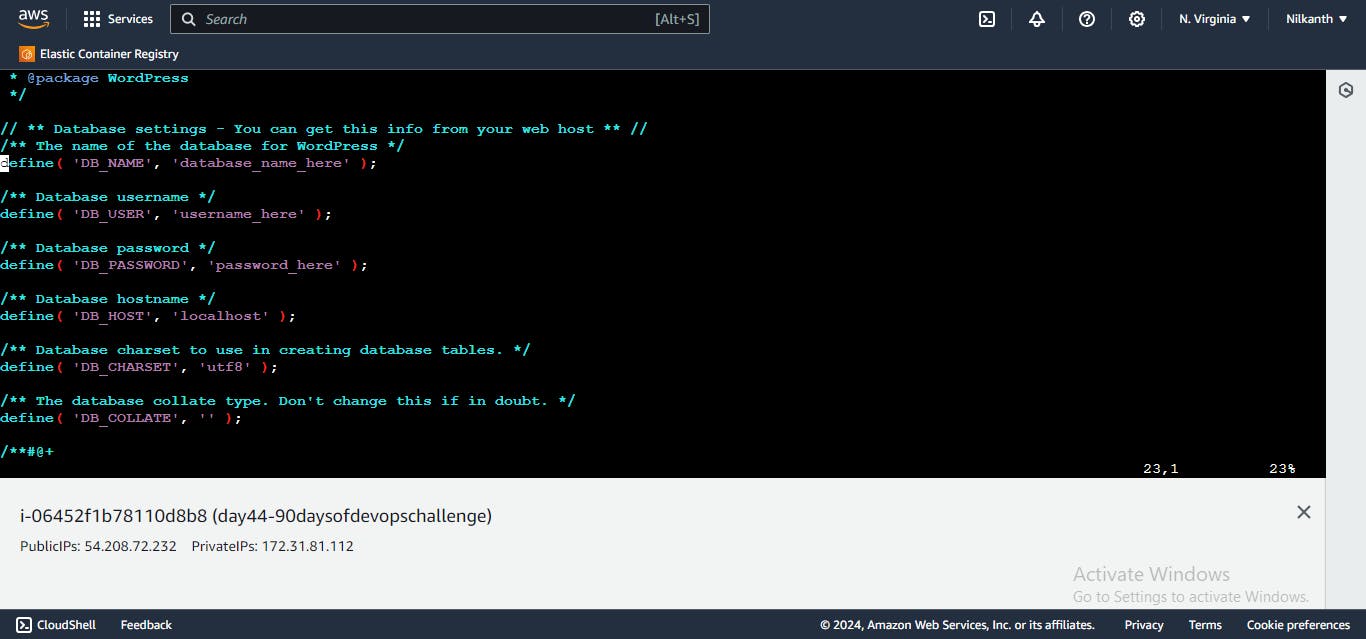
🗝️ Replace the Authentication Unique Keys and Salts section in
wp-config.phpwith the provided content.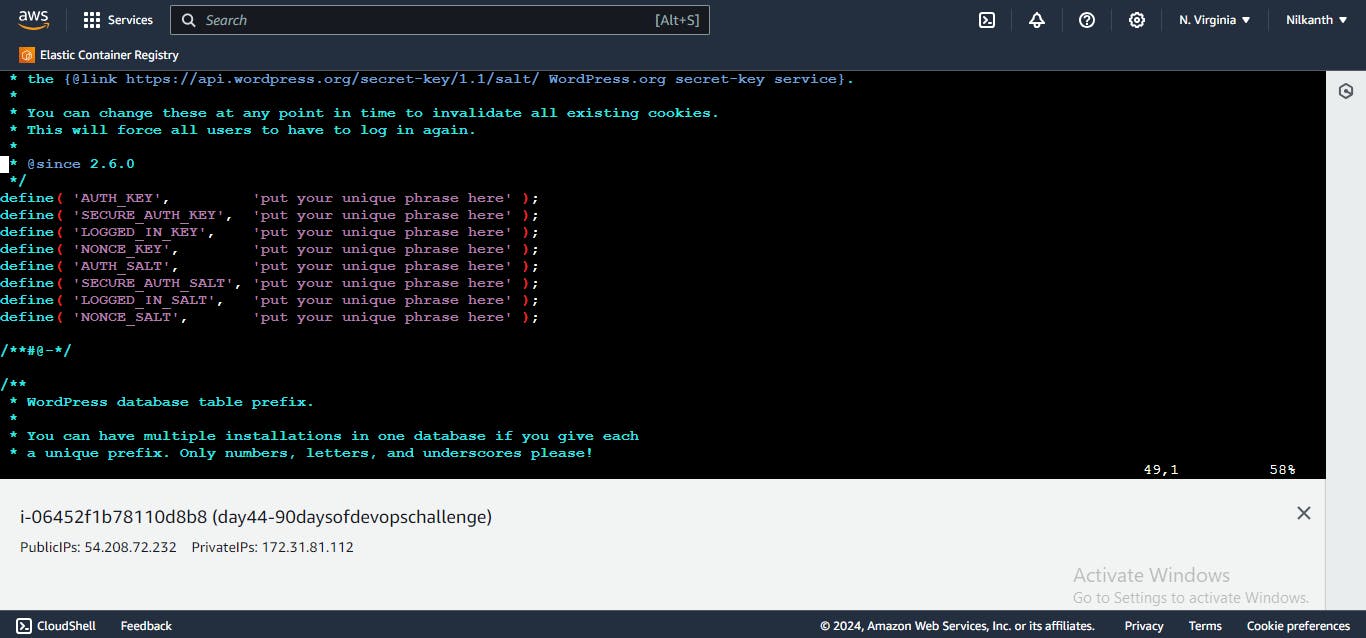
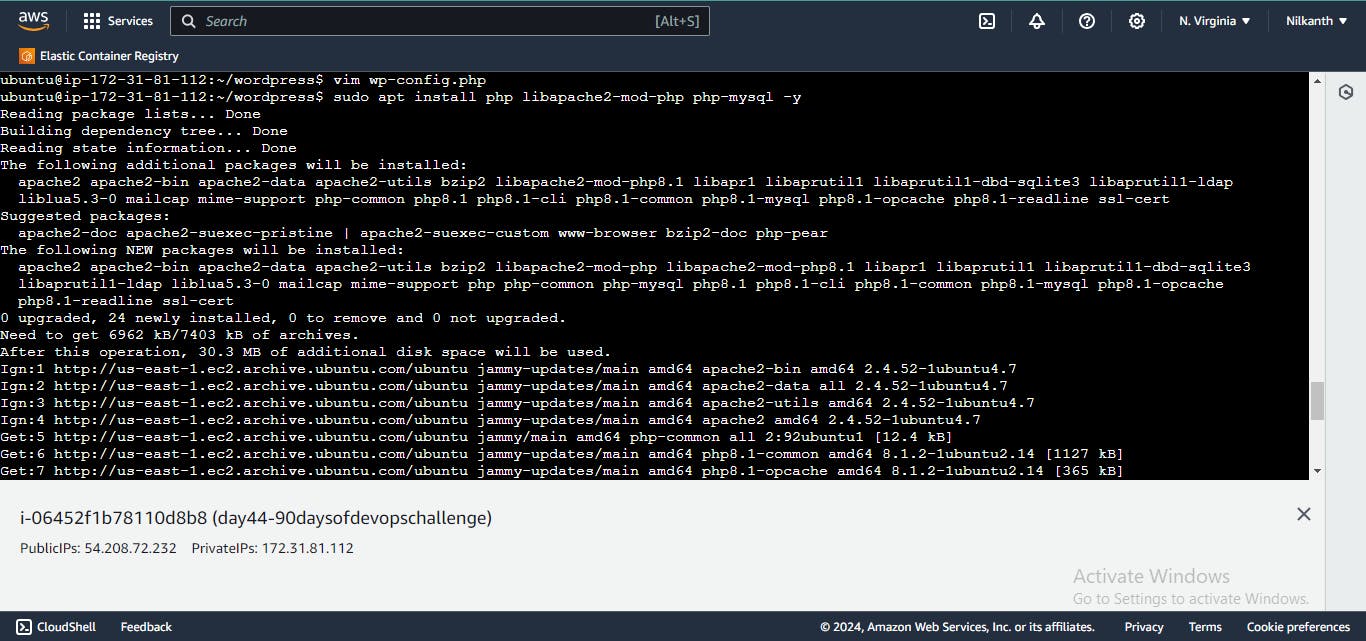
Step 7: Install Application Dependencies and Copy Files
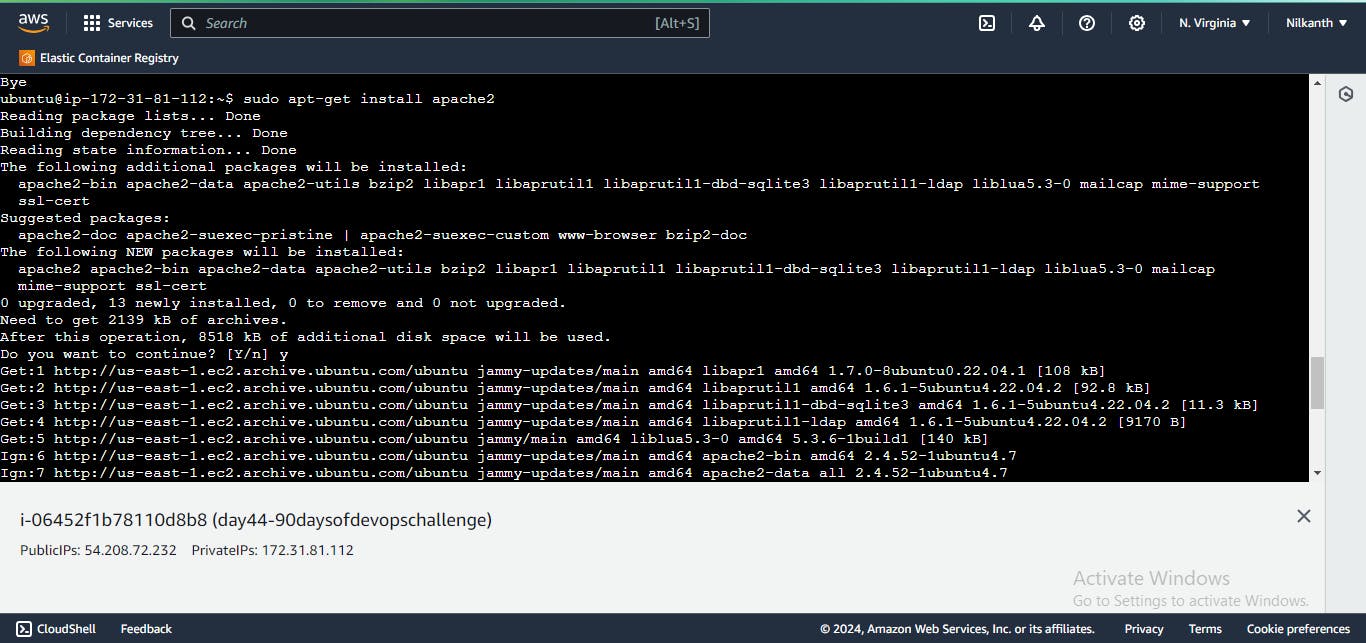
- 🛠️ Install the application dependencies for WordPress:
sudo apt update
sudo apt install php libapache2-mod-php php-mysql -y
- 📂 Copy your WordPress application files into the Apache directory:
sudo cp -r wordpress/* /var/www/html/
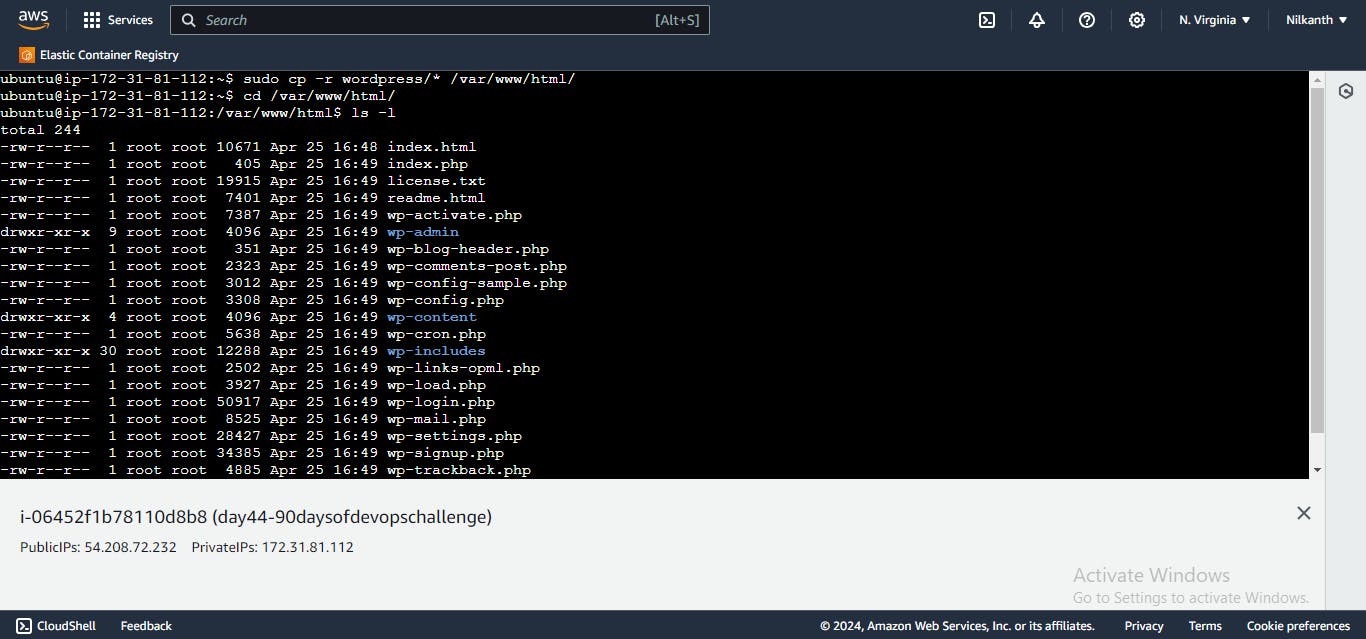
- 🔄 Restart the Apache web server:
systemctl restart apache2
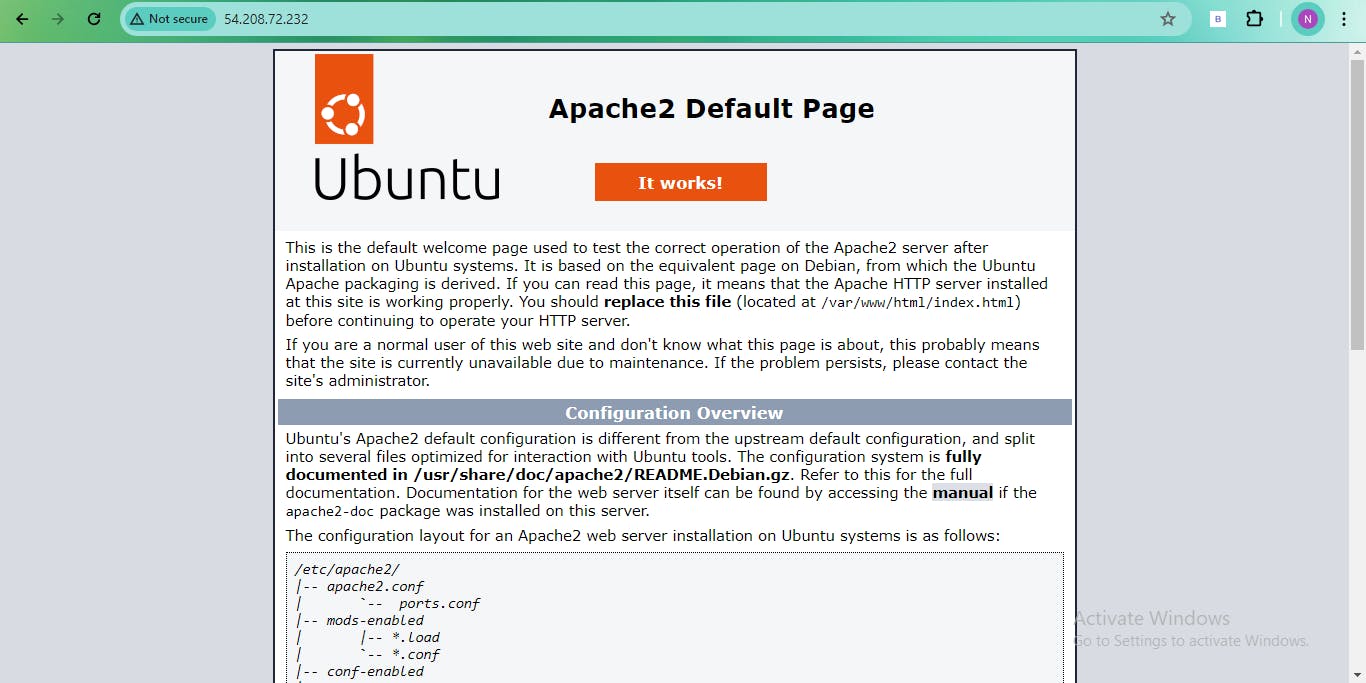
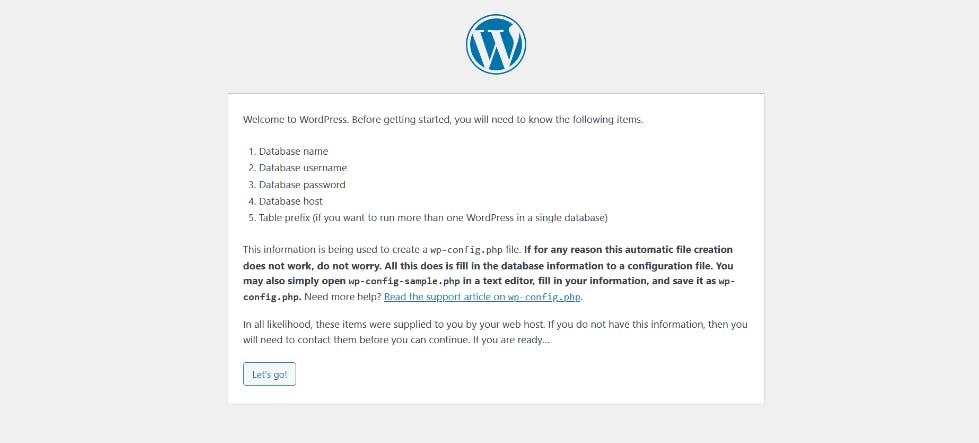
- 🌐 Browse
ec2-public-ip/wp-admin/to see the WordPress welcome page.
Congratulations! You've successfully set up WordPress on your EC2 instance with MySQL RDS. 🎉
Thank you for reading! 🙌