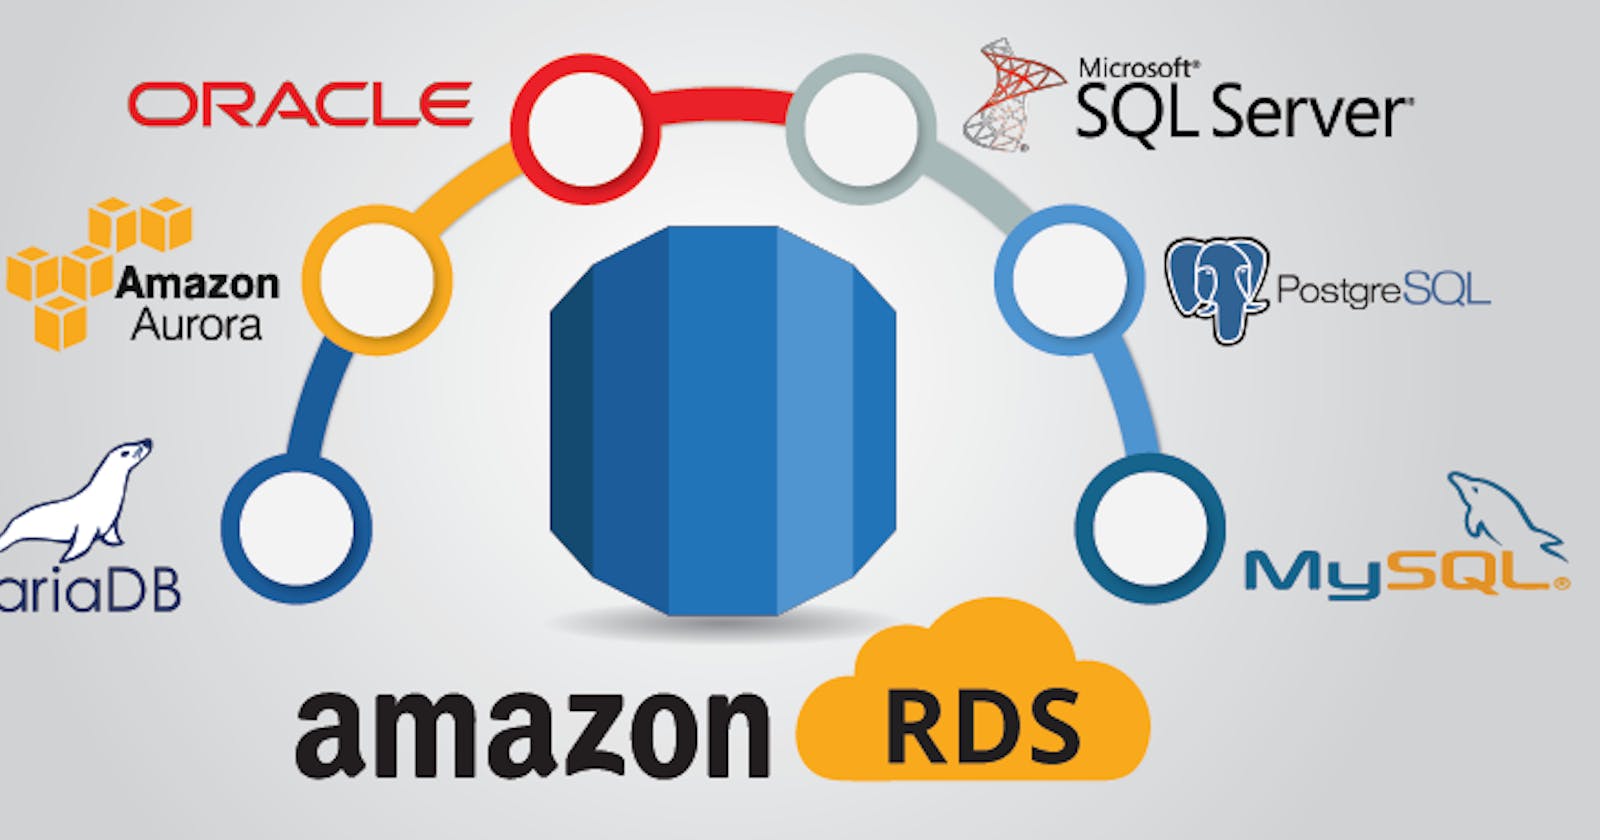


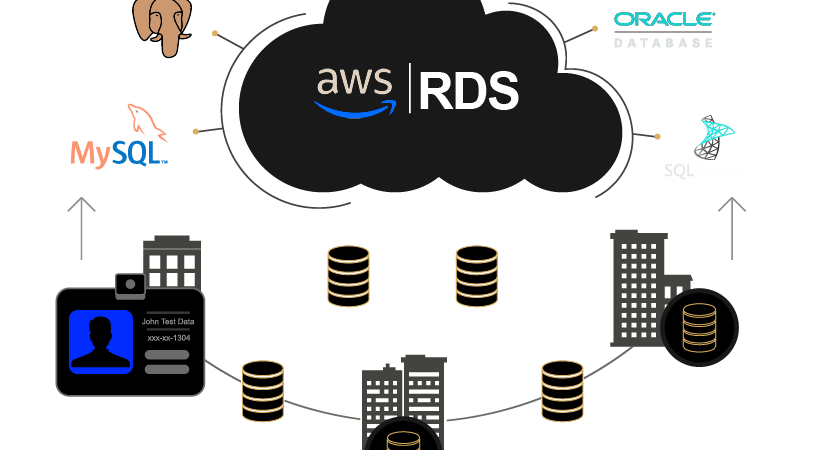
Exploring Amazon Relational Database Service (Amazon RDS) 🚀
Amazon Relational Database Service (Amazon RDS) is like having your own personal database guru in the cloud. It simplifies the task of setting up, operating, and scaling relational databases, allowing you to focus on building your application without worrying about the nitty-gritty details of database management. 🛠️
Task 01: Setting up EC2 and RDS Instances in AWS 🛠️
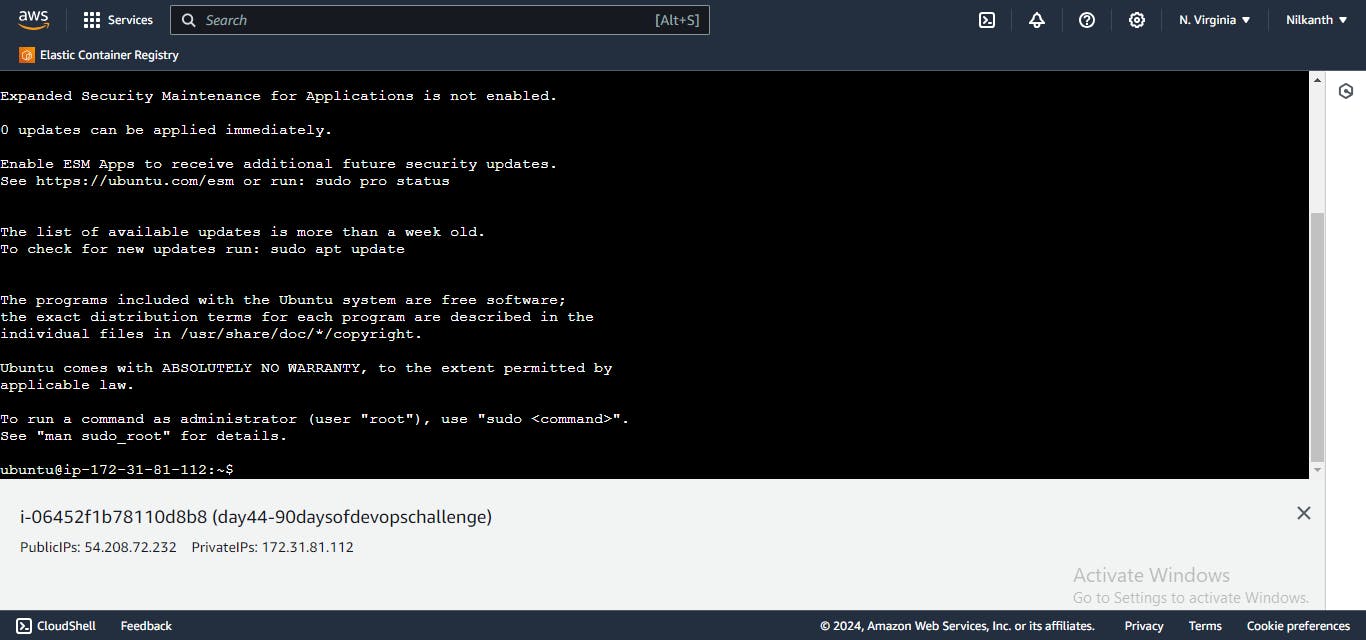
Step 1: Create an EC2 instance
🚀 Go to the Amazon EC2 console.
🖱️ Click "Launch Instance".
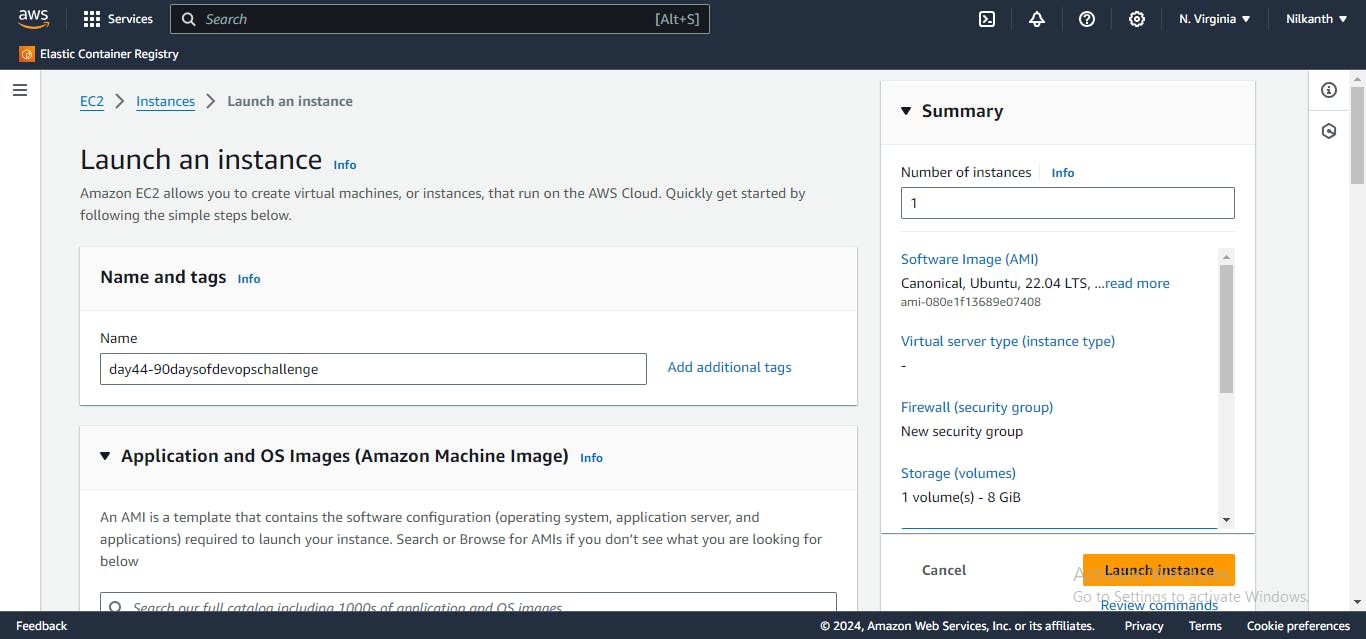
🛡️ Choose a Ubuntu AMI.
💻 Choose an instance type, such as t2.micro.
🔗 Choose a VPC and subnet.
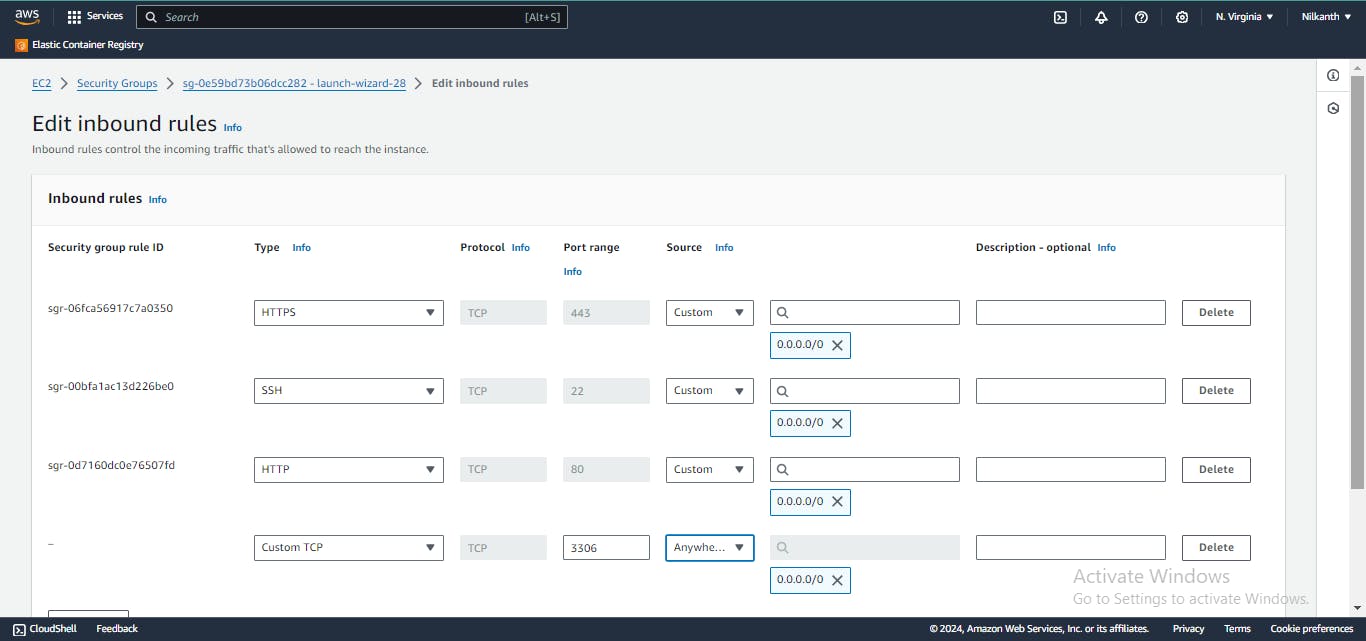
🛡️ Configure security group rules to allow inbound traffic on the appropriate port for the type of database you are using (e.g. port 3306 for MySQL).
🚀 Launch the instance.
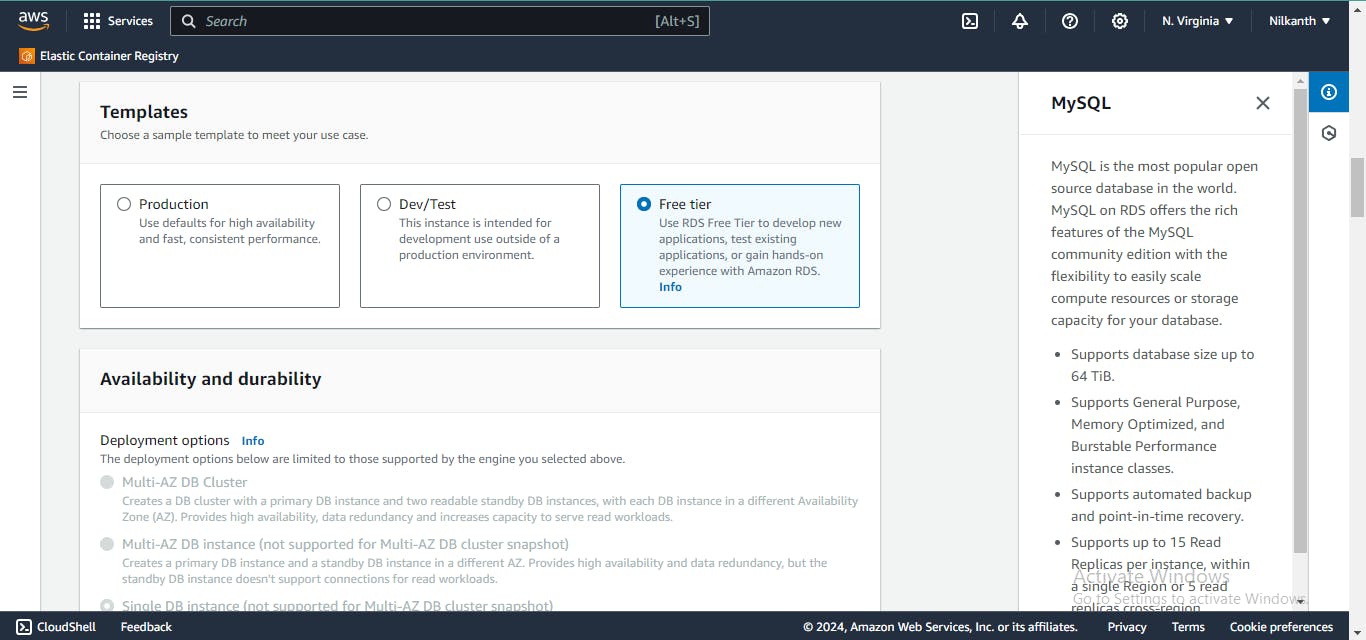
Step 2: Create a Free Tier RDS instance of MySQL
🚀 Go to the Amazon RDS console.
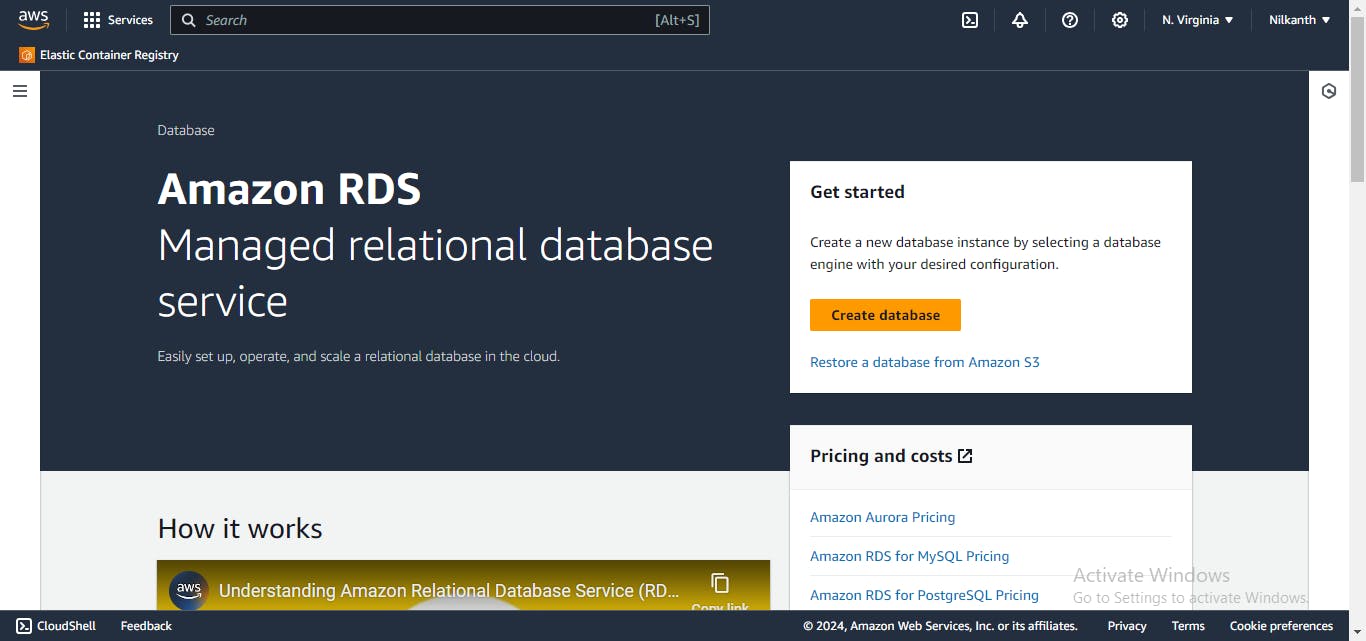
🖱️ Click "Create database".
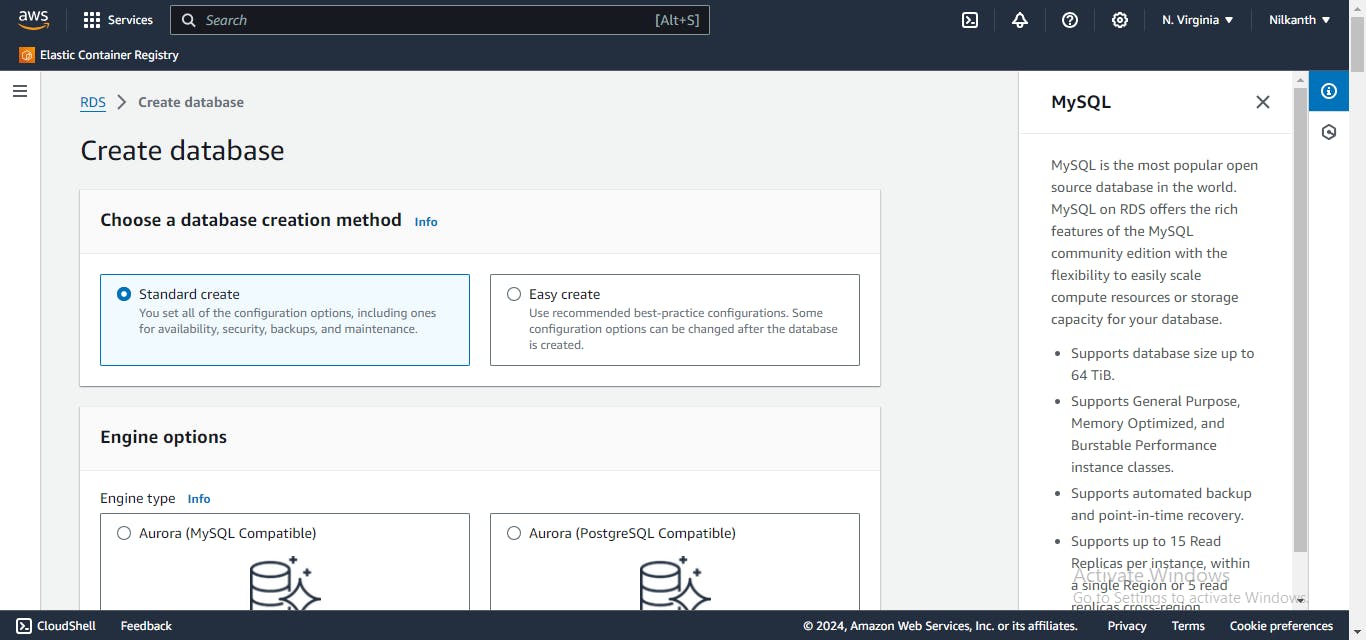
🗂️ Select "MySQL" as the engine type.
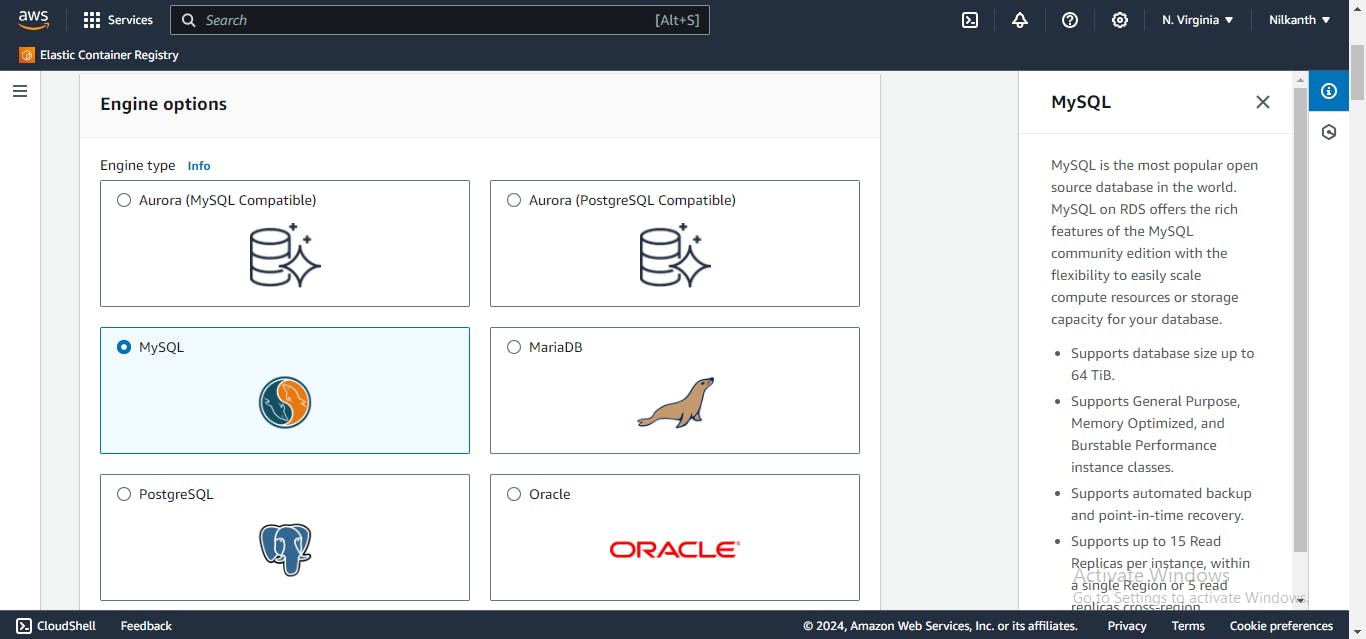
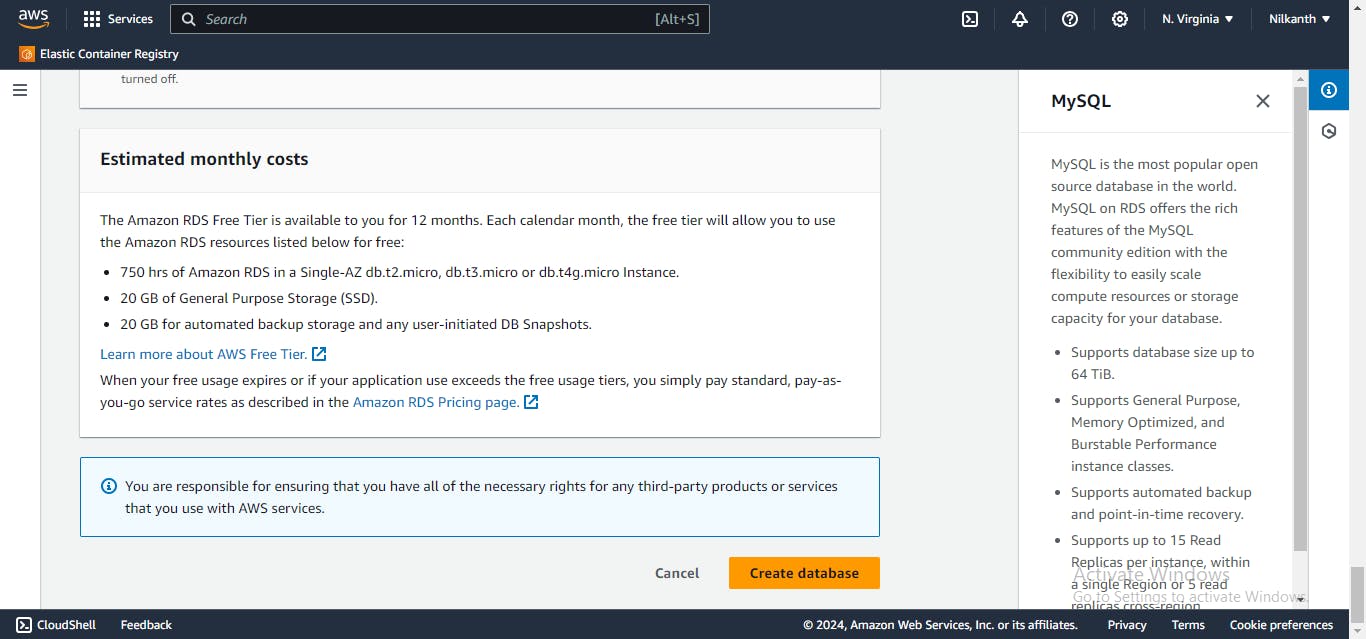
🆓 Choose the "Free tier" template for "DB instance class".
📛 Enter a unique name for the "DB instance identifier".
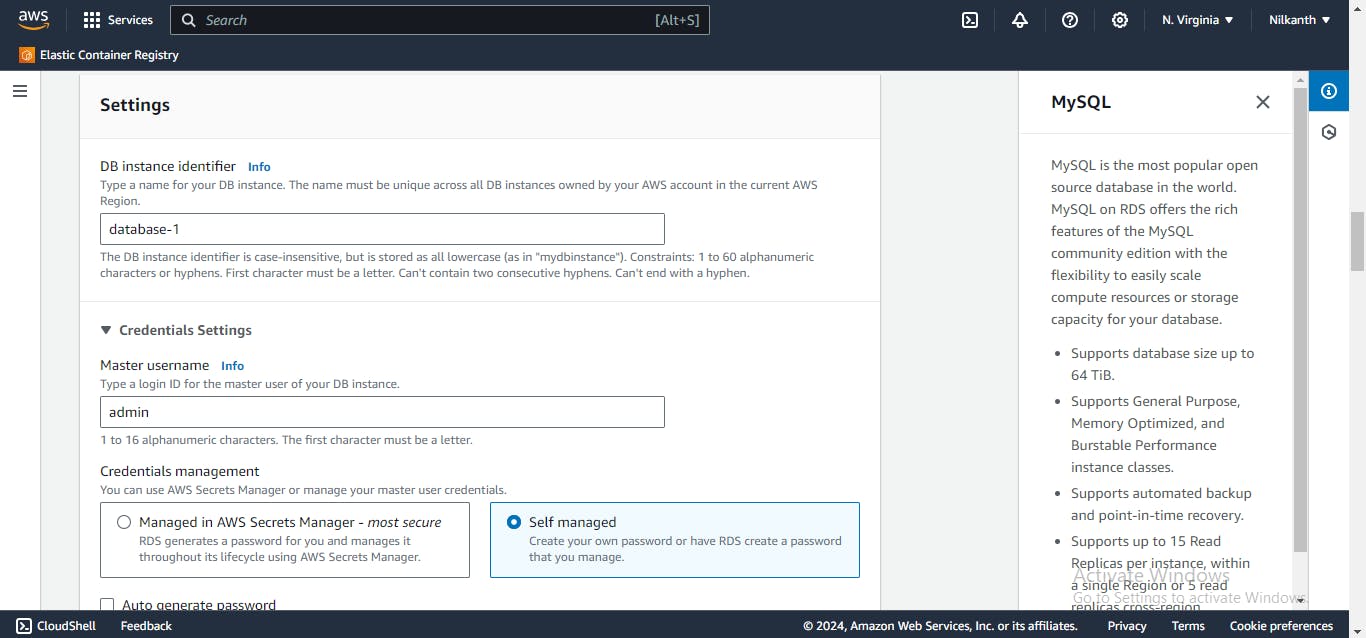
👤 Set the "Master username" and "Master password" for the database.

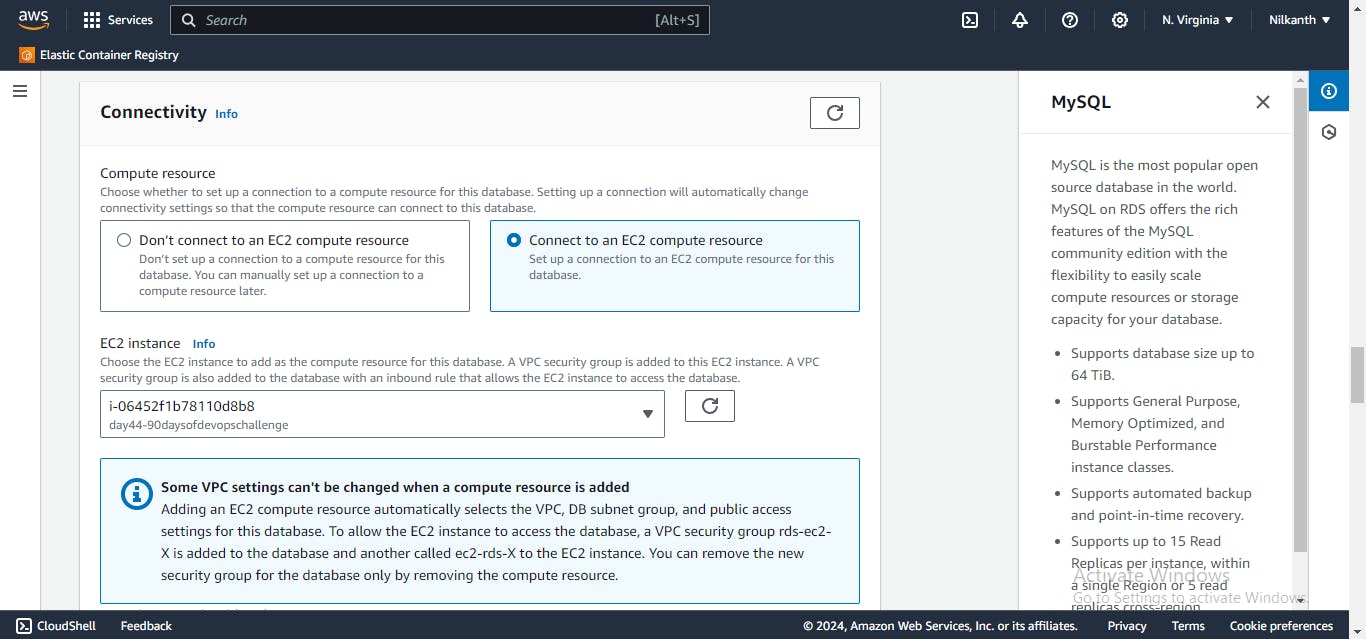
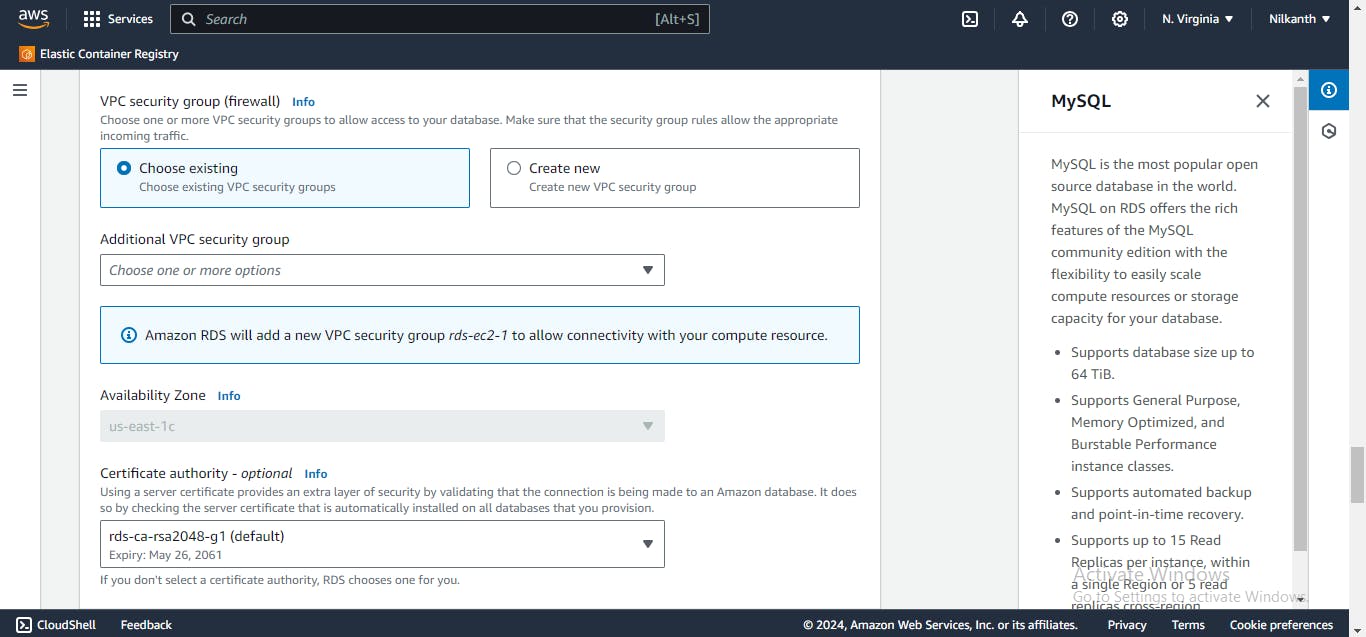
🌐 Set the "Virtual Private Cloud (VPC)" and "Subnet group" to create the instance in.
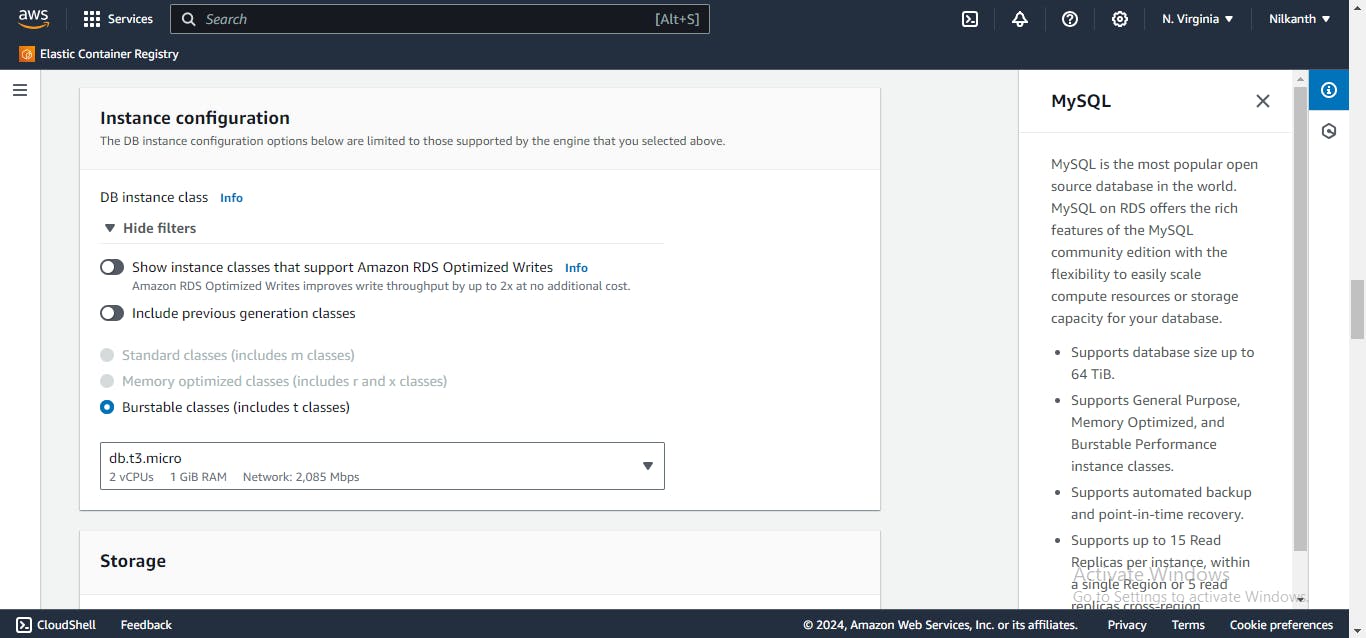
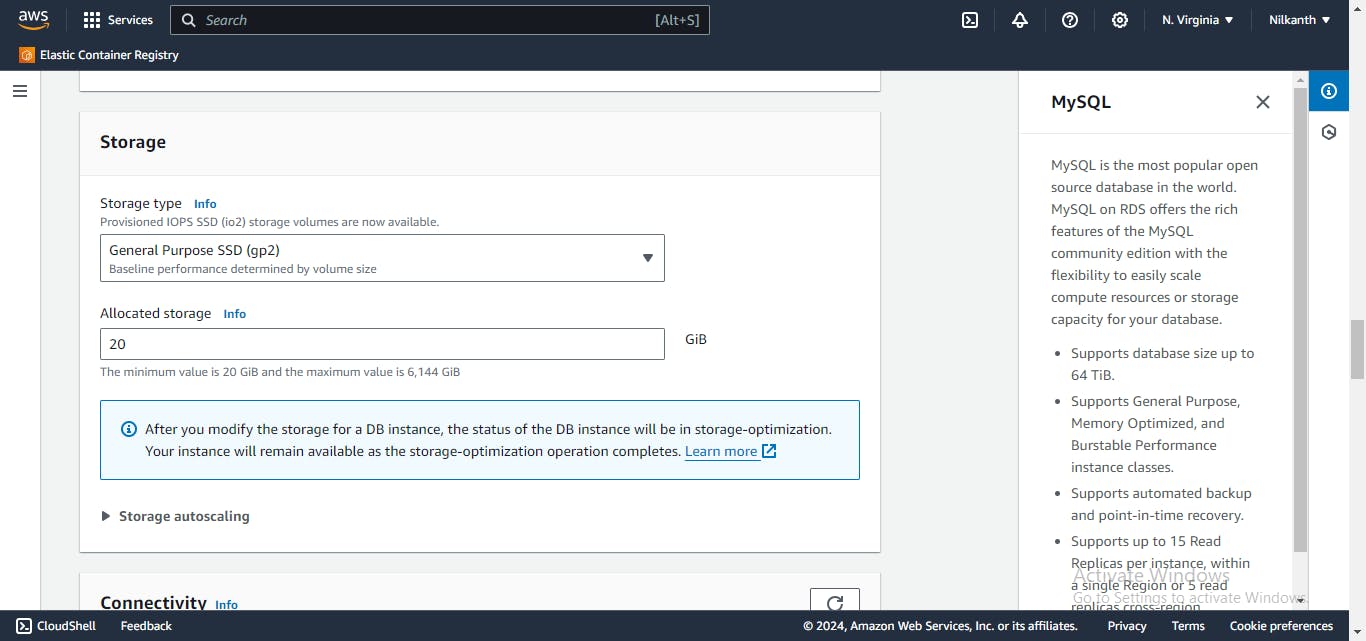
🔒 Leave the other settings at their default values.
🛡️ Select ec2-instance for "VPC security group".
🚀 Click "Create database" to start the instance creation.
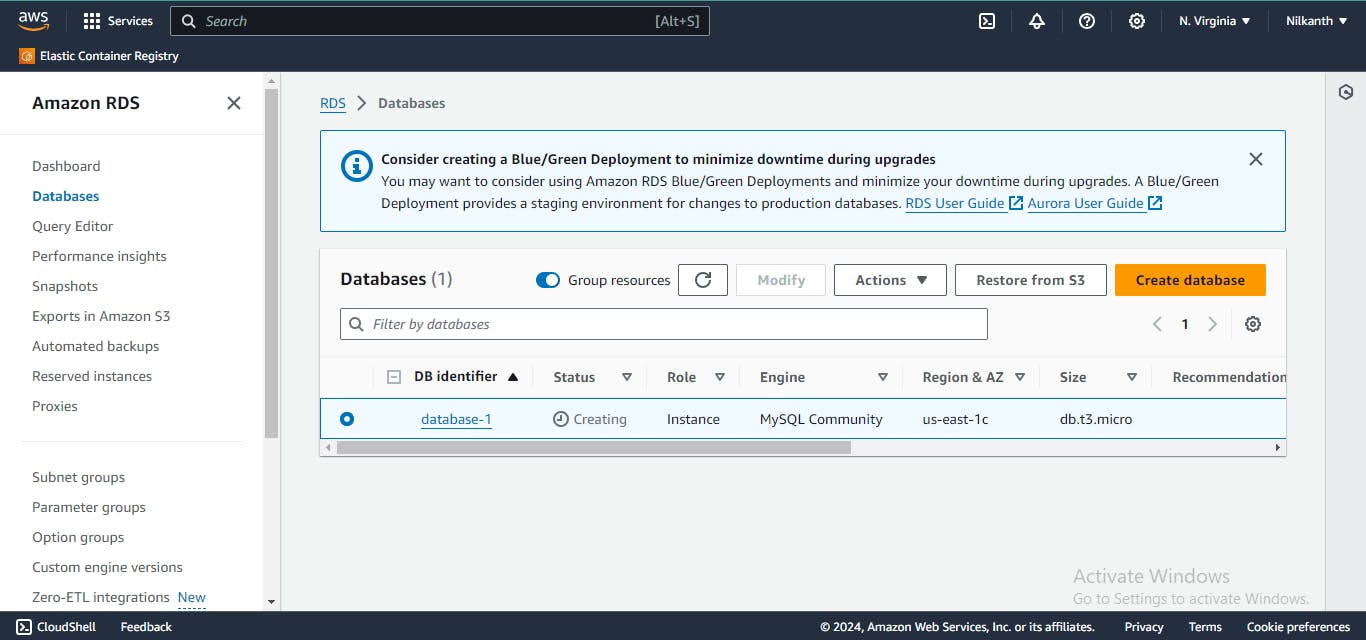
✅ Database is created.
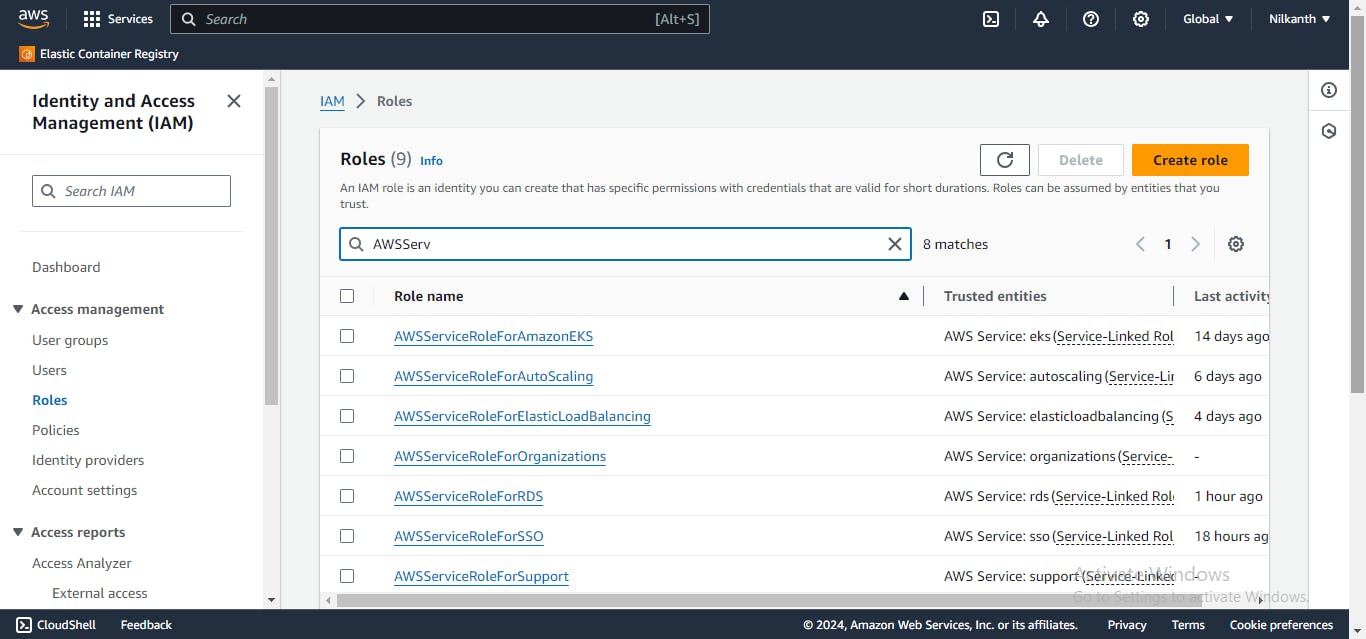
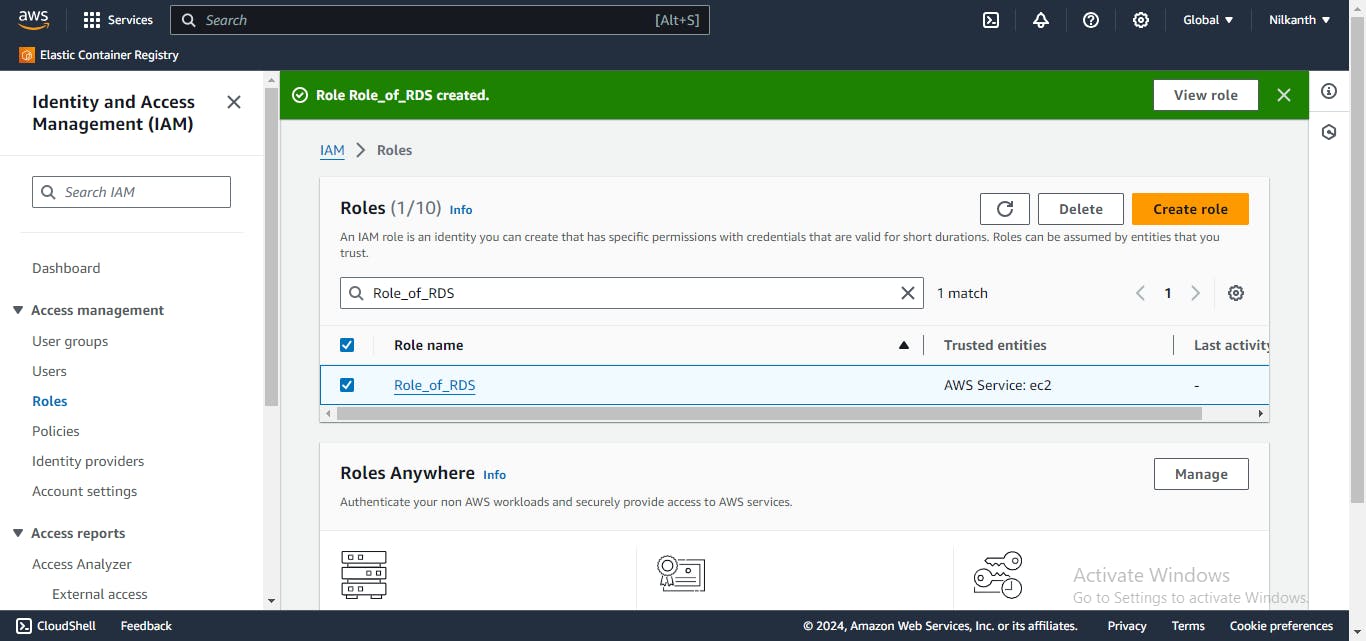
Step 3: Create an IAM role with RDS access
🚀 Go to the IAM console.
🖱️ Click "Roles".
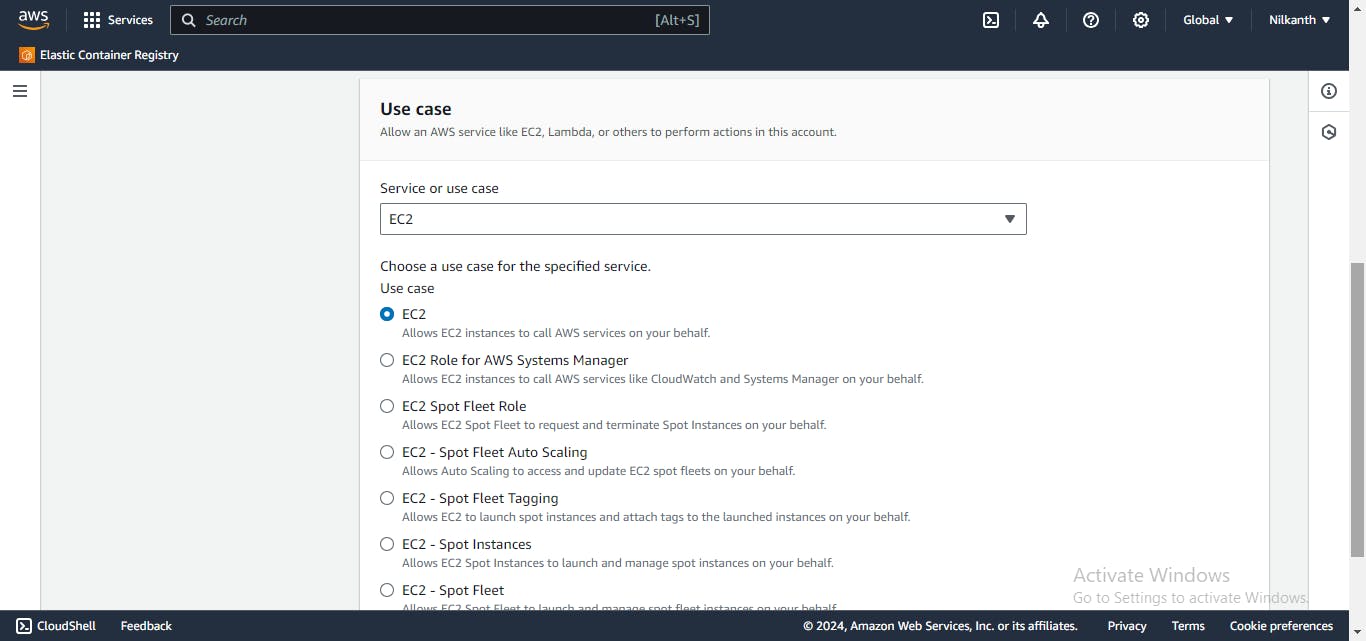
➕ Click "Create role".
🔐 Choose the 'AWS service'.

🛠️ Choose "Allows EC2 instances to call AWS services on your behalf".
📜 Attach the "AmazonRDSFullAccess" policy.

📛 Enter a unique name for the role.
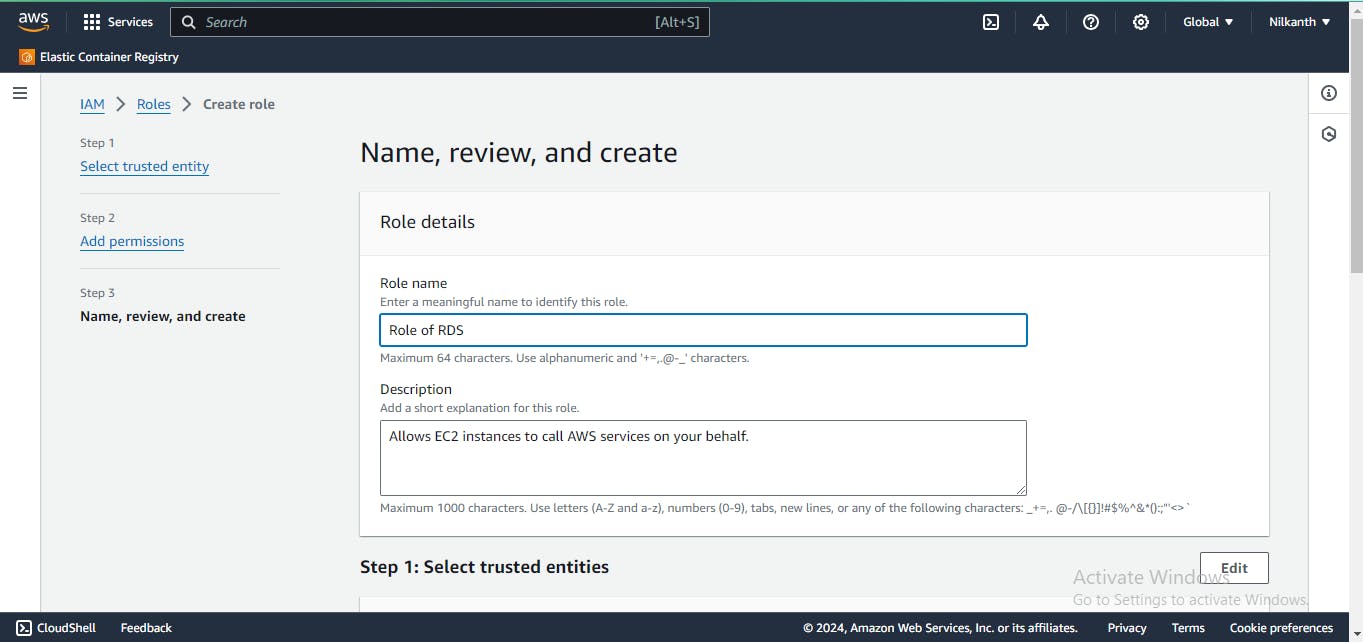
✅ Click "Create role".
✅ Role is created.
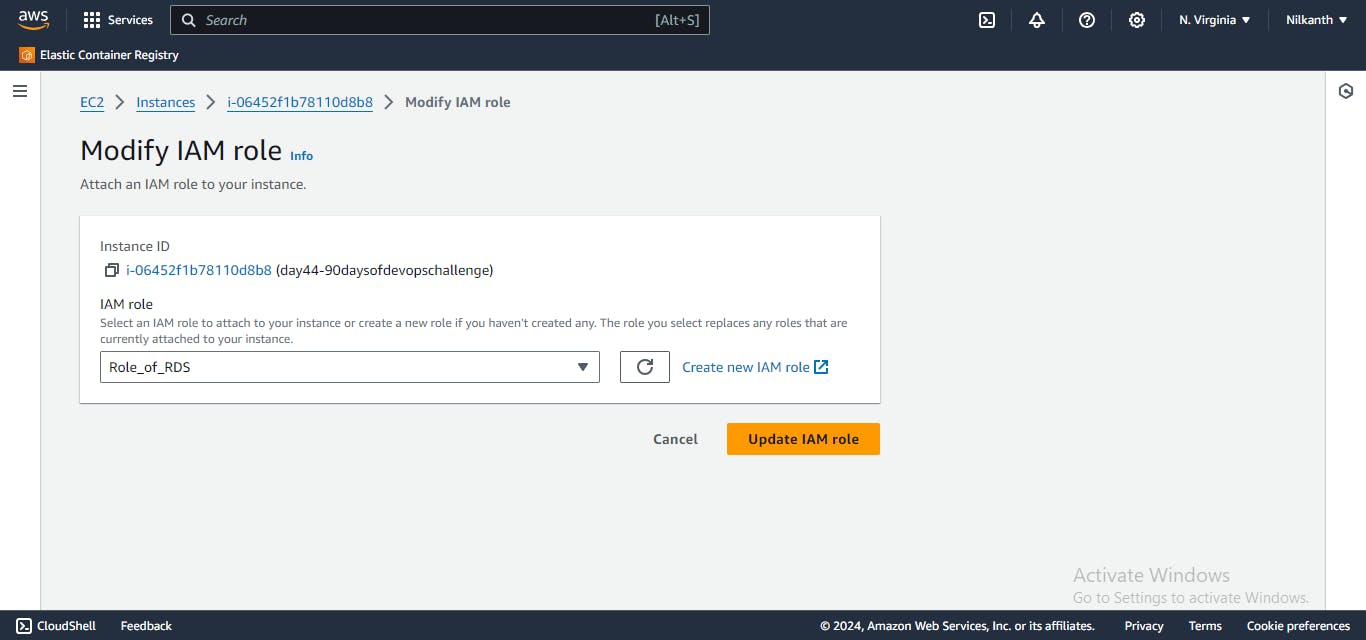
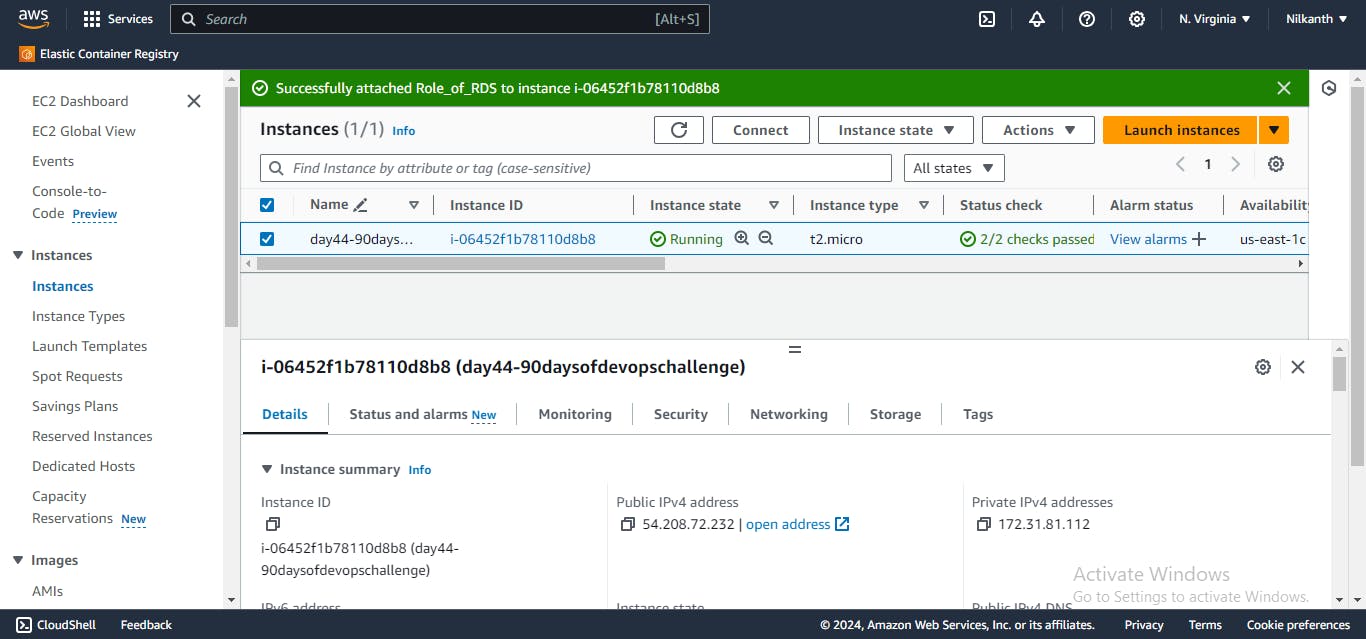
Step 4: Assign the role to EC2
🚀 Go to the EC2 console.
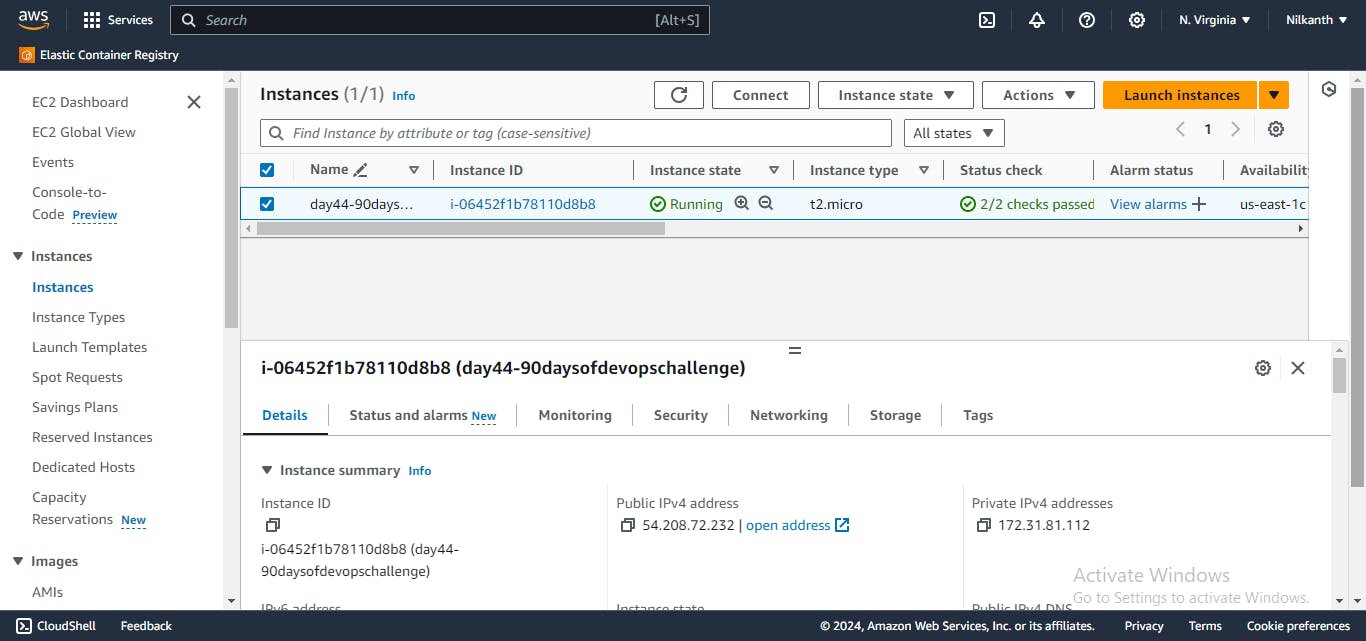
🔍 Select the instance you just created.
🖱️ Click "Actions", then "Instance Settings", then "Attach/Replace IAM Role".

Continuing our DevOps, we turn our attention to the enchanting world of WordPress, where our EC2 instance awaits its transformation into a digital canvas for creativity and innovation. Powered by the steadfast reliability of MySQL RDS, our journey takes an exhilarating turn as we embark on the setup of WordPress. 🚀