


🚀 Day 41 of #90DaysOfDevOpsChallenge is here! Today, let's explore the world of Load Balancing with AWS EC2! ☁️
Load balancing is like having multiple cashiers at a supermarket checkout 🛒. It ensures that all customers are served efficiently, reducing wait times and improving overall experience. Here's a breakdown with emojis:
🔁 What is Load Balancing?
Load balancing distributes workloads across multiple servers to ensure consistent and optimal resource utilization. It's like spreading the workload evenly across multiple cashiers to handle customer traffic efficiently.
🎯 Elastic Load Balancing (ELB) with AWS:
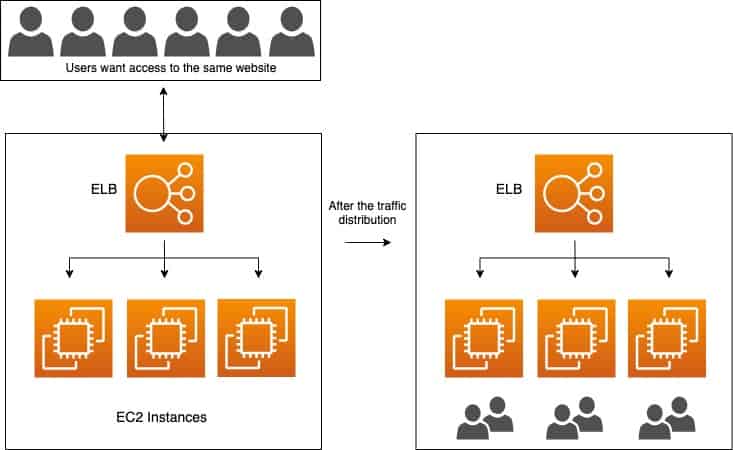
Elastic Load Balancing (ELB) is an AWS service that automatically distributes incoming traffic across multiple EC2 instances. It offers three types of load balancers:
🎈 Application Load Balancer (ALB):
ALB operates at layer 7 of the OSI model and is perfect for applications needing advanced routing and microservices. It's like directing customers to specific cashier lanes based on their needs, ensuring efficient service.
🚀 Network Load Balancer (NLB):
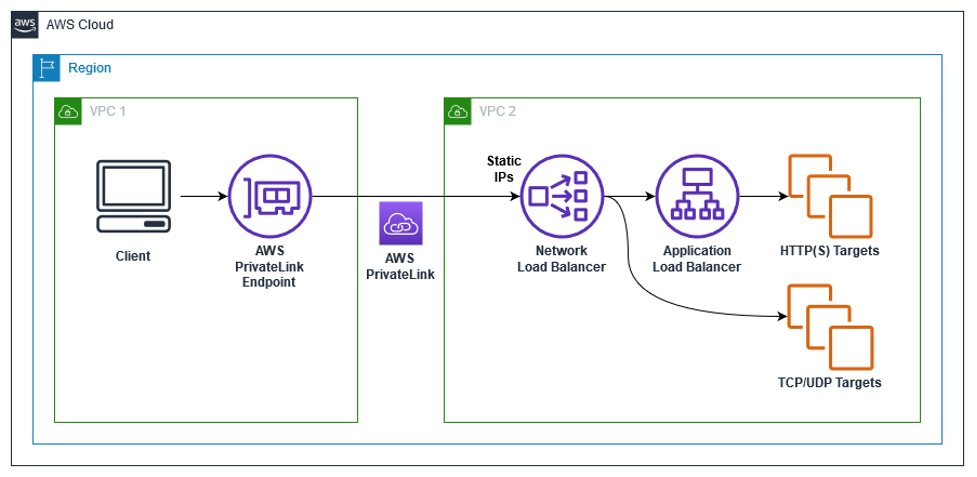
NLB operates at layer 4 of the OSI model and is ideal for applications needing high throughput and low latency. It's like ensuring customers are directed to the fastest cashier lane available.
🏢 Classic Load Balancer (CLB):
CLB operates at layer 4 of the OSI model and is suitable for applications needing basic load balancing features. It's like having a traditional checkout system where customers are evenly distributed among available cashiers.
🚀 Task 1: Launch EC2 Instances and Install Apache Web Server
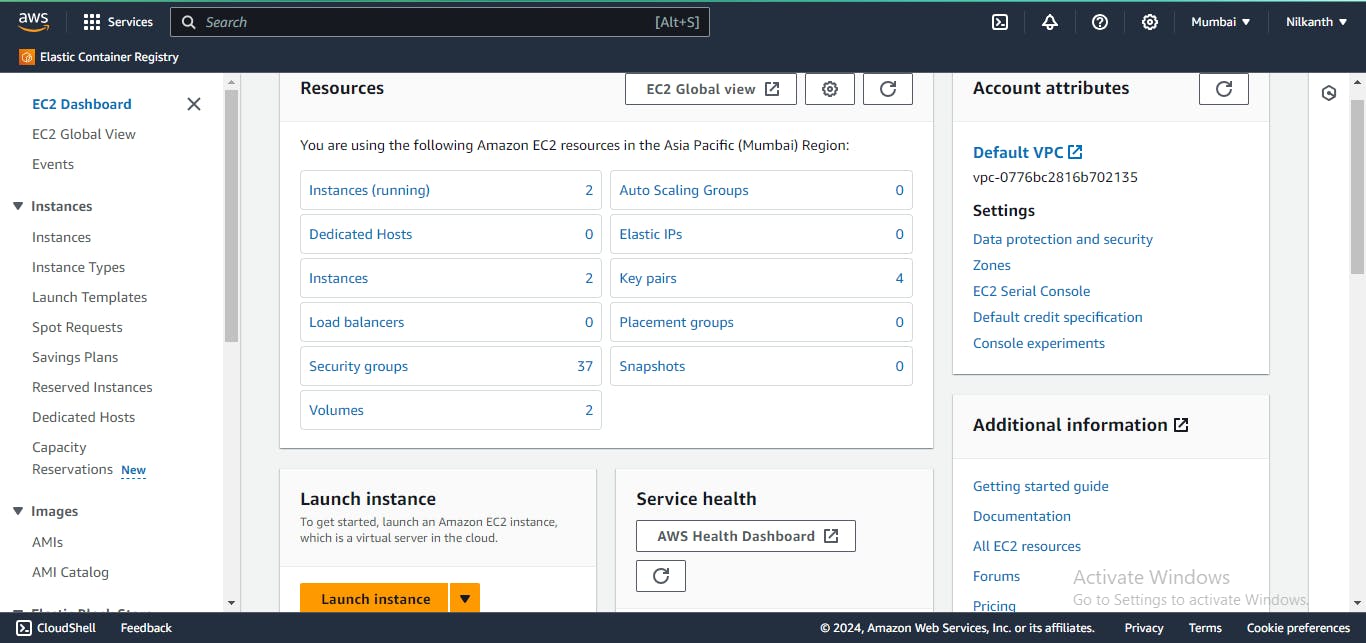
🔑 Log in to your AWS Console and navigate to the EC2 dashboard.
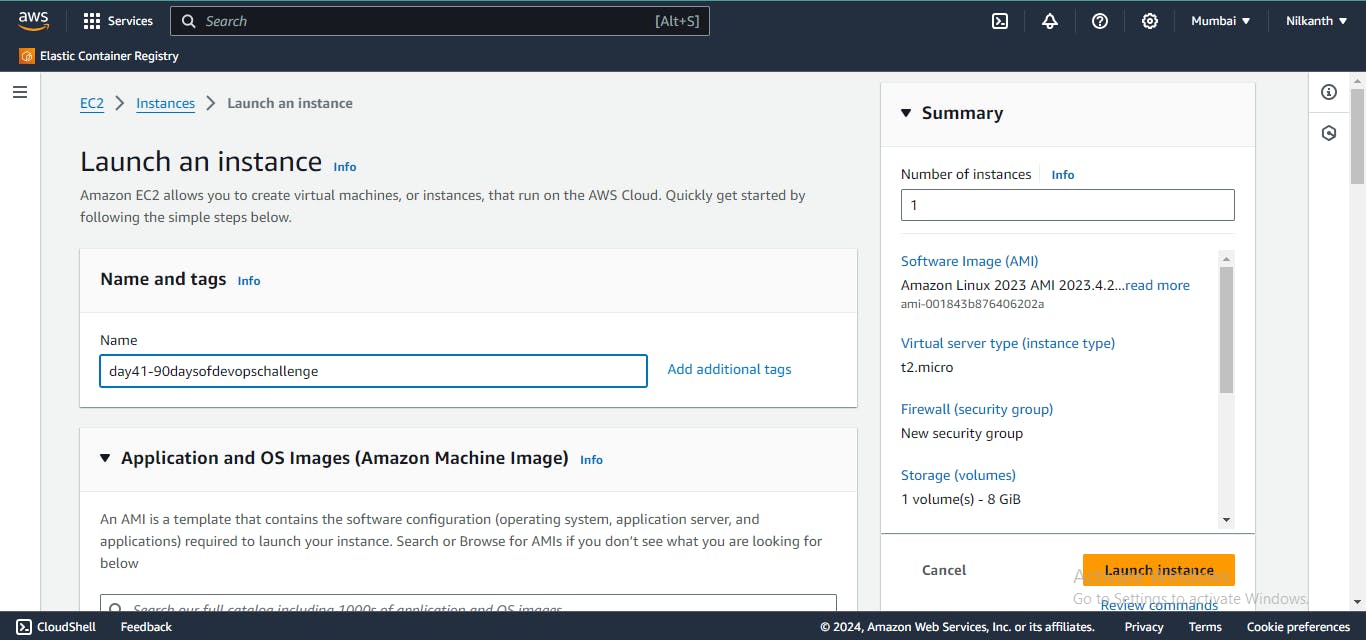
🖱️ Click on the "Launch Instance" button and select "Ubuntu Server".
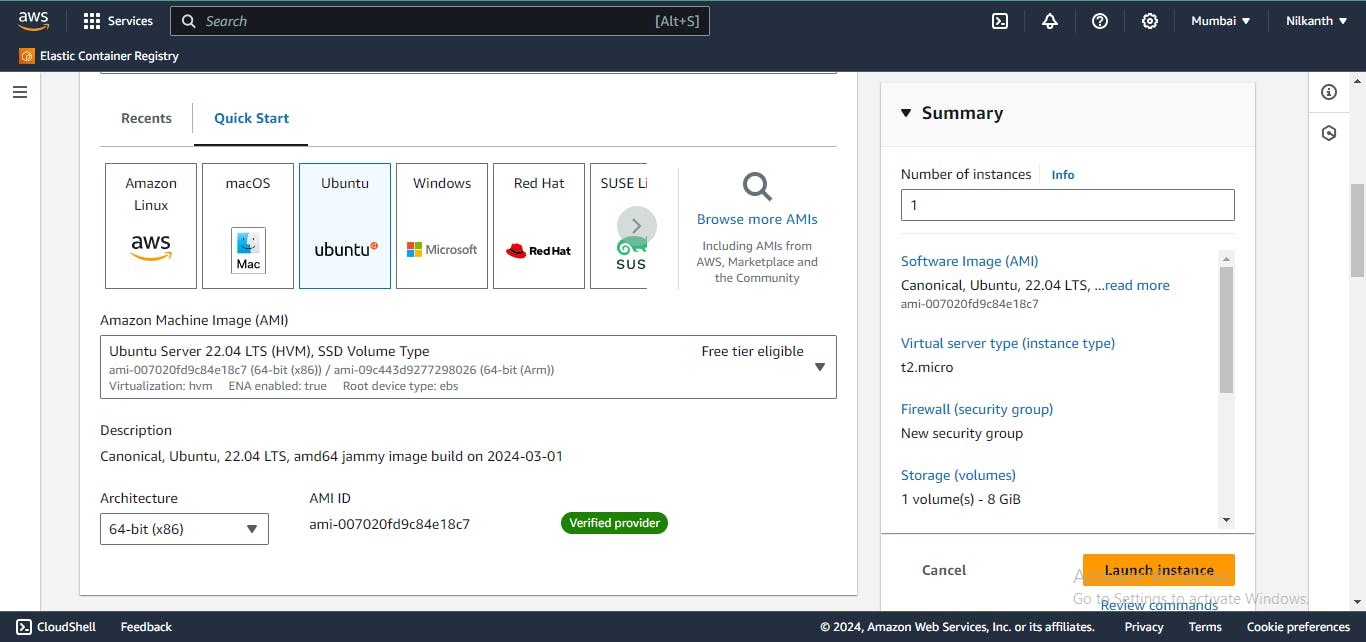
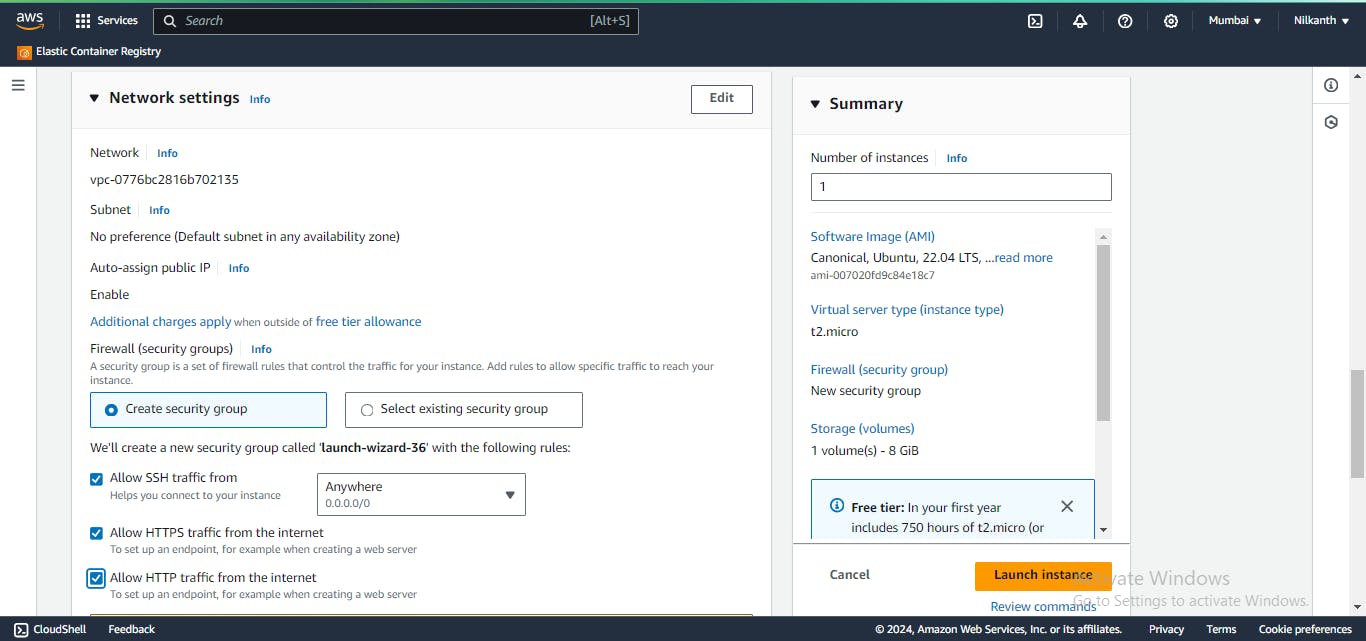
🛠️ Choose the instance type, configure details, add storage, and set up security groups

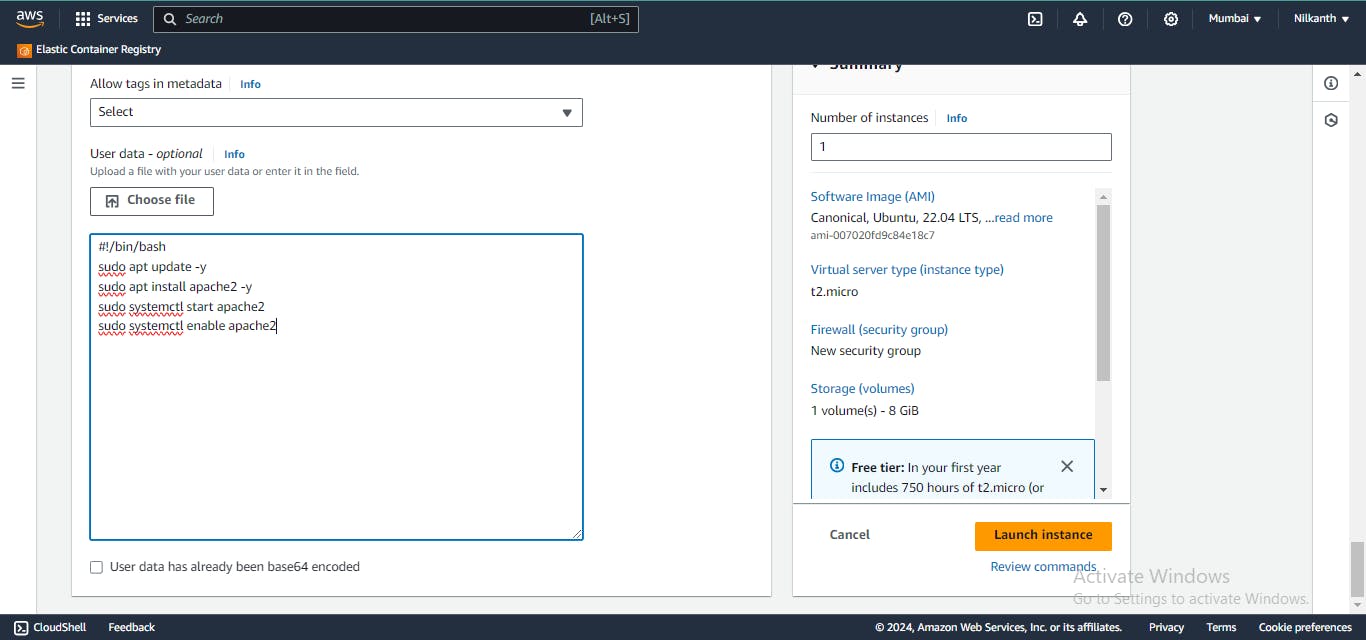
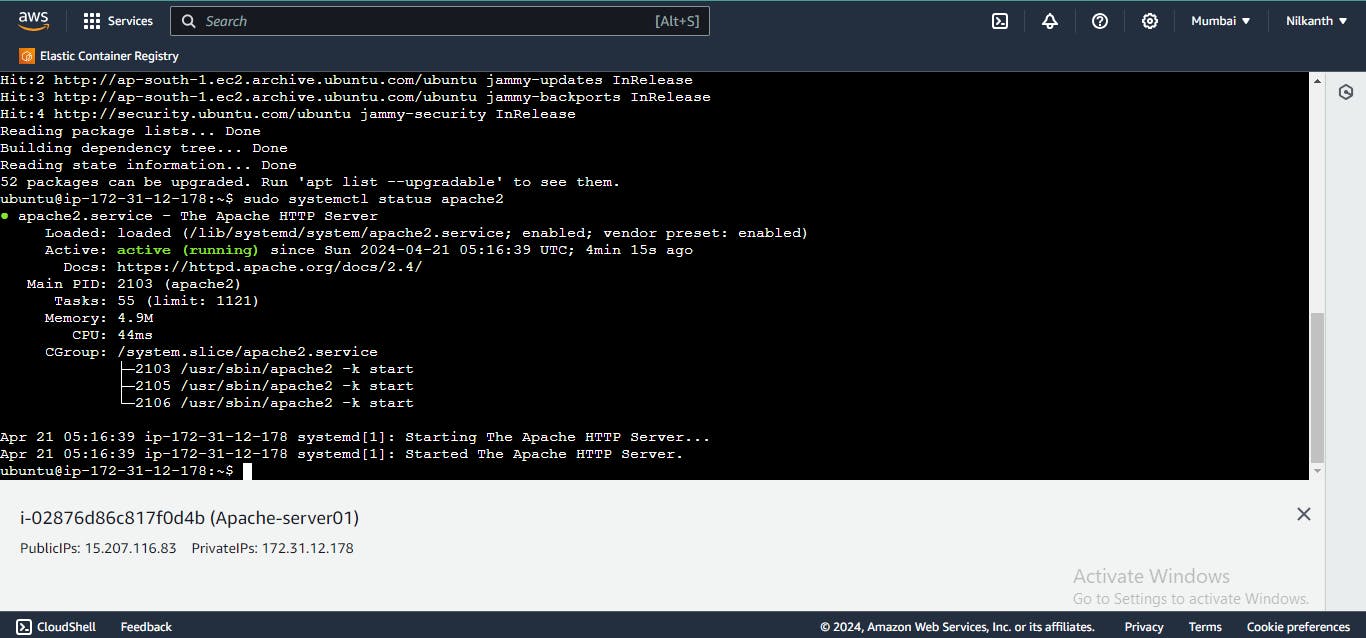
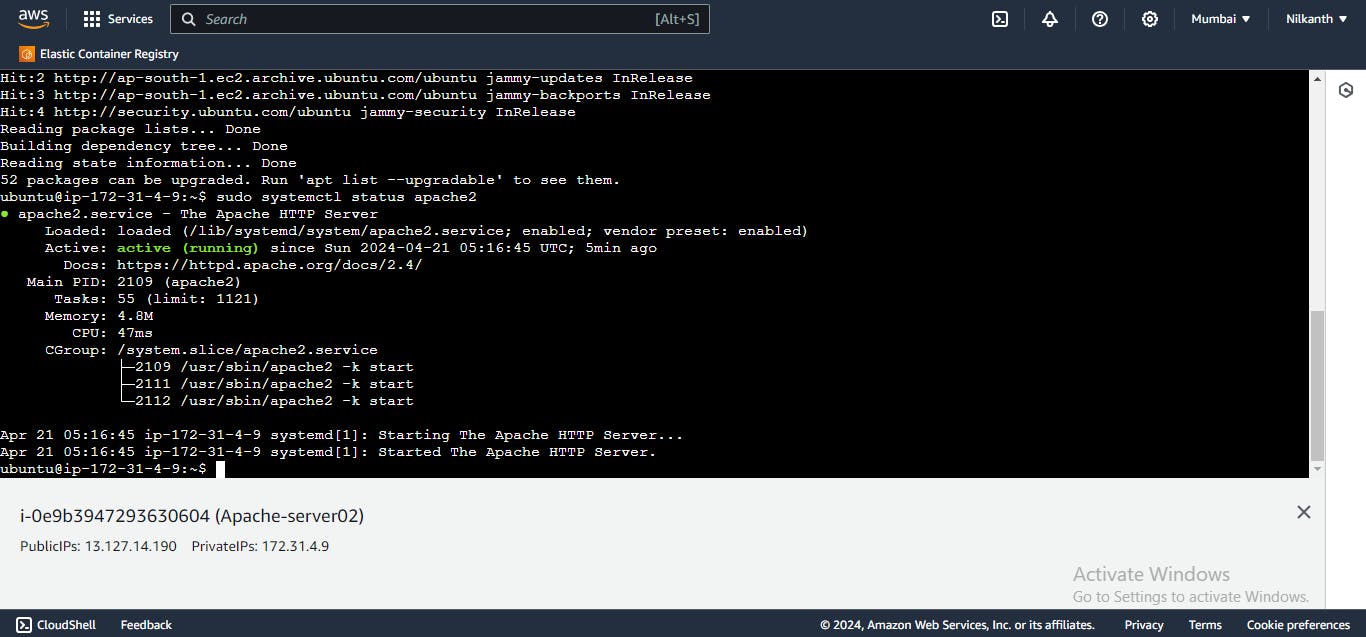
📝 Scroll down to the "User data" section under "Advanced Details" and enter commands to install Apache:
#!/bin/bash
sudo apt update -y
sudo apt install apache2 -y
sudo systemctl start apache2
sudo systemctl enable apache2
🖥️ Repeat steps for the second instance.
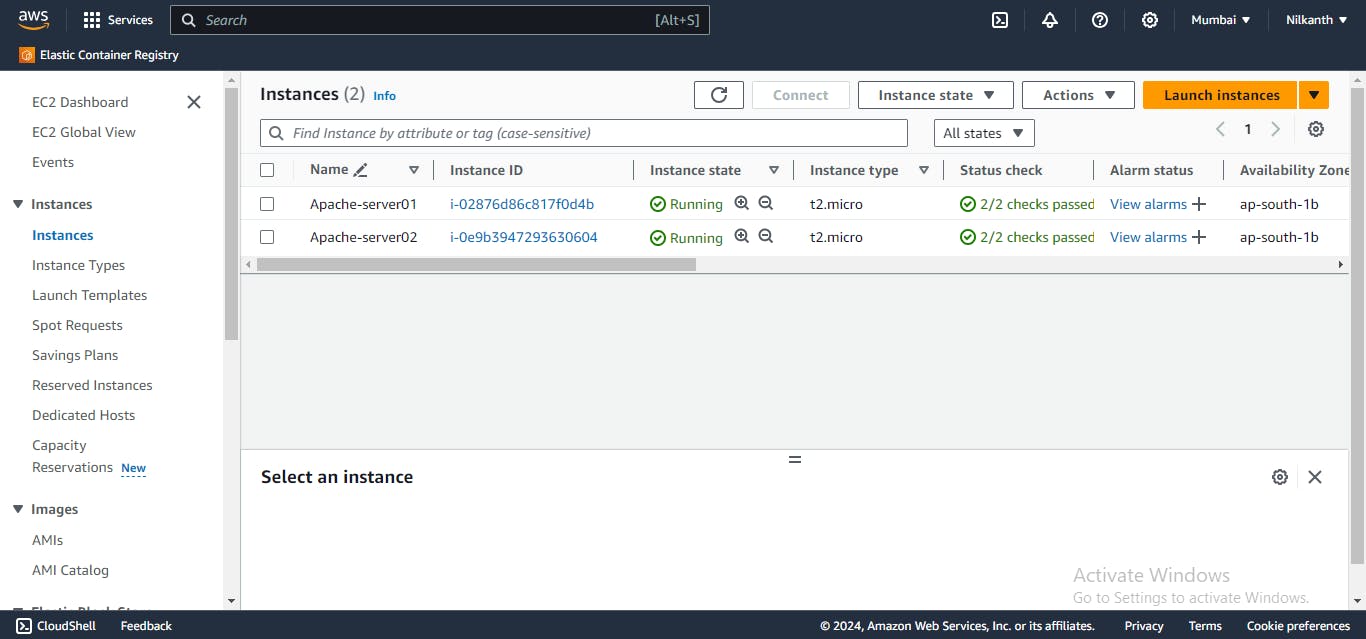
🖱️ Copy the public IP addresses of your instances.
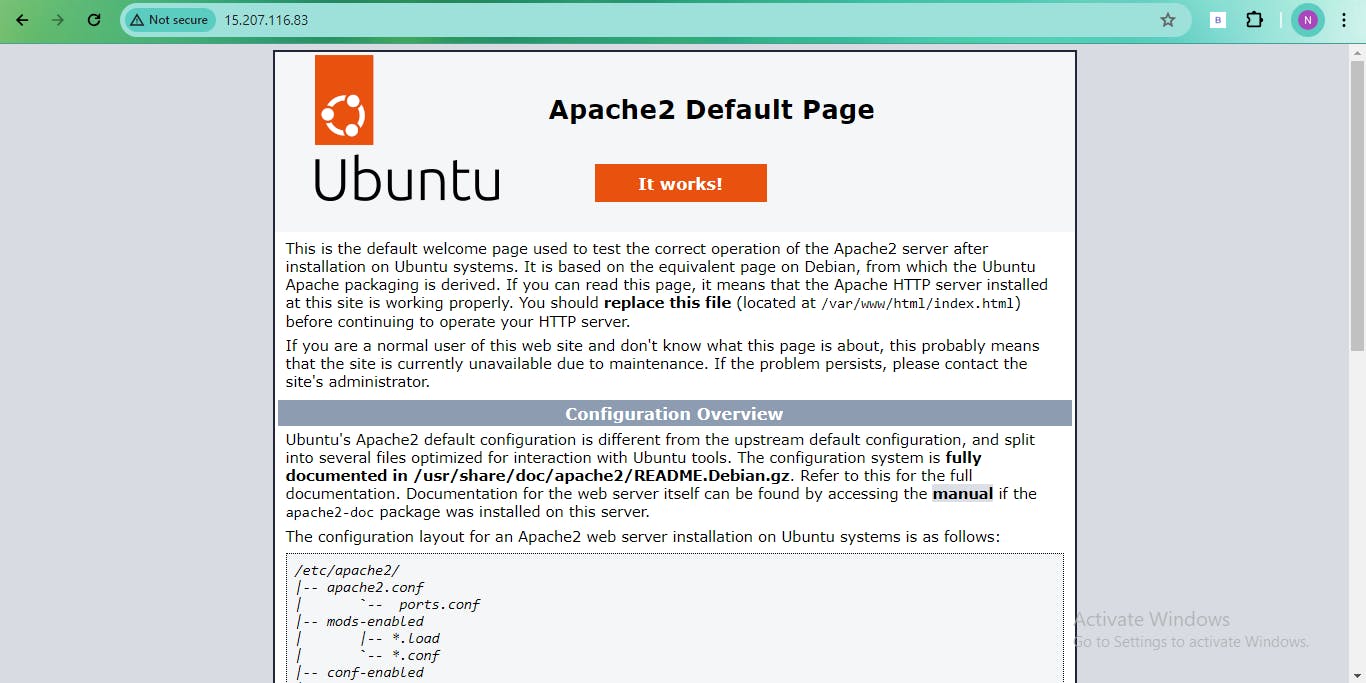
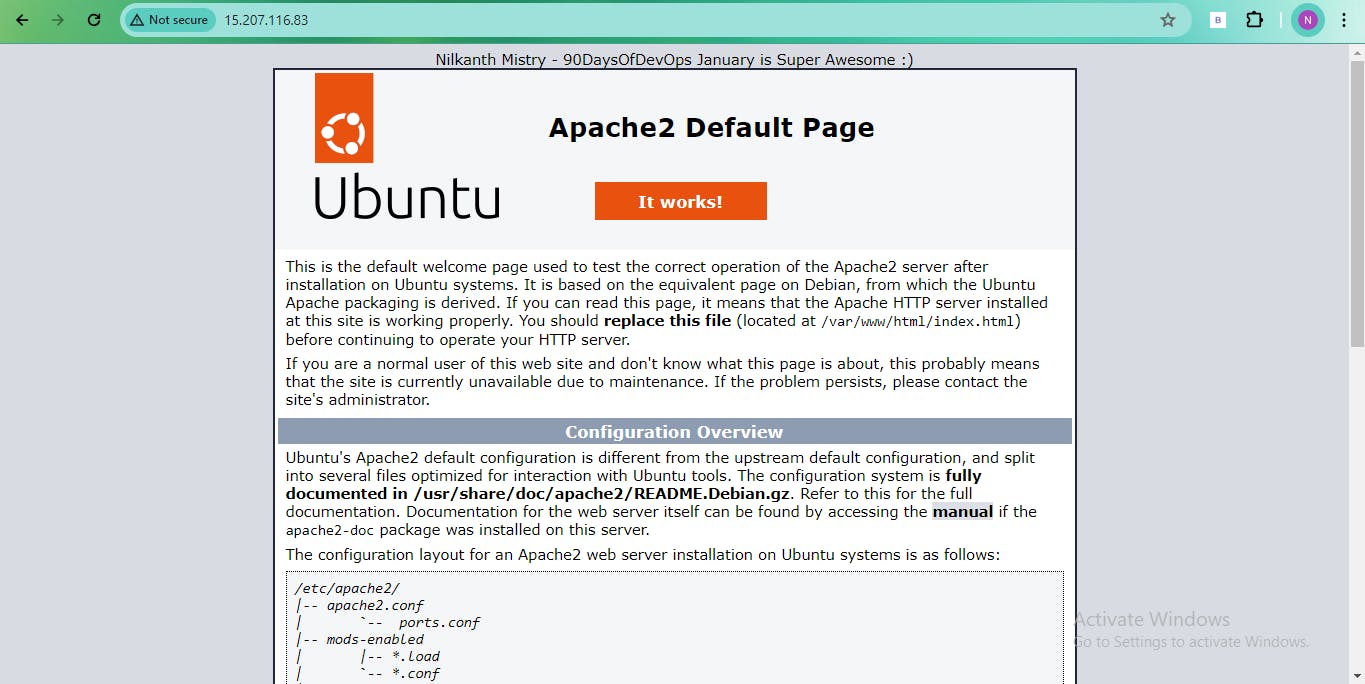
🌐 Open a web browser and paste the IP addresses to view the Apache default page.
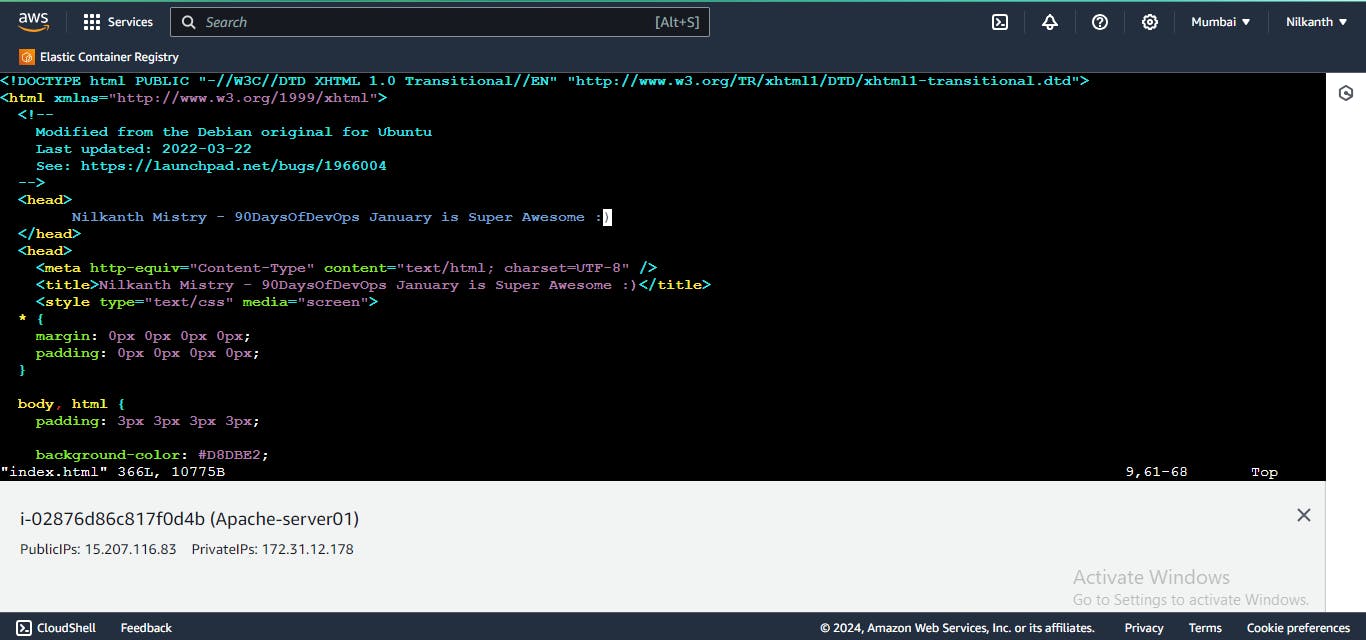
✏️ Modify the
index.htmlfile in/var/www/htmlto add your name on the first instance and "Nilkanth Mistry - 90DaysOfDevOps January is Super Awesome :)" on the second instance.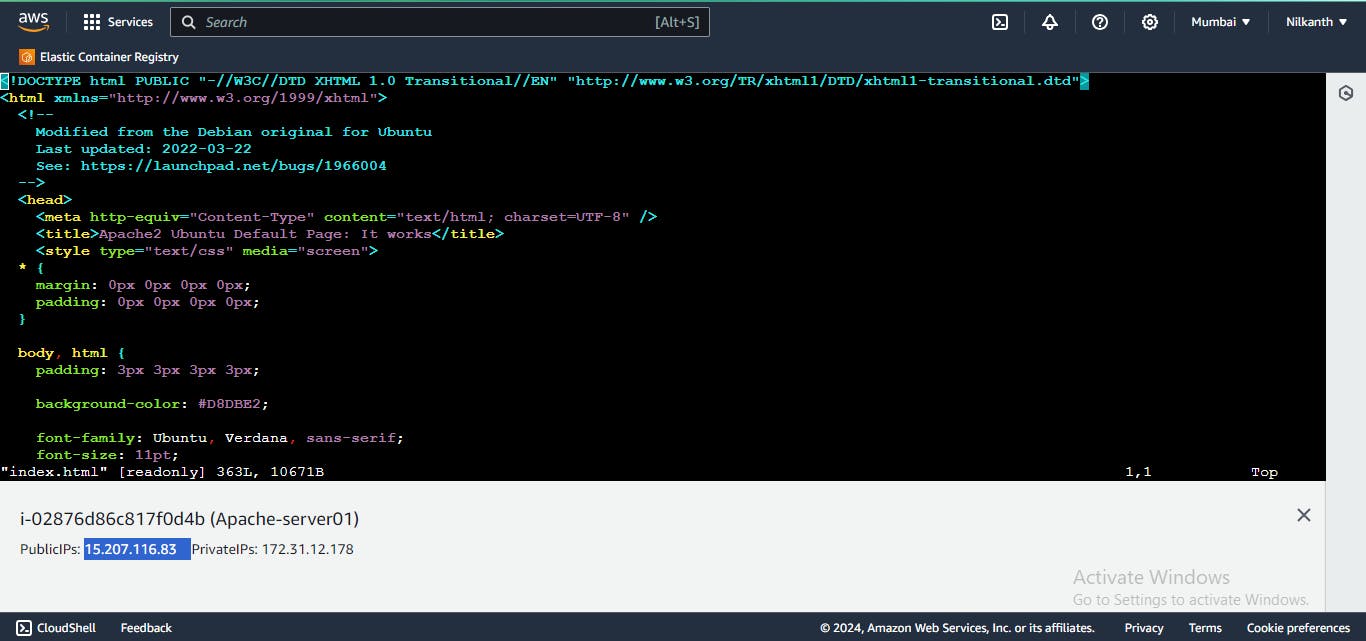
modify index.html file:

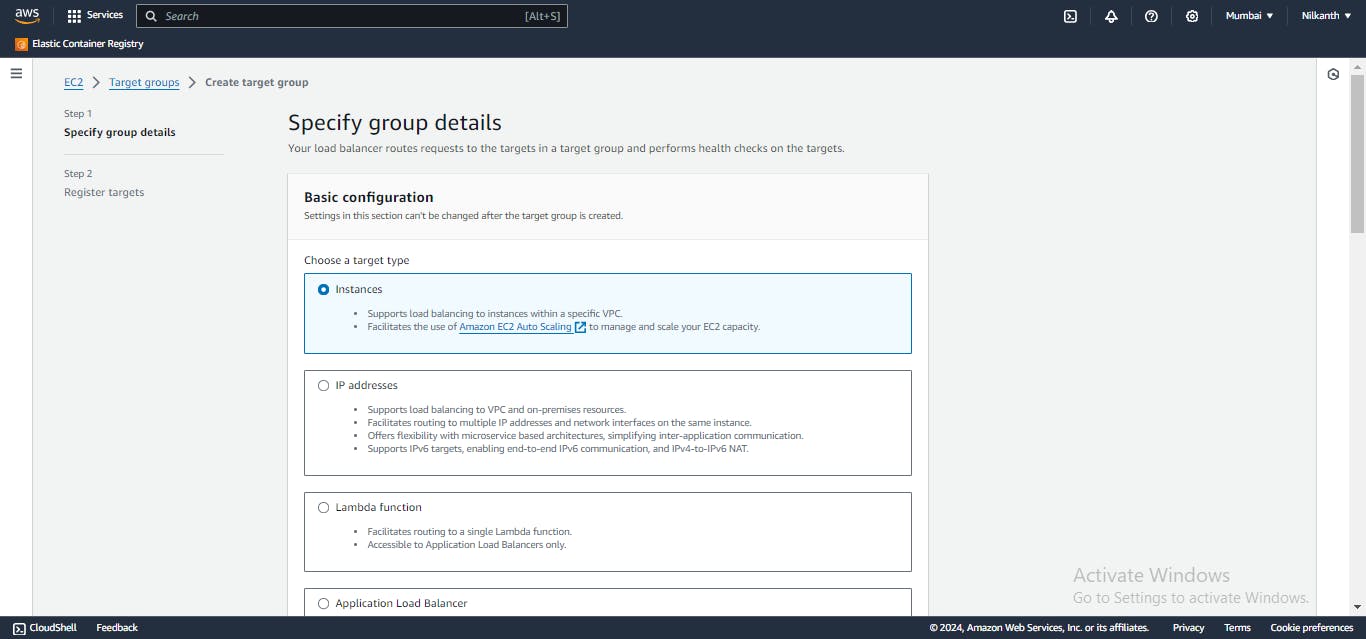
🎯 Task 2: Create Application Load Balancer (ALB)
🔑 Log in to AWS Management Console and navigate to the EC2 dashboard.
🔄 Click on "Load Balancers" in the left menu and then "Create Load Balancer".
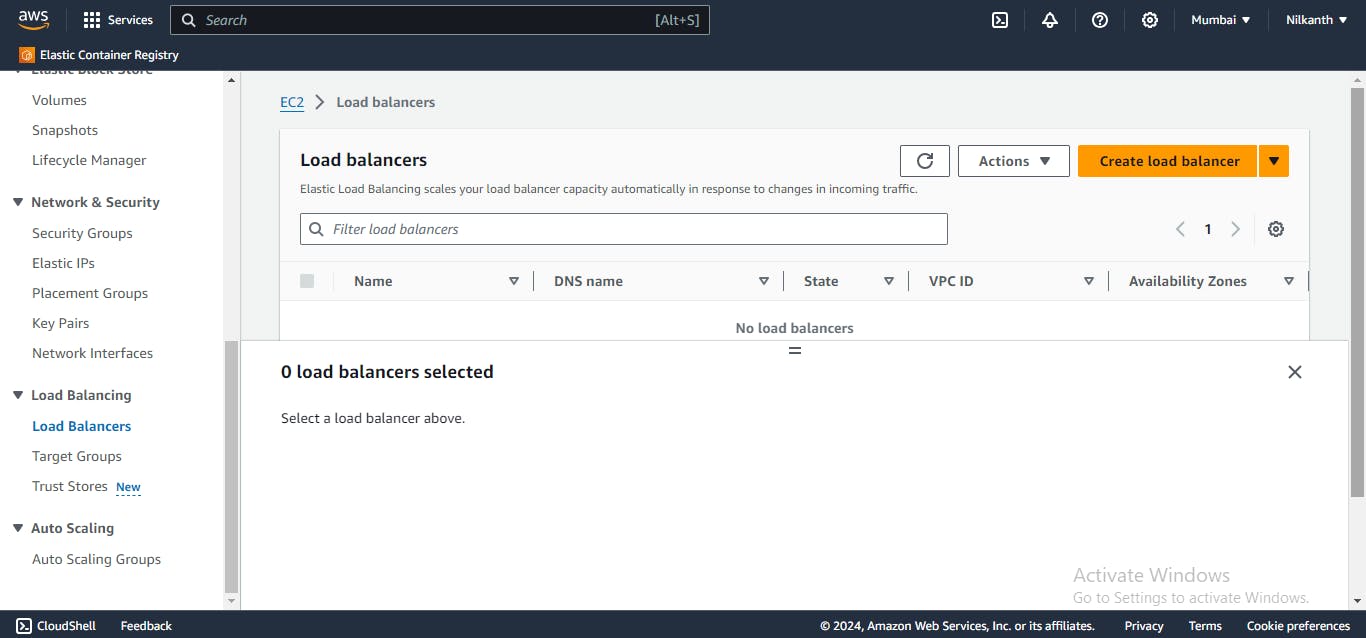
🌐 Select "Application Load Balancer" and click "Create".
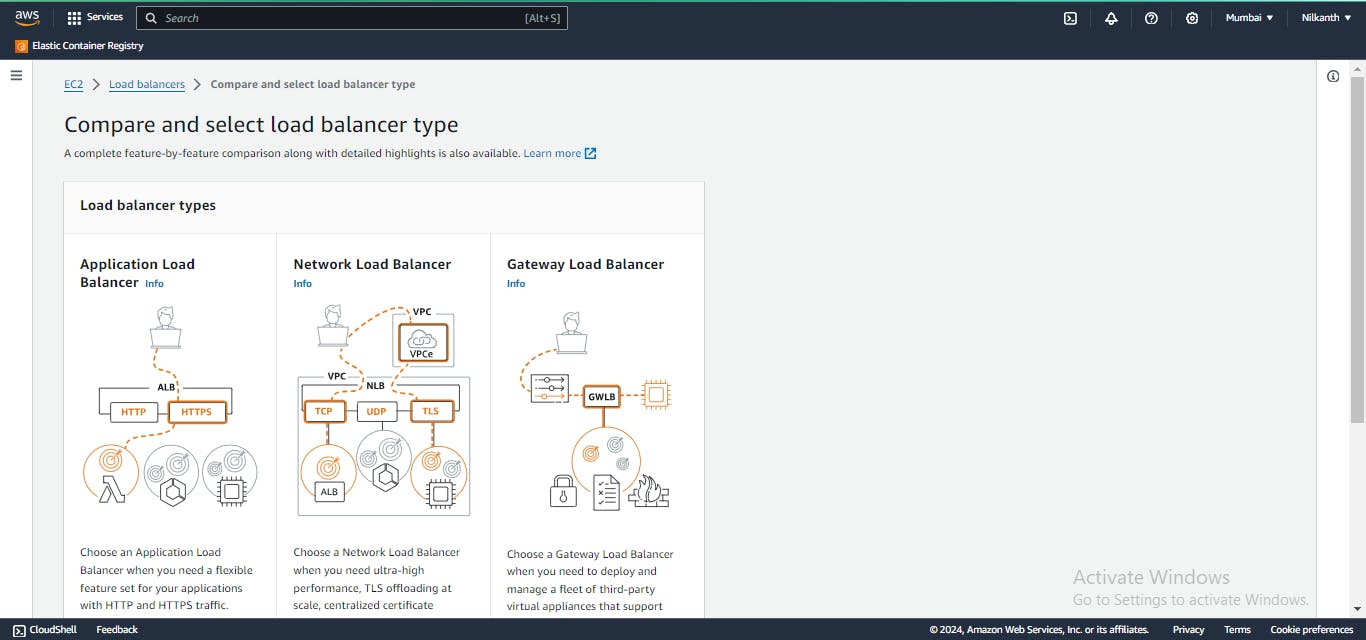
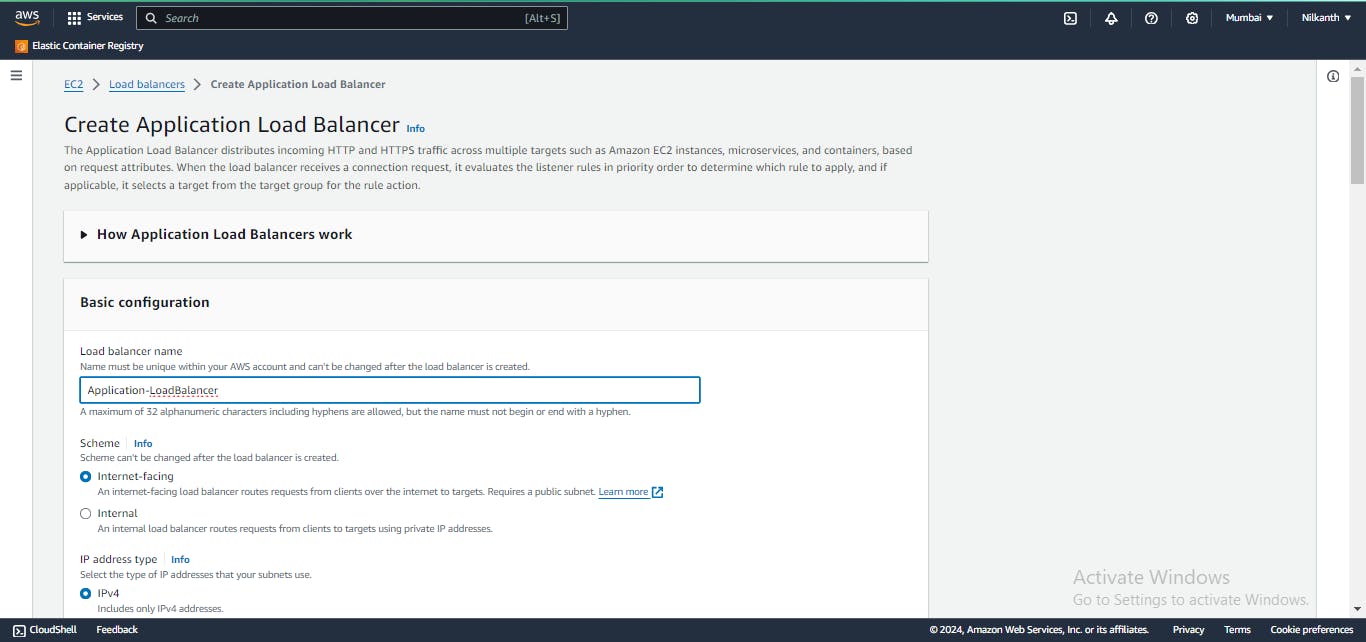
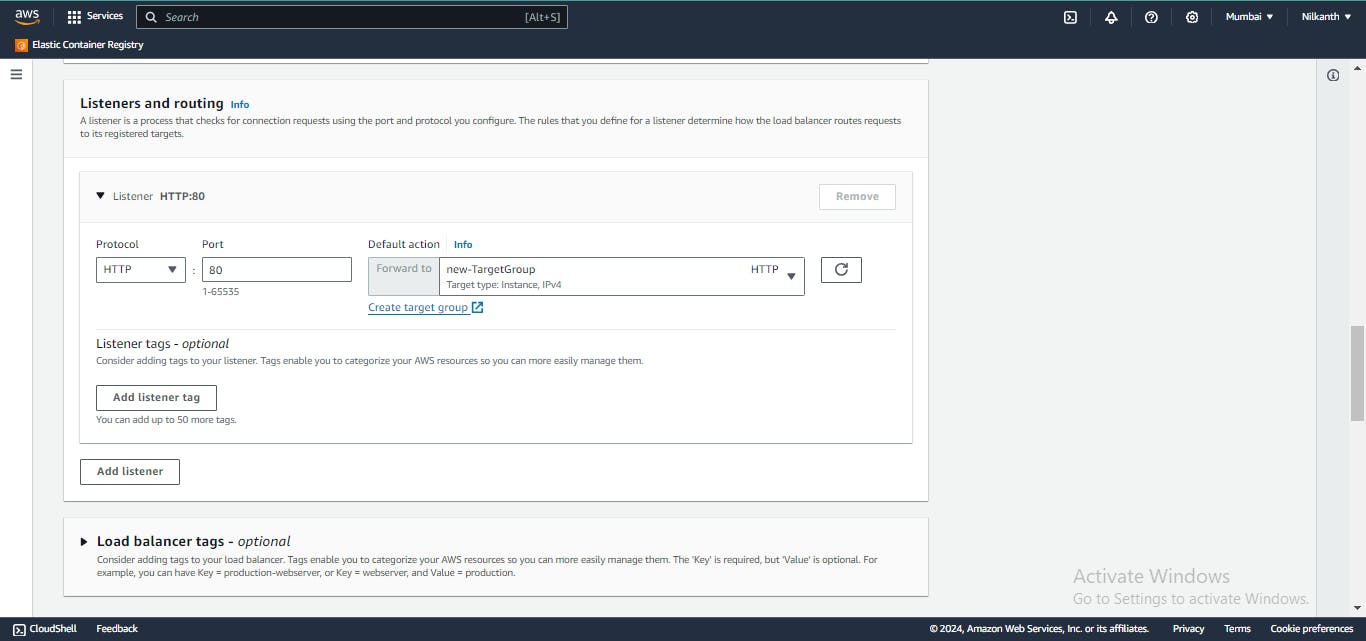
⚙️ Configure settings, including name, listener, security group, and availability zones.
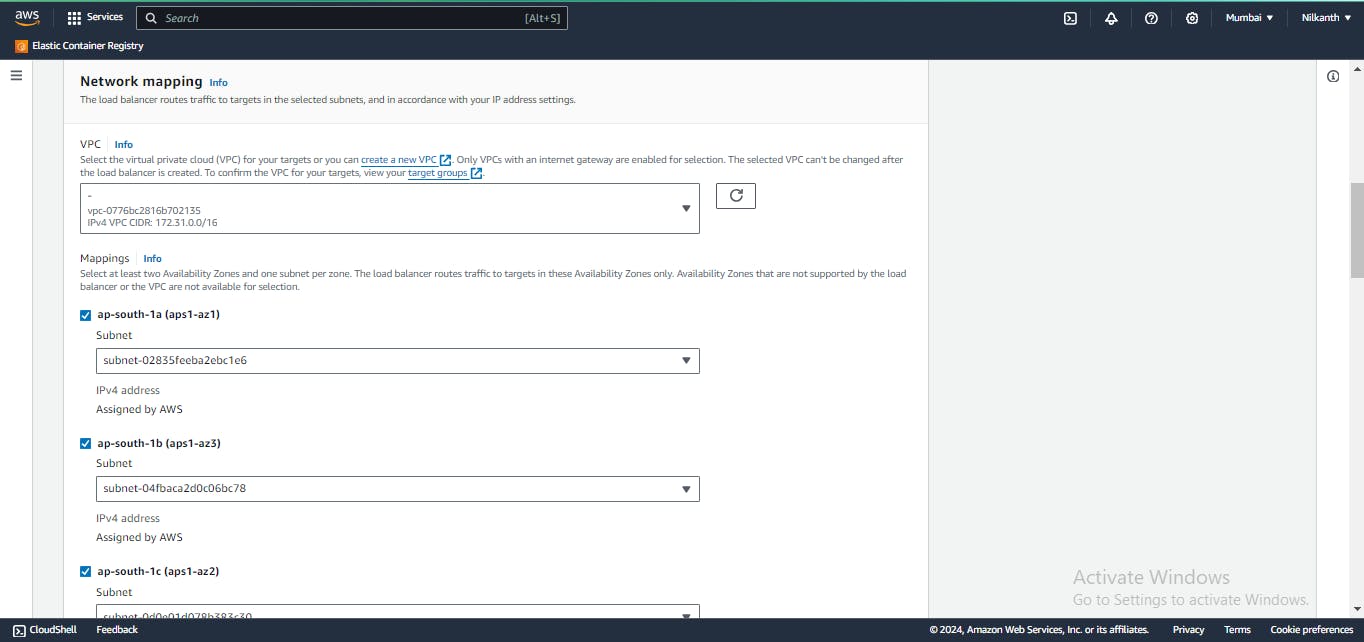
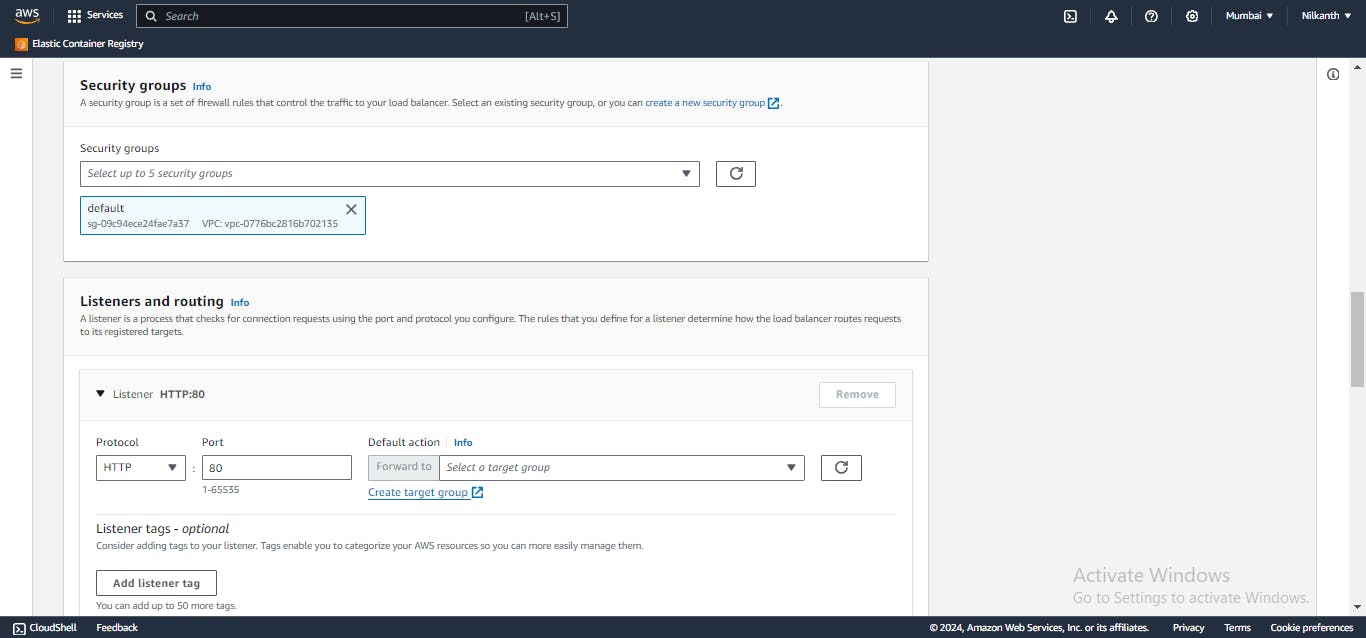
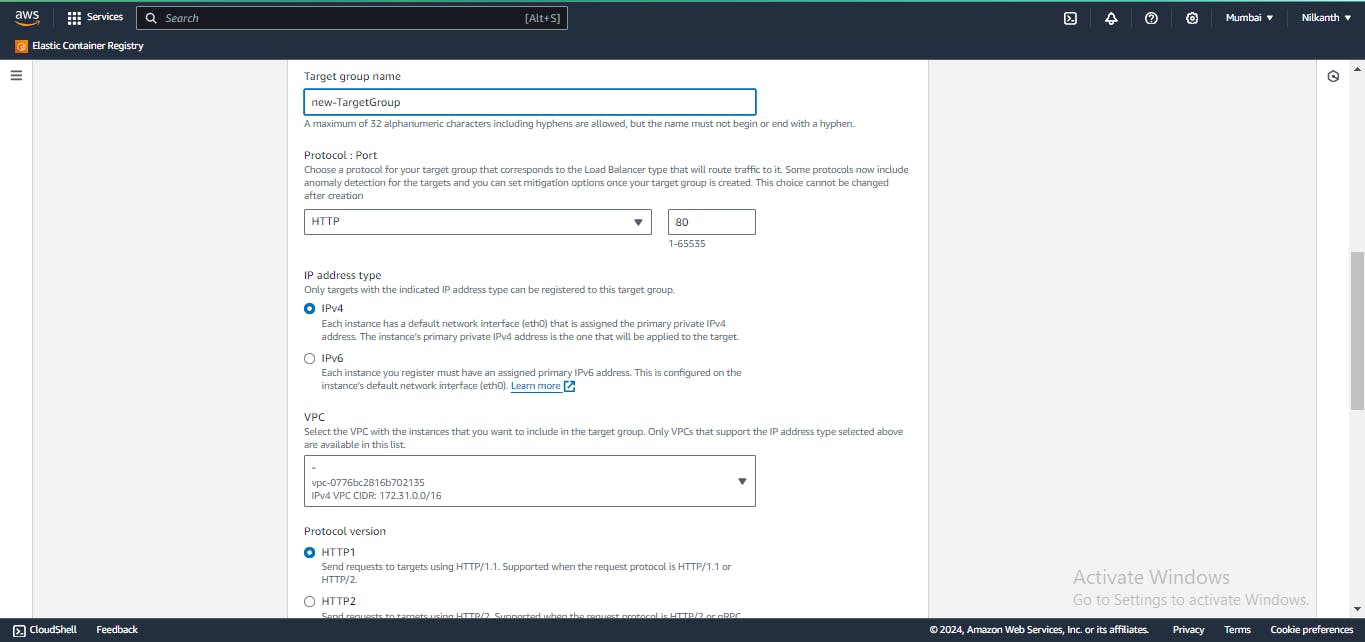
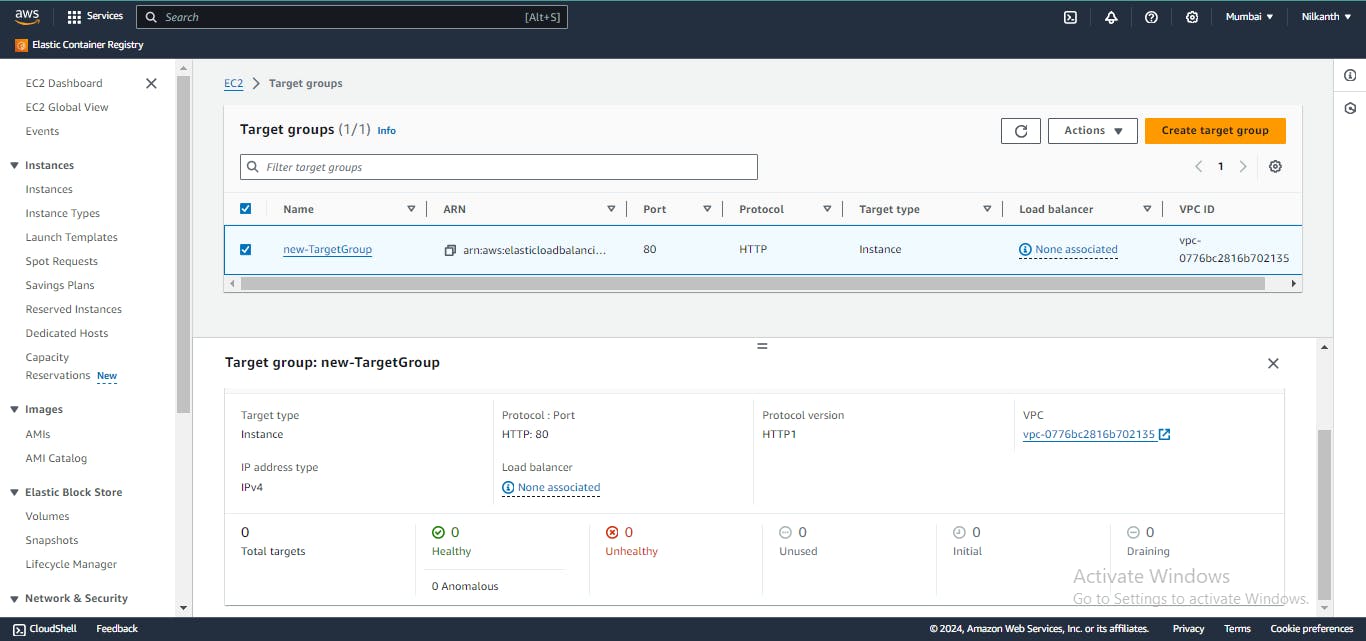
🧭 Configure security groups and create a target group with the same availability zones as the load balancer.
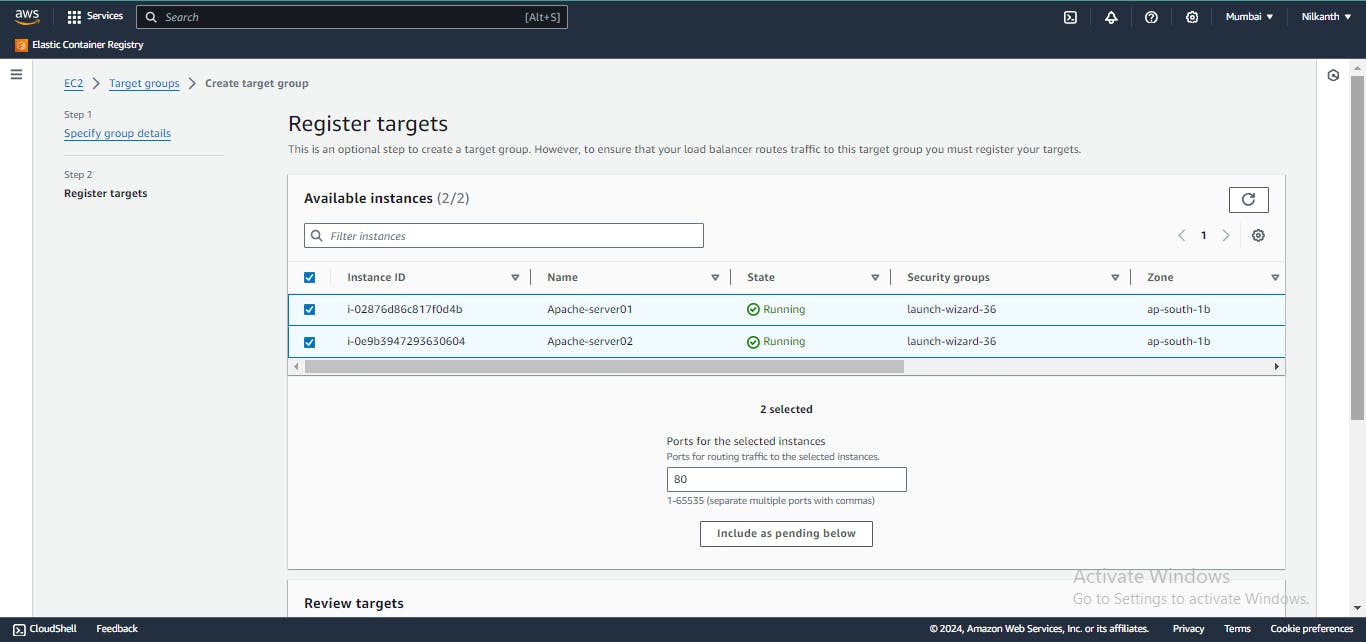
🎯 Add the EC2 instances from Task 1 as targets for the target group.
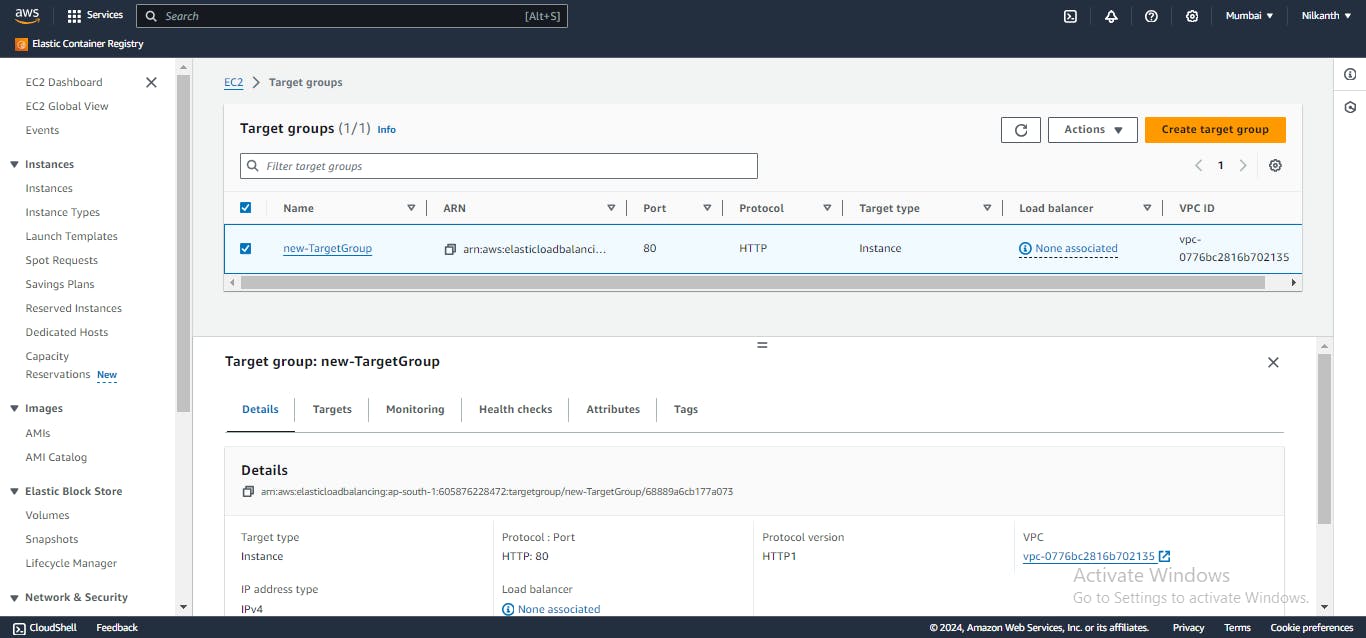
✅ Verify that the instances are registered and healthy in the target group.
🛠️ Test the load balancing by accessing the load balancer's DNS name in a web browser.


That's it! Your Application Load Balancer is set up and ready to evenly distribute traffic across your EC2 instances. Happy load balancing! 🌐🔀🚀