

Hope you're enjoying the AWS cloud and automation journey so far! 😍
Automation in EC2:
Amazon EC2, or Amazon Elastic Compute Cloud, provides secure, reliable, high-performance, and cost-effective computing infrastructure to meet demanding business needs. And guess what? You can automate a lot of tasks! 🤖💼
Learn more about EC2 automation here: [link]
Launch Template in AWS EC2:
Say hello to launch templates! 🚀 These templates hold all the configuration info you need to start an instance. No more typing in launch parameters every time! Just set up your template with the AMI ID, instance type, and network settings you prefer, and you're good to go! 💻🎉
Explore launch templates here: [link]
Instance Types:
With a plethora of instance types optimized for various uses, EC2 offers flexibility like no other. Need more CPU power? More memory? Storage? Networking capacity? There's an instance type for every need! 💪💡
AMI:
AMI, or Amazon Machine Image, is your go-to when launching instances. It contains everything required to start an instance, and you can choose from a variety of pre-built AMIs that AWS supports and updates regularly. 🖼️🛠️
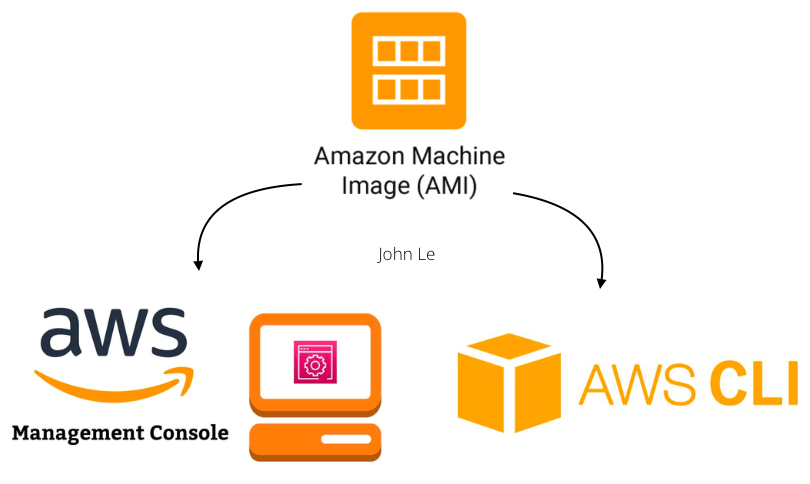
Learn about AMIs and how they simplify instance launches here: [link]
Task 1️⃣:
Let's get hands-on! Create a launch template with Amazon Linux 2 AMI and t2.micro instance type, pre-configured with Jenkins and Docker. Use the Day 39 User data script for installing these tools. 🛠️🔧
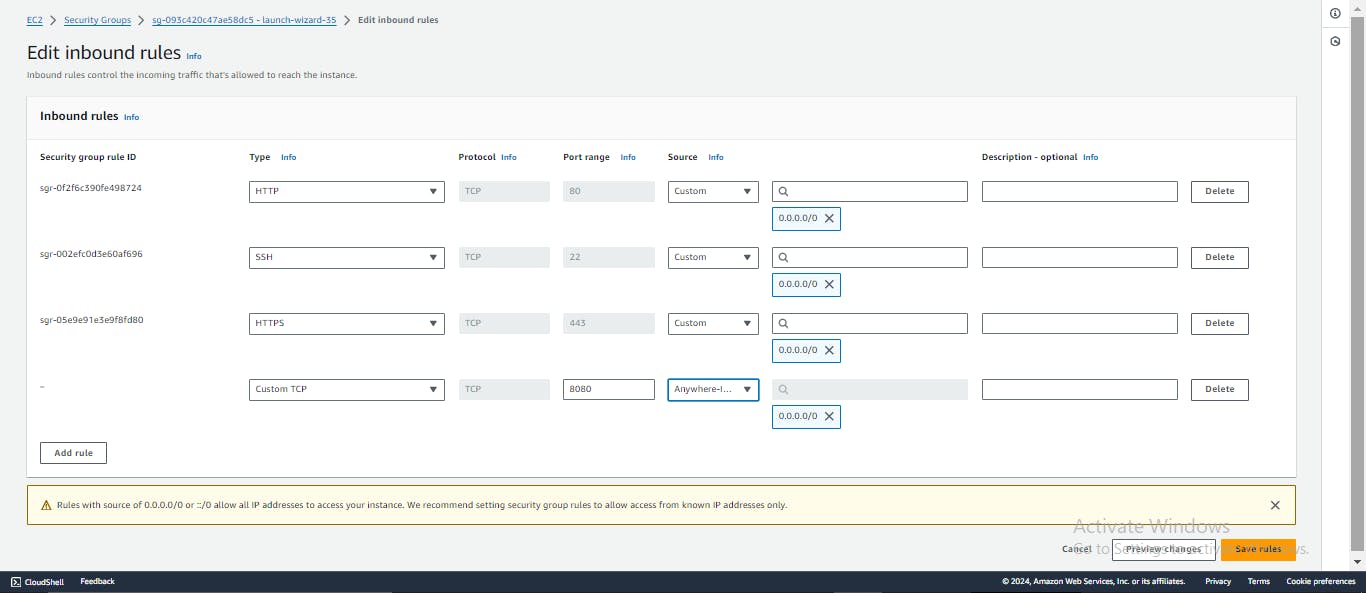
Create Security Group:
🔒 Go to the AWS Management Console and navigate to the EC2 dashboard.
🔧 Click on "Security Groups" in the sidebar menu.
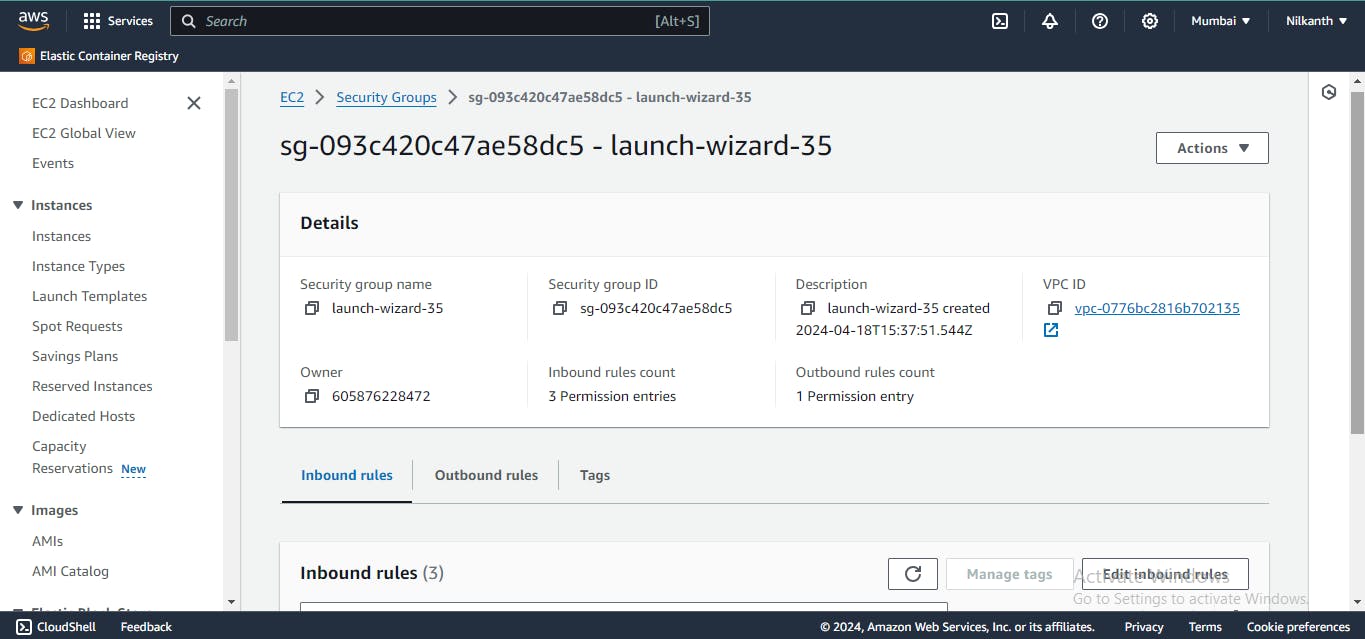
➕ Select "Create security group".
📝 Enter the details for your security group and add an inbound rule to allow traffic on port 8080.
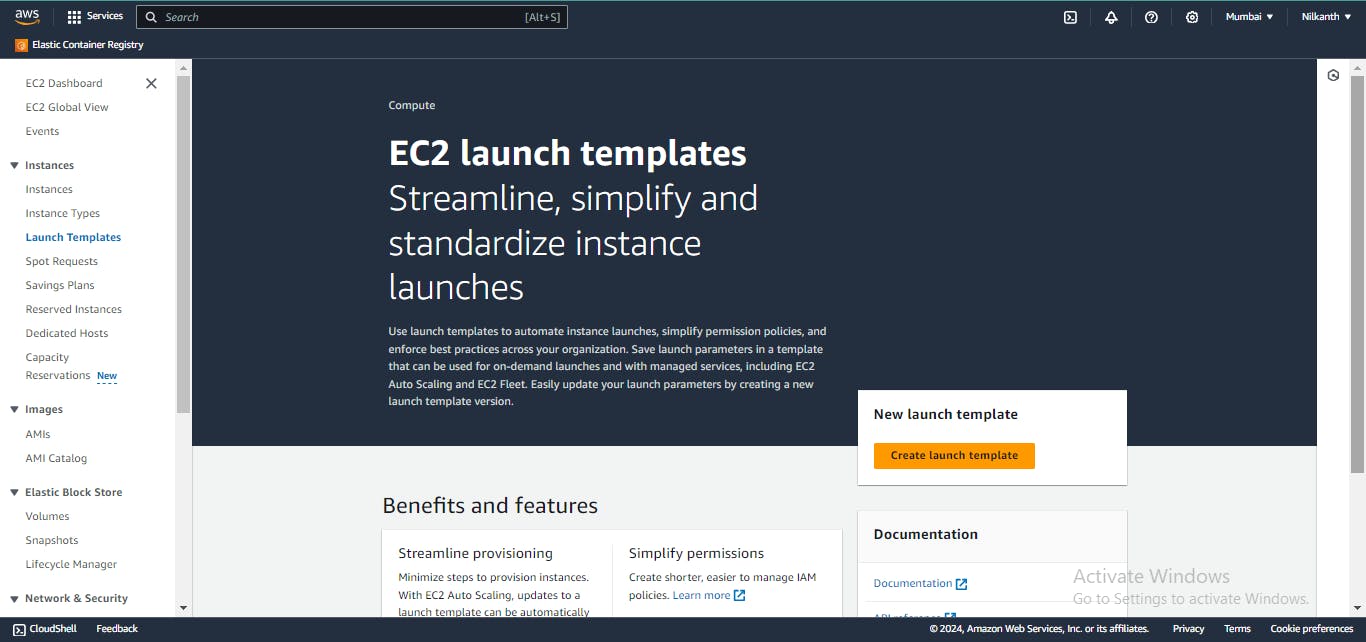
Create Launch Template:
🚀 In the left navigation pane, choose “Launch Templates”.
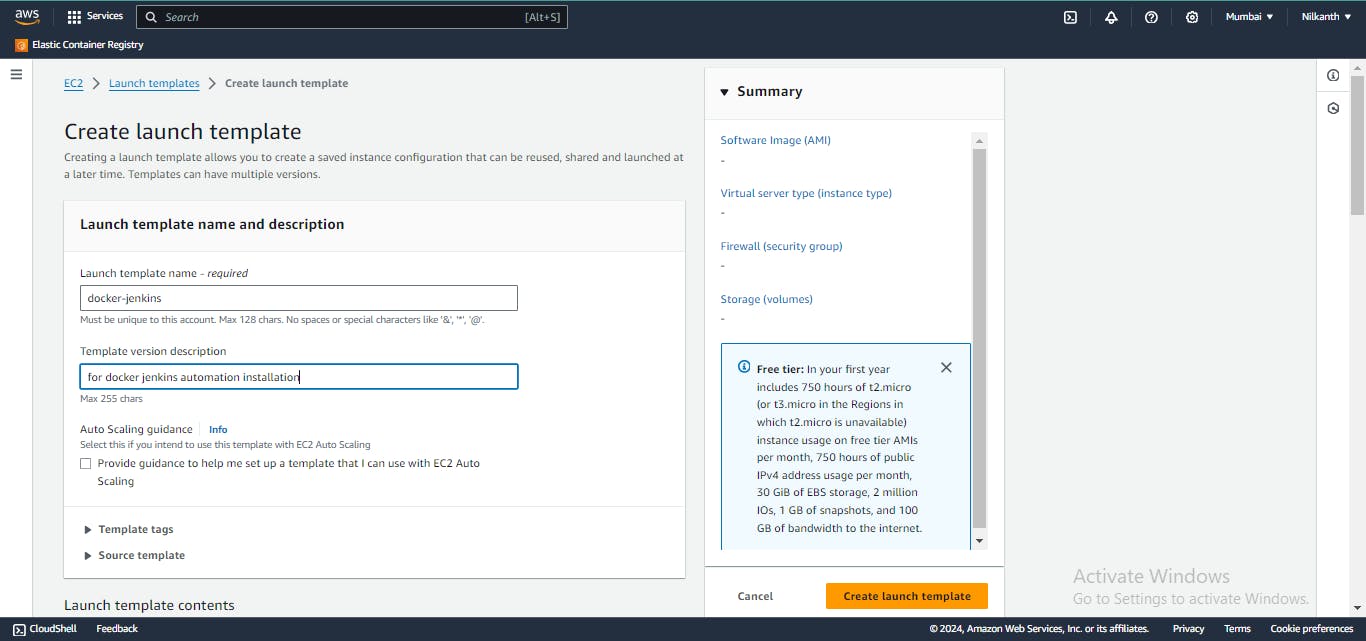
➕ Choose “Create launch template”.
📝 Enter a name for the launch template.
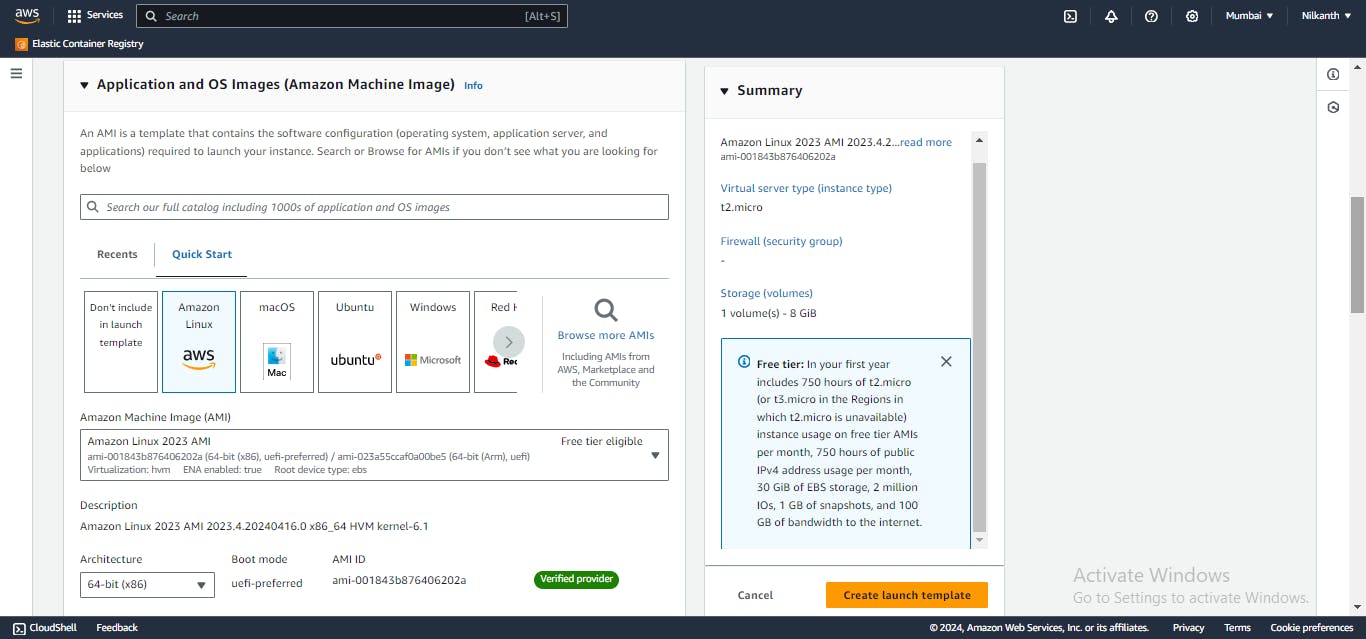
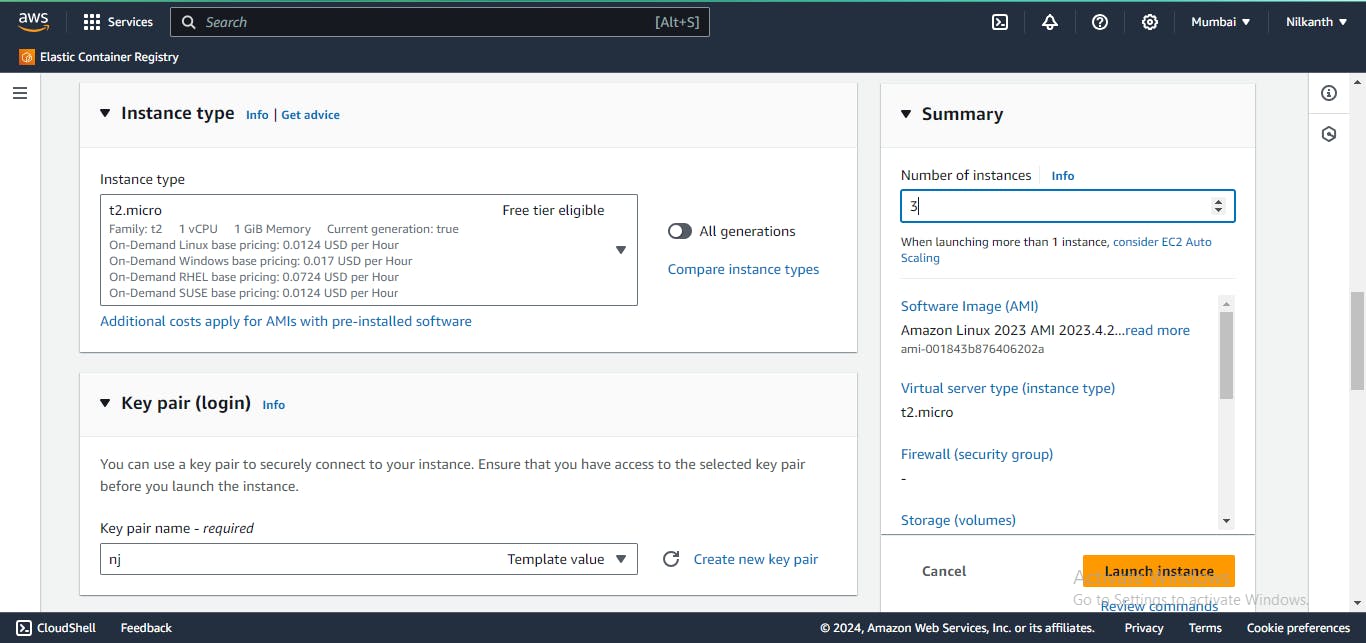
🖼️ For “Amazon Machine Image (AMI)”, choose “Amazon Linux 2” and t2 micro instance type.
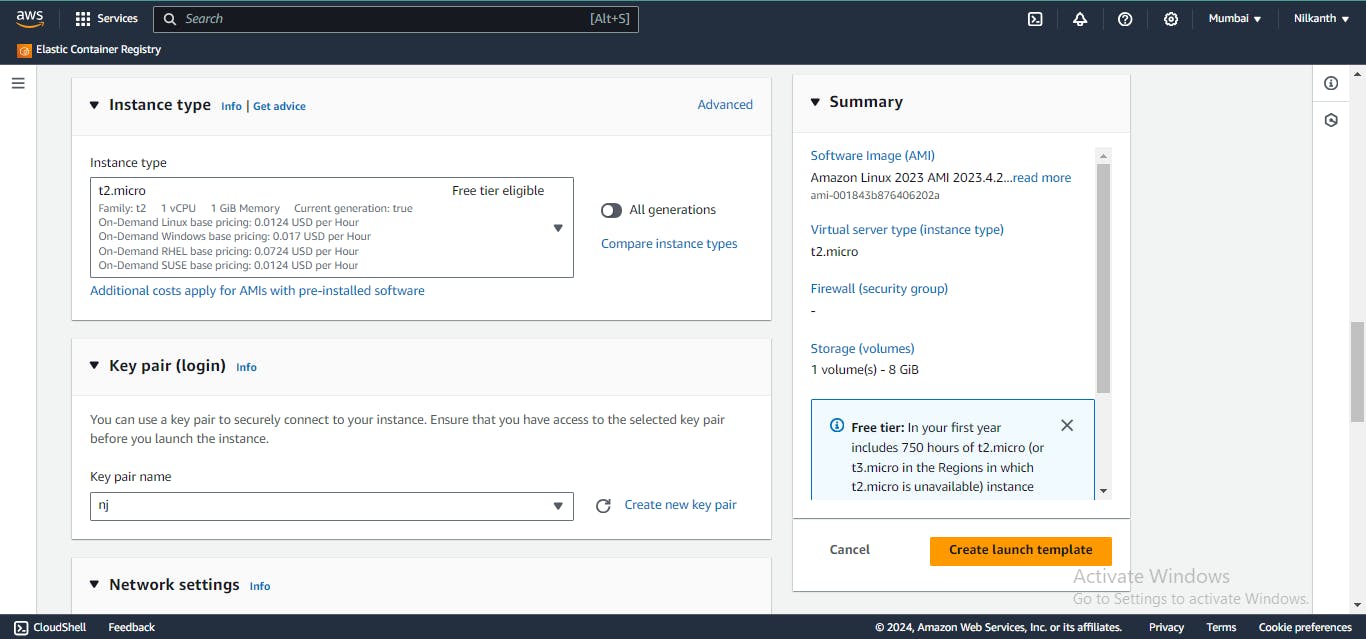
🔑 Enter your key pair and select the previously created security group with port 8080 allowed.
📋 In the “Advanced Details” section, paste the provided user data script for installing Jenkins and Docker in the “User data” field.
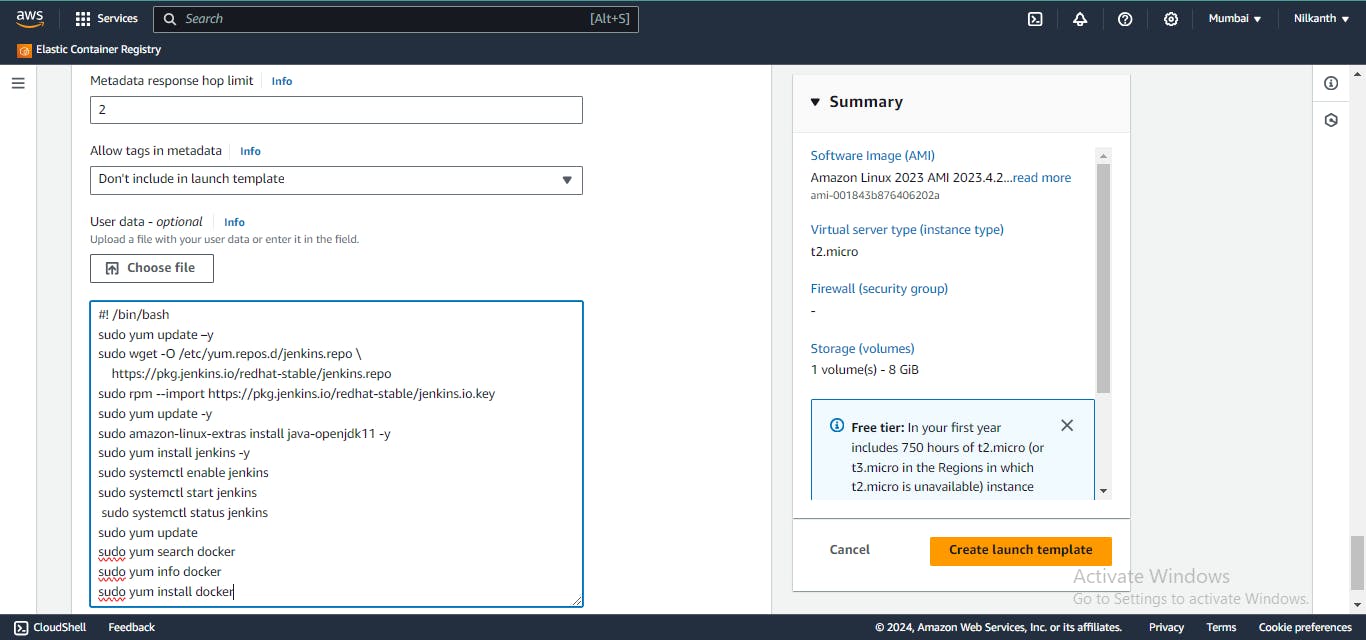
  #!/bin/bash

  # Update package repositories and installed packages
  sudo yum update -y

  # Download and add Jenkins repository to package manager
  sudo wget -O /etc/yum.repos.d/jenkins.repo https://pkg.jenkins.io/redhat-stable/jenkins.repo
  sudo rpm --import https://pkg.jenkins.io/redhat-stable/jenkins.io.key

  # Install Java OpenJDK 11
  sudo amazon-linux-extras install java-openjdk11 -y

  # Install Jenkins
  sudo yum install jenkins -y

  # Enable and start Jenkins service
  sudo systemctl enable jenkins
  sudo systemctl start jenkins

  # Check status of Jenkins service
  sudo systemctl status jenkins

  # Update package repositories
  sudo yum update

  # Search for Docker package
  sudo yum search docker

  # Get information about Docker package
  sudo yum info docker

  # Install Docker
  sudo yum install docker -y
✅ Choose “Create launch template”.

Launch Instances Using Launch Template:
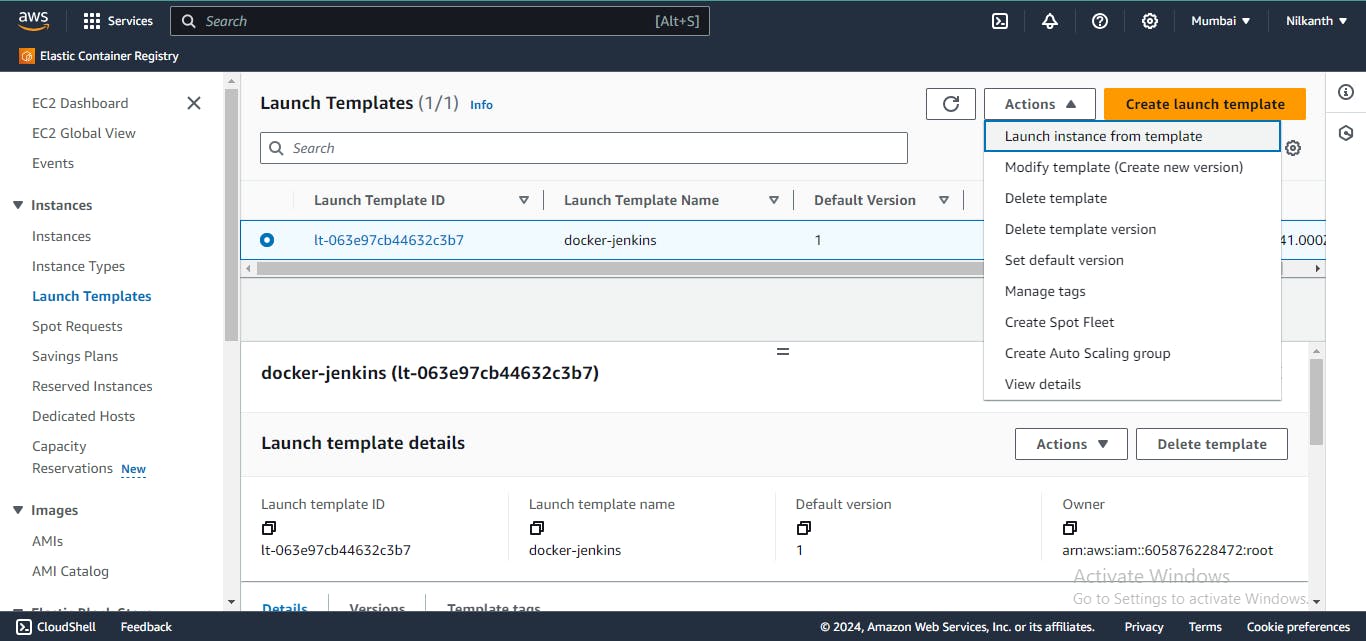
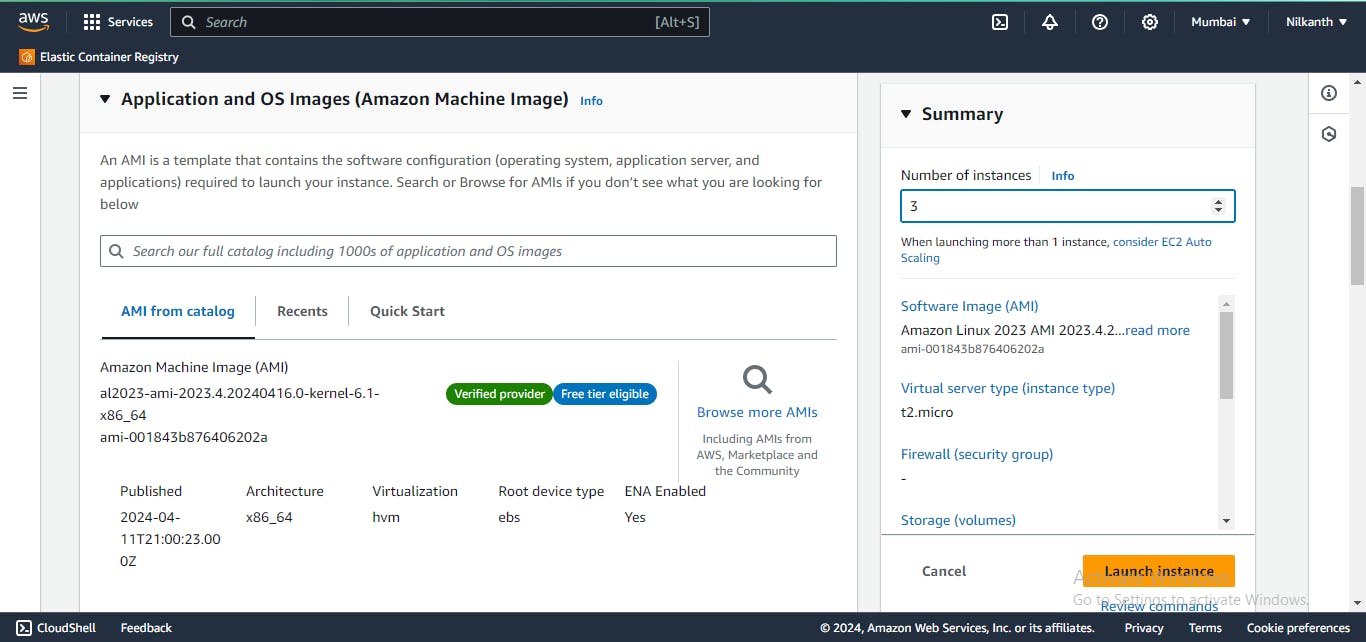
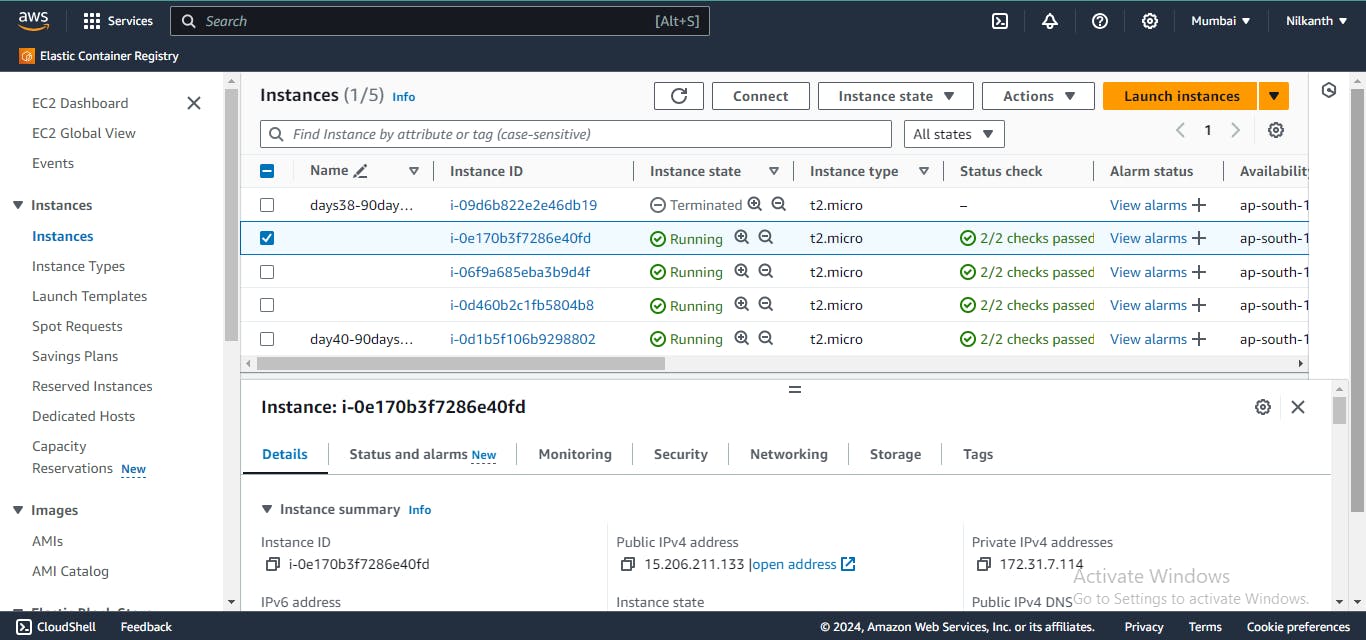
🚀 To launch instances, navigate to the EC2 console and choose “Launch instance from templates”.
📈 Specify the number of instances you want to launch in the “Number of instances” field.
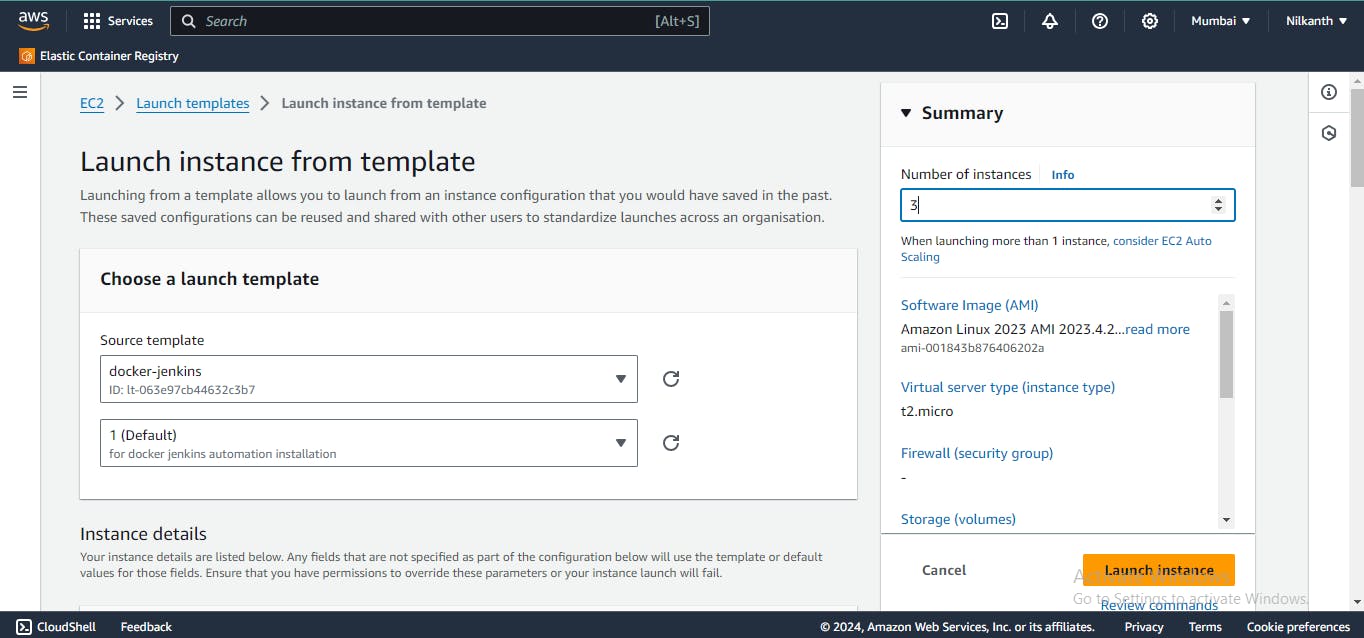
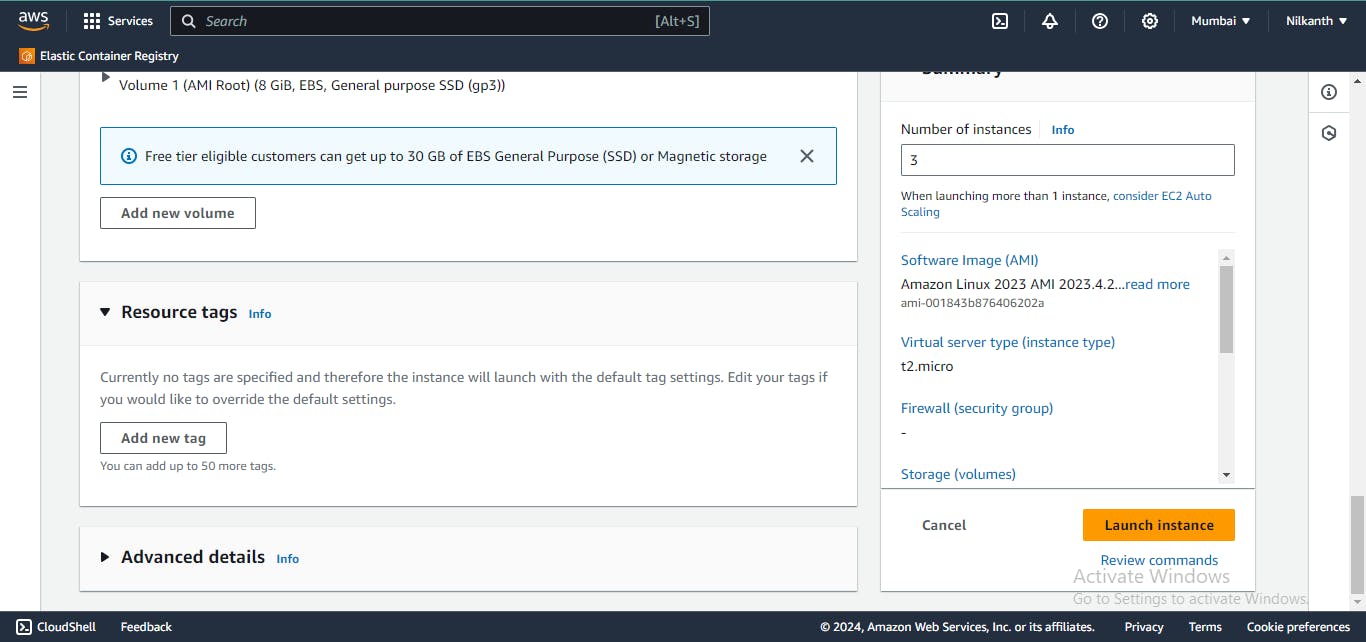
⚙️ Choose other configuration settings such as VPC, subnet, etc.
🚀 Click on “Launch instances” to launch the instances.
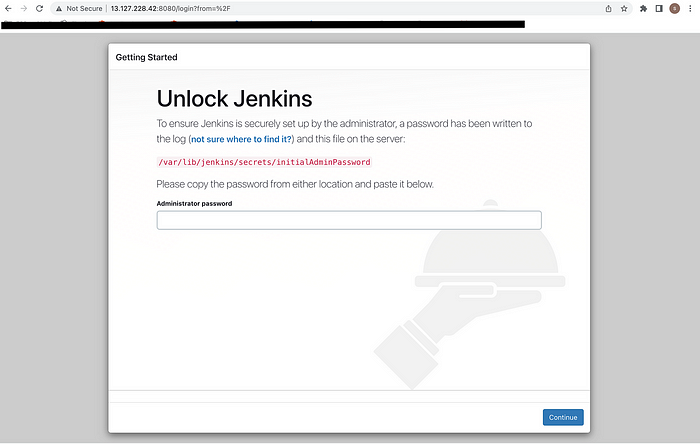
🖥️ Check if Jenkins is installed on the instances using their public IP addresses followed by port 8080 in a web browser.
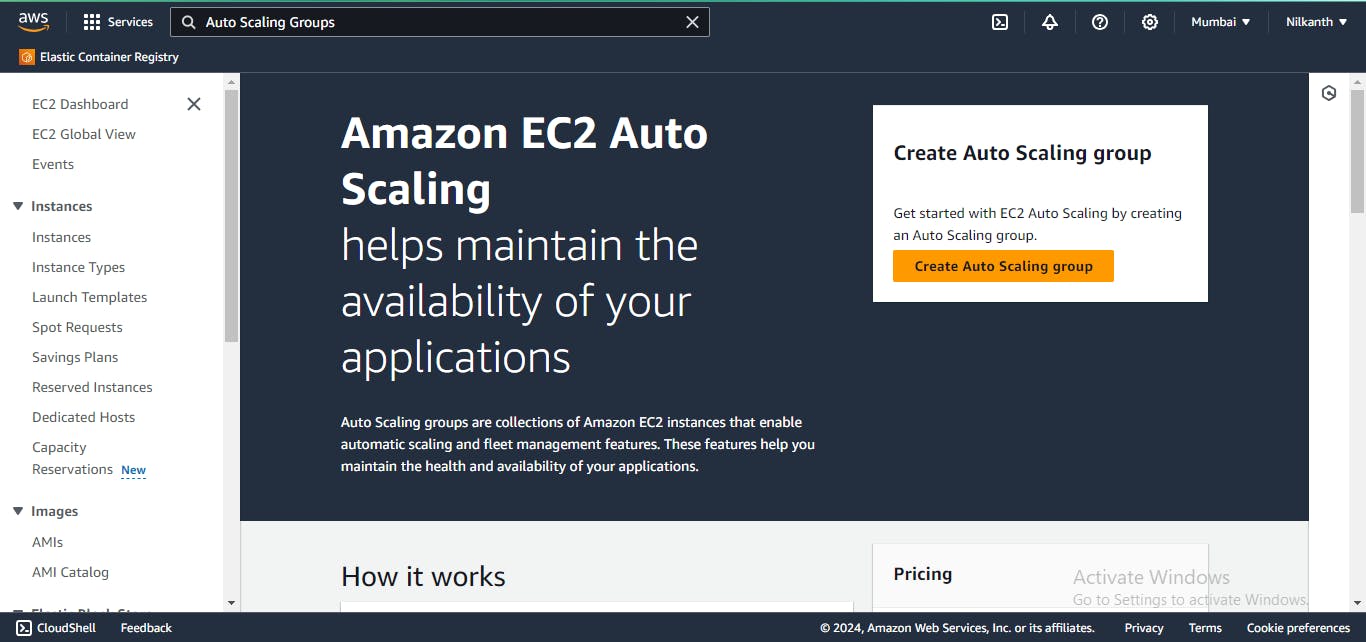
Create Auto-Scaling Group:
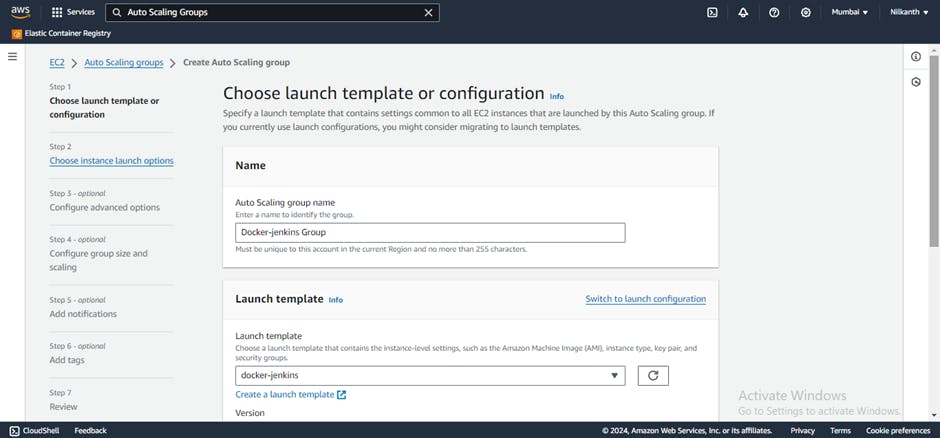
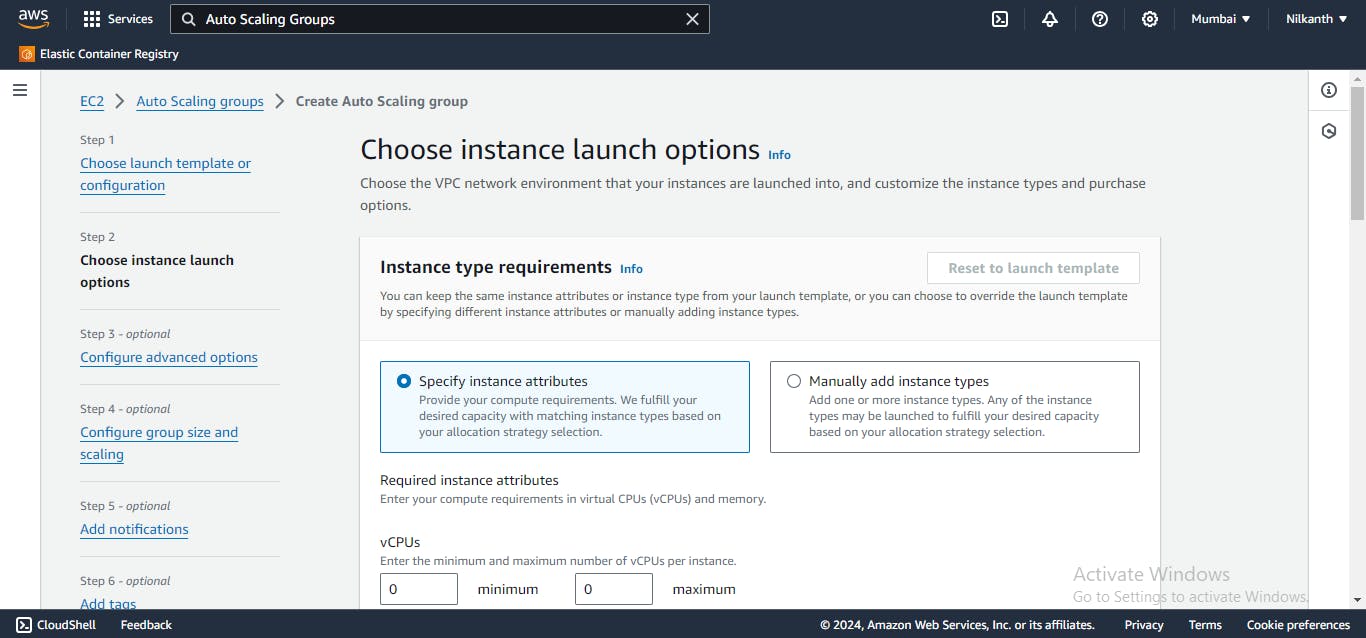
🔄 In the left navigation pane, choose “Auto Scaling Groups” and select “Create Auto Scaling Group”.
🚀 For “Launch Template”, choose the launch template created earlier.
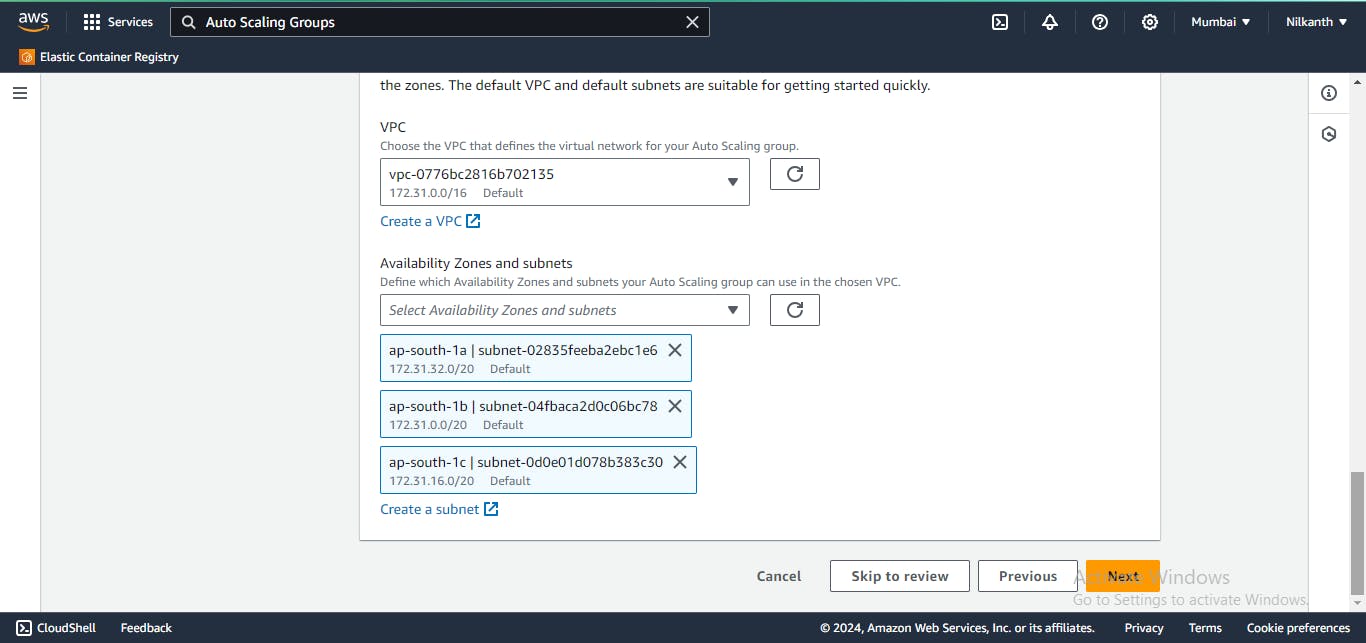
🌐 For “Network”, select the VPC and subnet you want the instances to launch in.
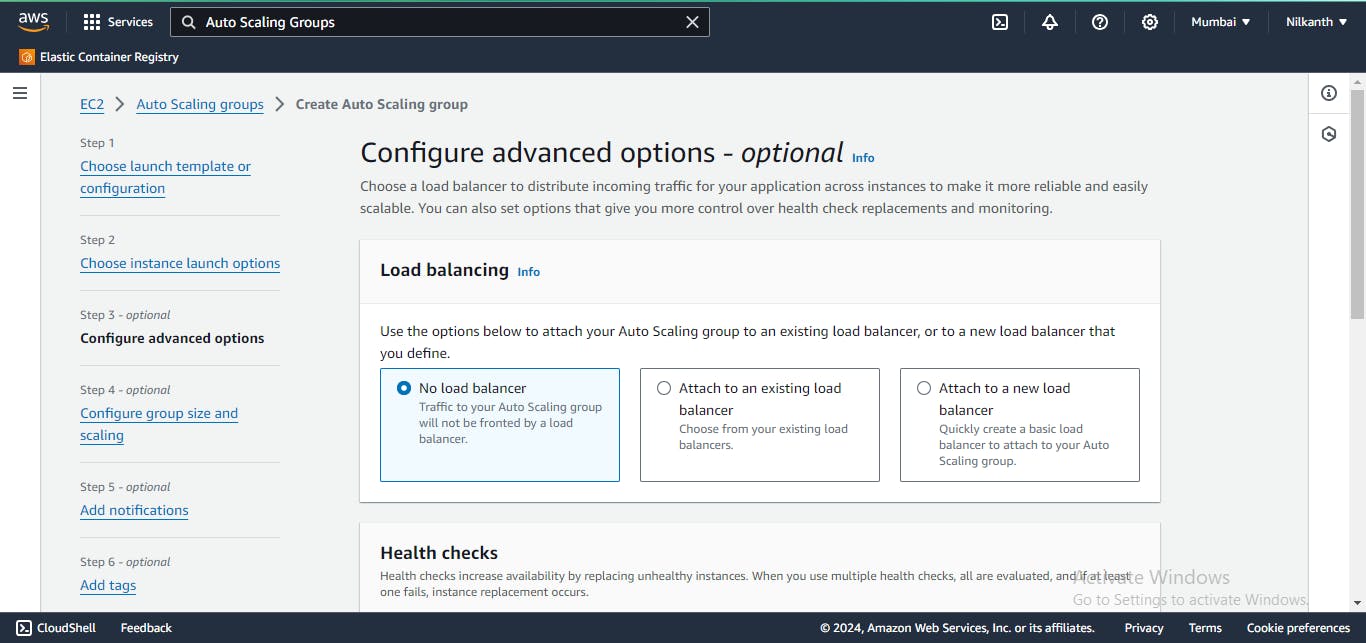
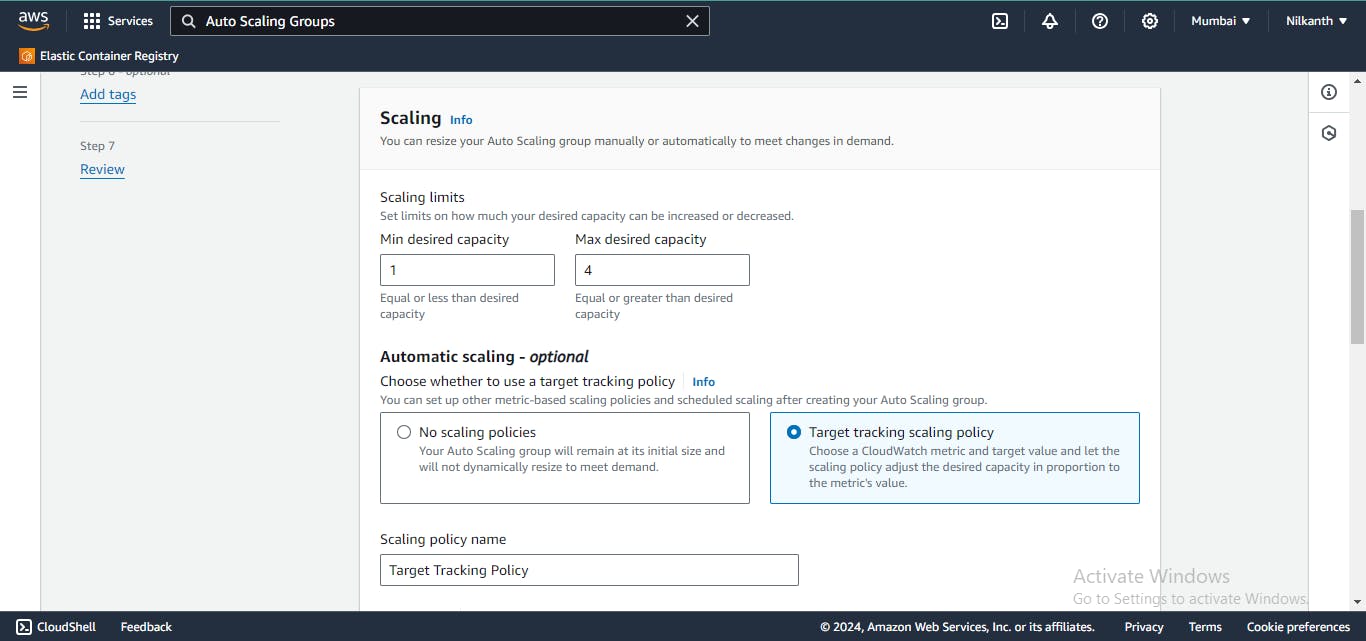
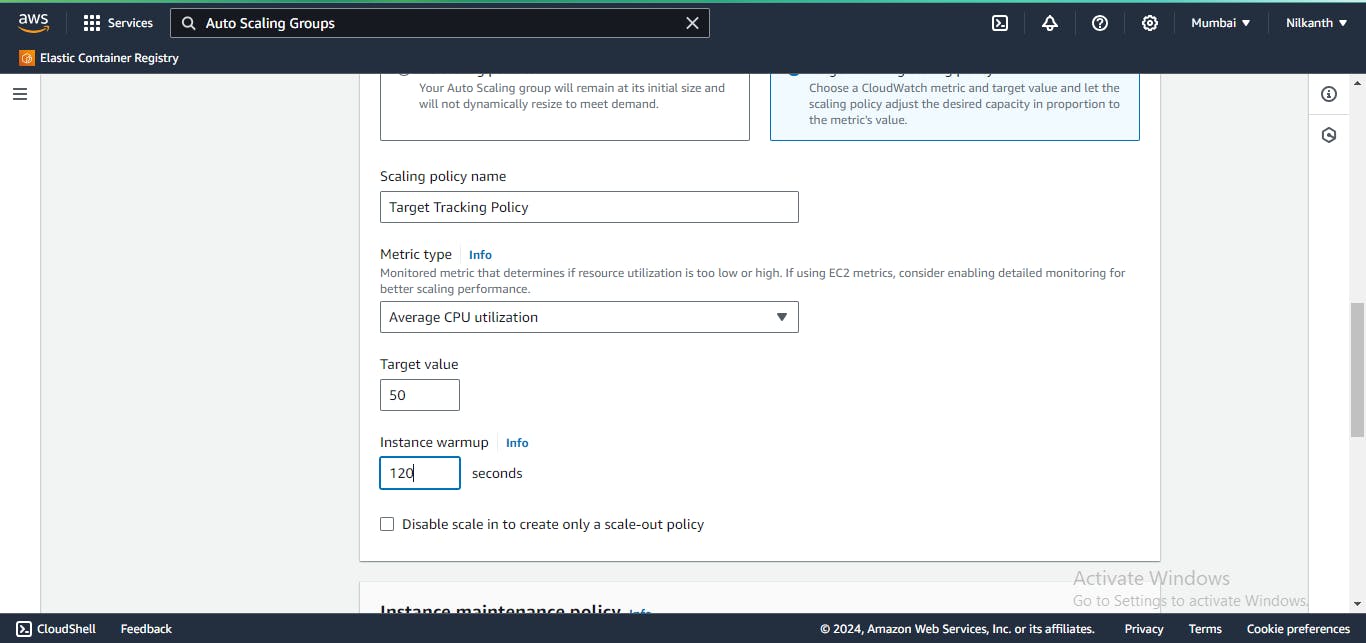


⚖️ Configure load balancing options as per your requirement.
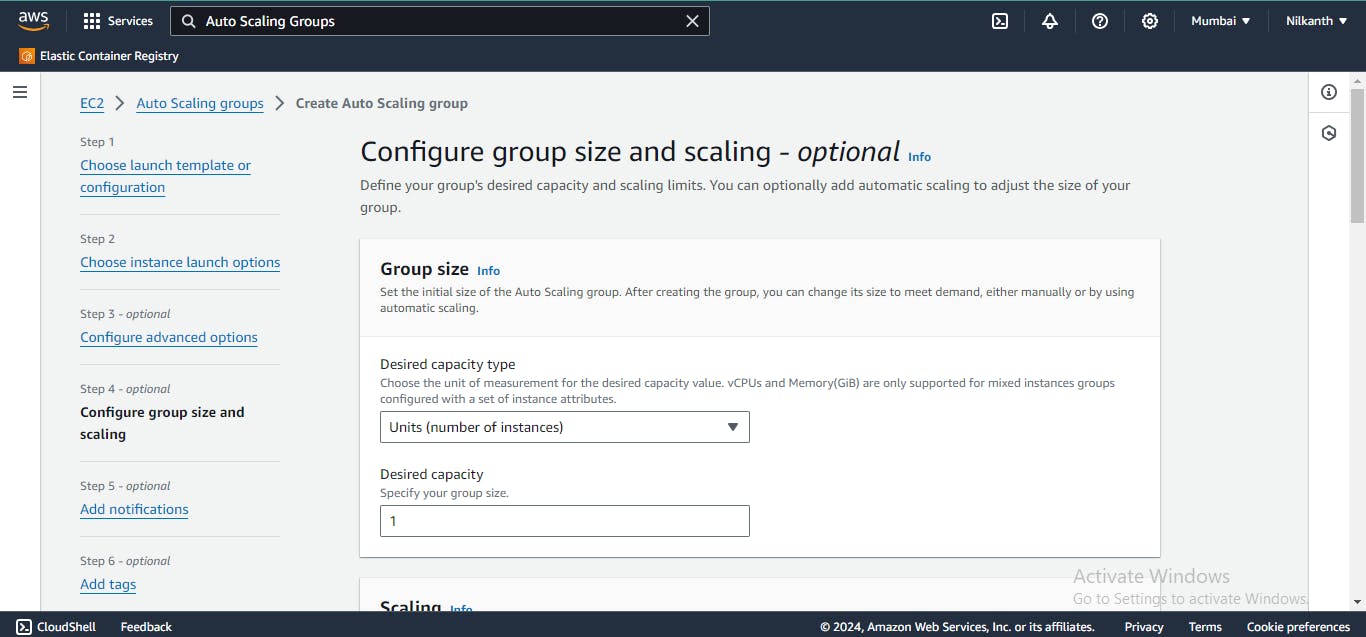
🔢 Specify the desired capacity for the auto-scaling group.
🎉 Click on “Create Auto Scaling group”.
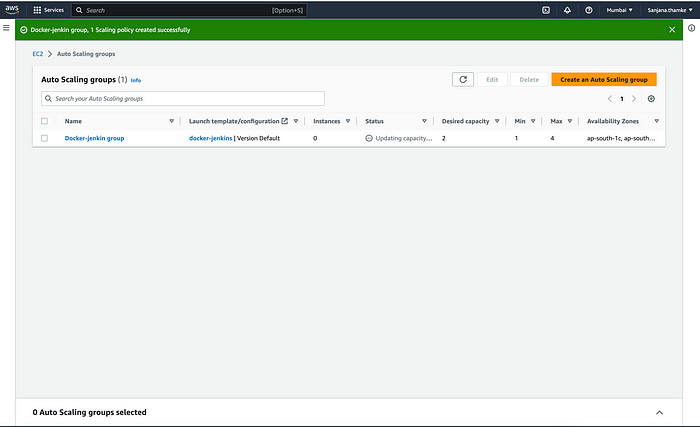
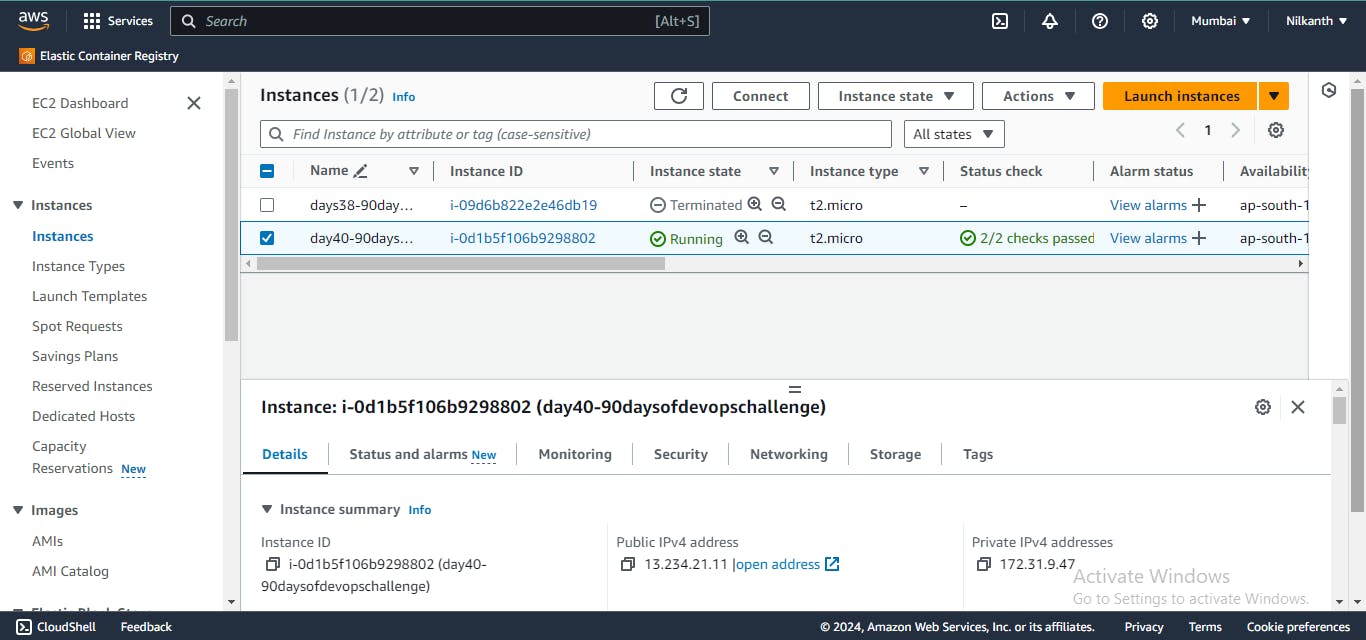
Check New Instances:
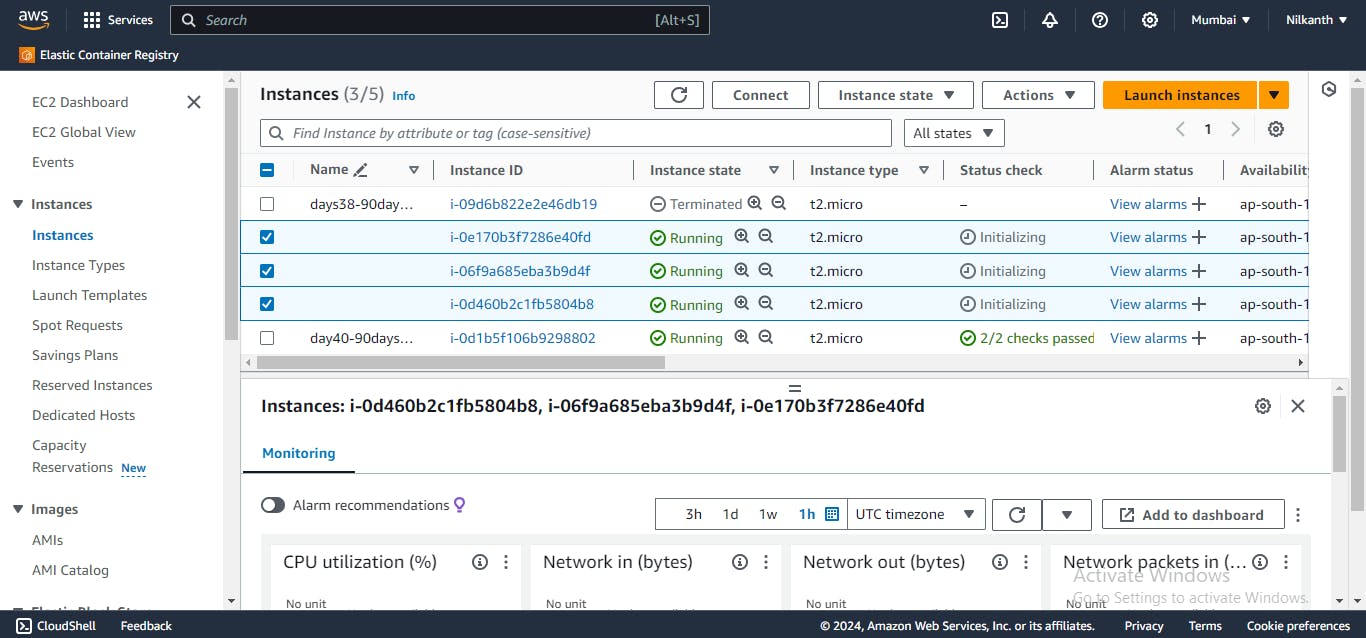
🔄 After a few moments, the auto-scaling group will launch the desired number of instances.
🖥️ Verify that new instances have been launched and are running as expected.
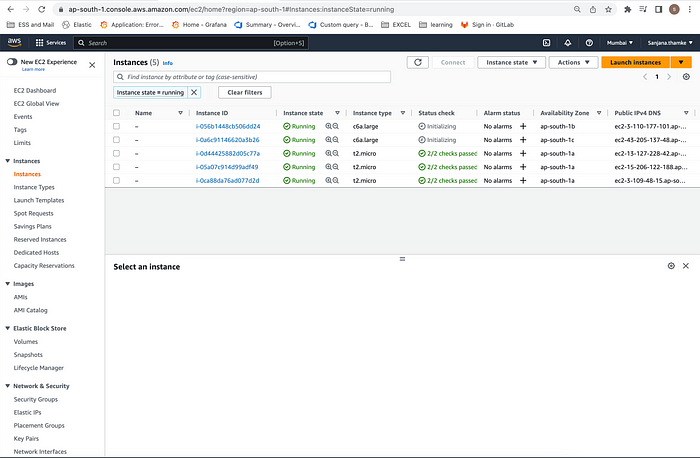
Explore auto-scaling groups and see how they work! 🔄📈
Happy Learning! 🌟