Day 38 - Embarking on the AWS Journey: A Beginner's Guide to Cloud Basics! 🚀☁️


🌟 Day 38 of #90DaysOfDevOpsChallenge! 🚀 Today, let's embark on a new journey with AWS Basics! ☁ Congratulations on how far you've come! Let's dive into the world of Amazon Web Services (AWS), one of the leading cloud providers. 💼🔍
🔑 Start by understanding AWS Identity and Access Management (IAM). IAM allows you to securely control access to AWS resources, manage permissions, and control user authentication. Learn more about IAM here: IAM Overview
Task 1️⃣: Creating an IAM User and Launching a Linux Instance
IAM User Creation:
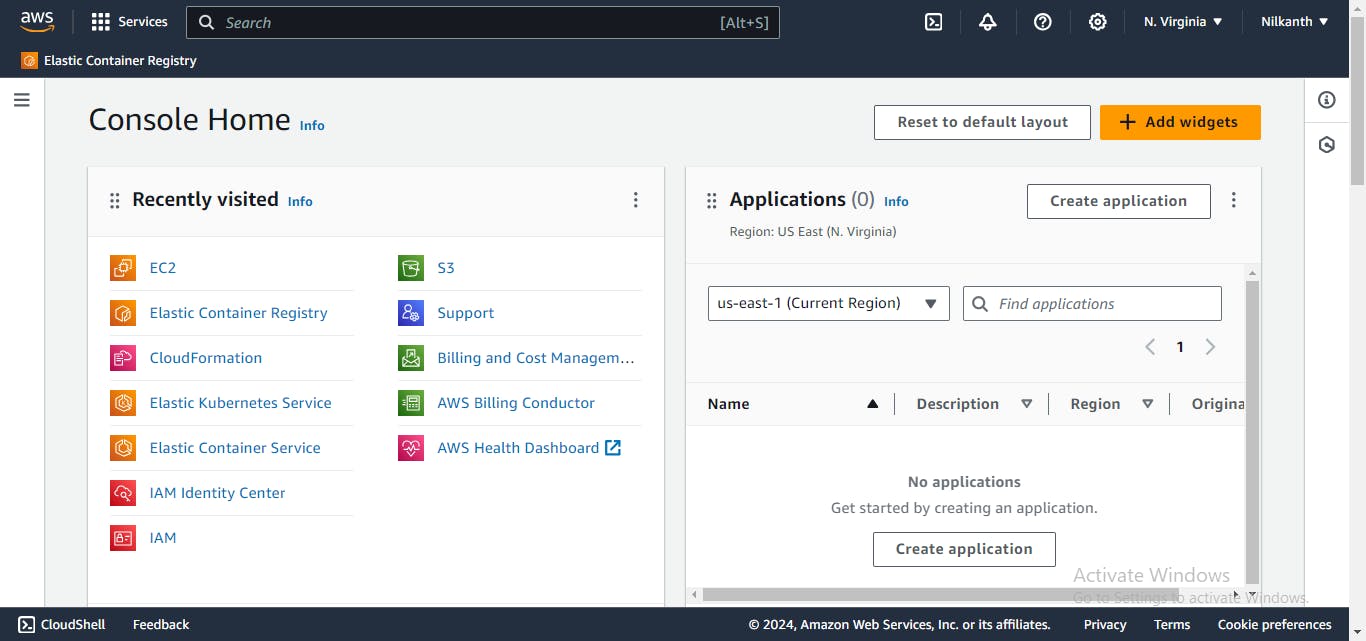
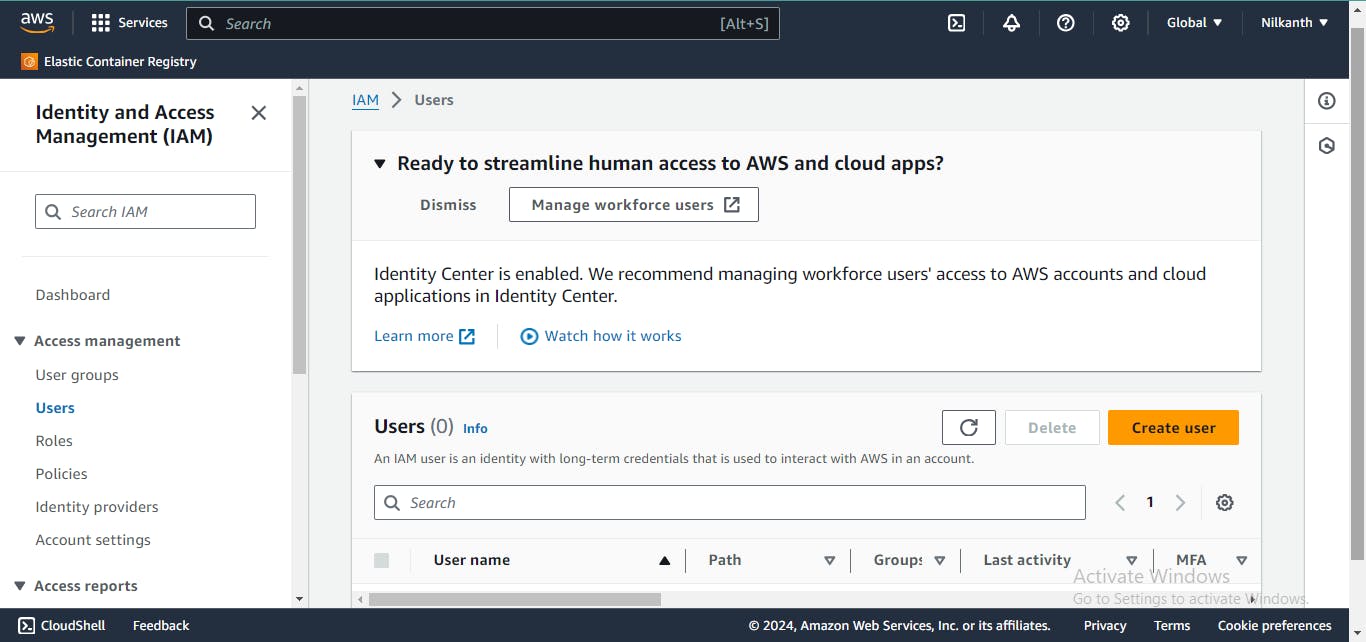
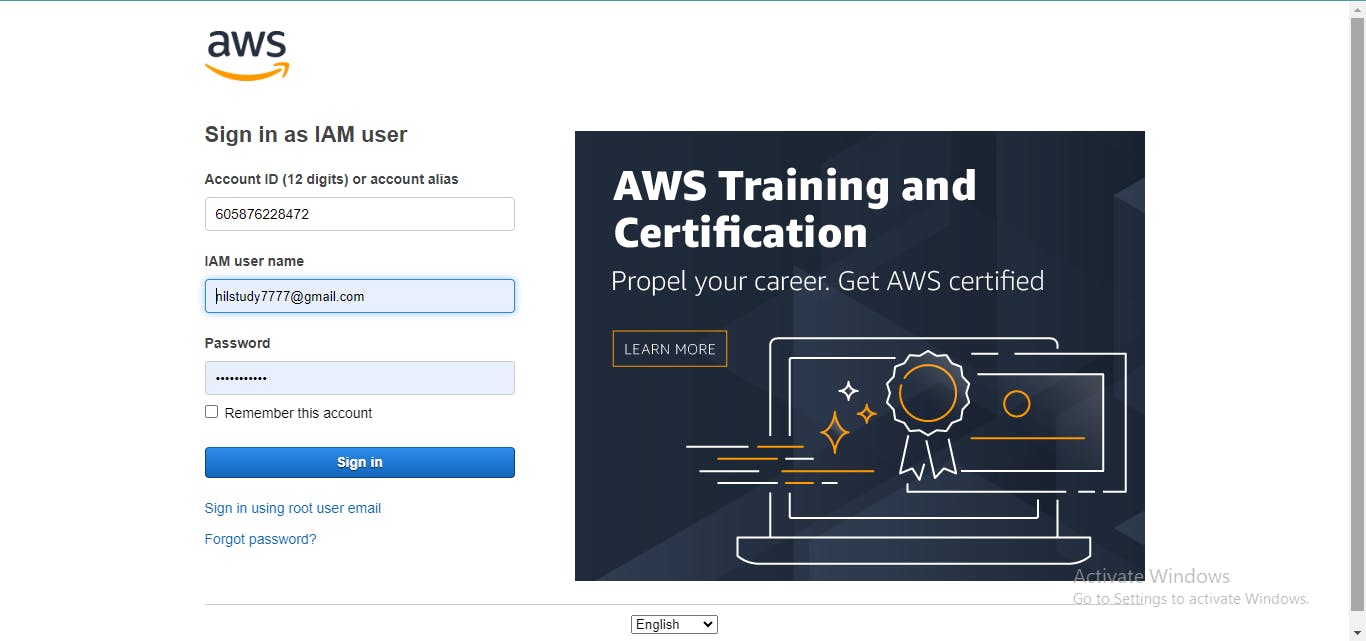
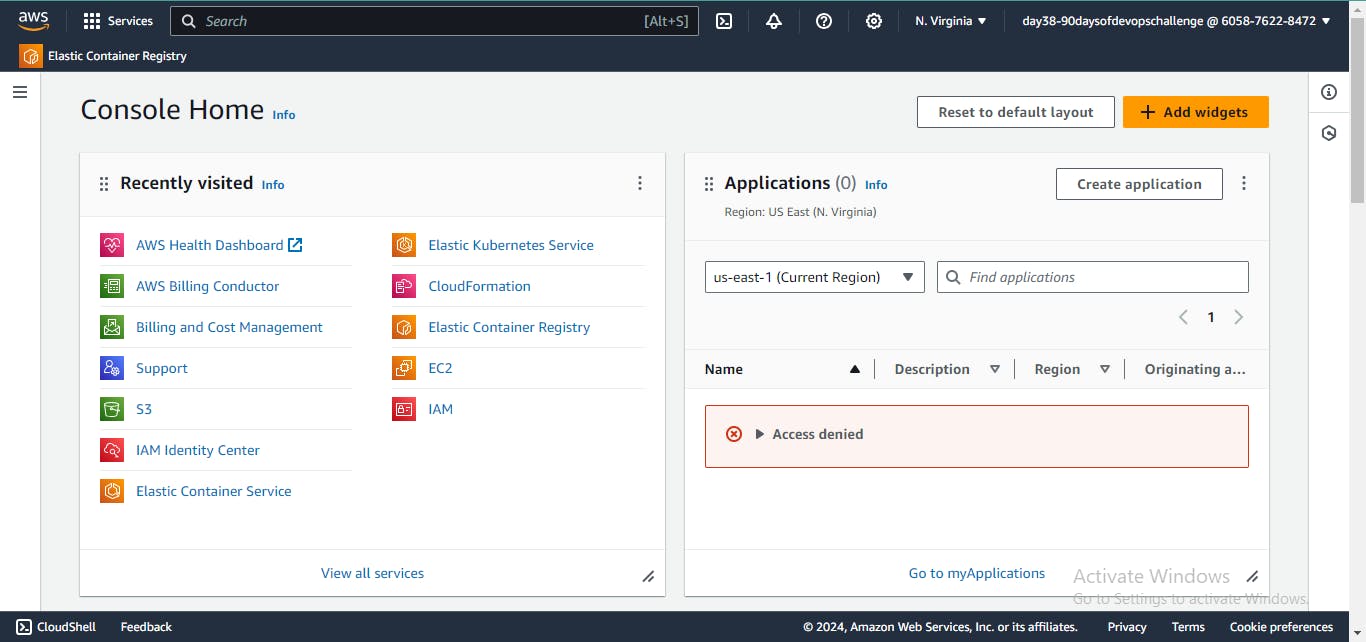
- Sign in to the AWS Management Console and navigate to IAM.
- Click on "Users" and then "Add user".
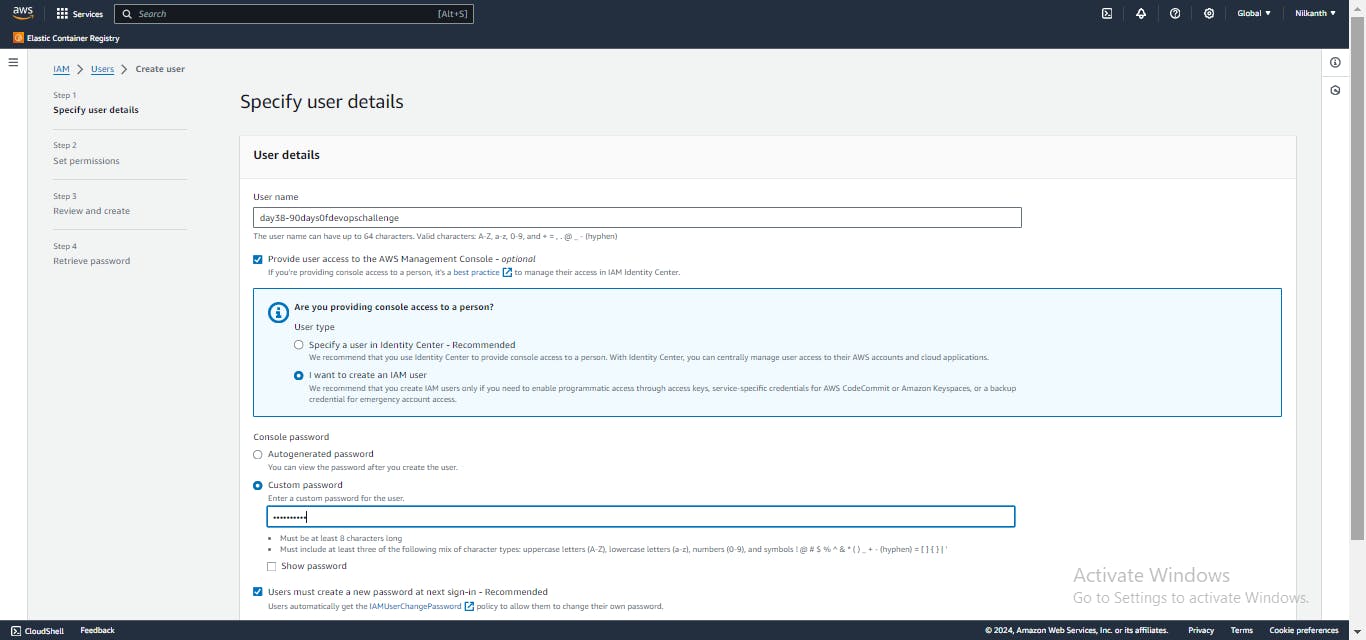
Enter a username of your choice, select "Programmatic access", and click "Next: Permissions".
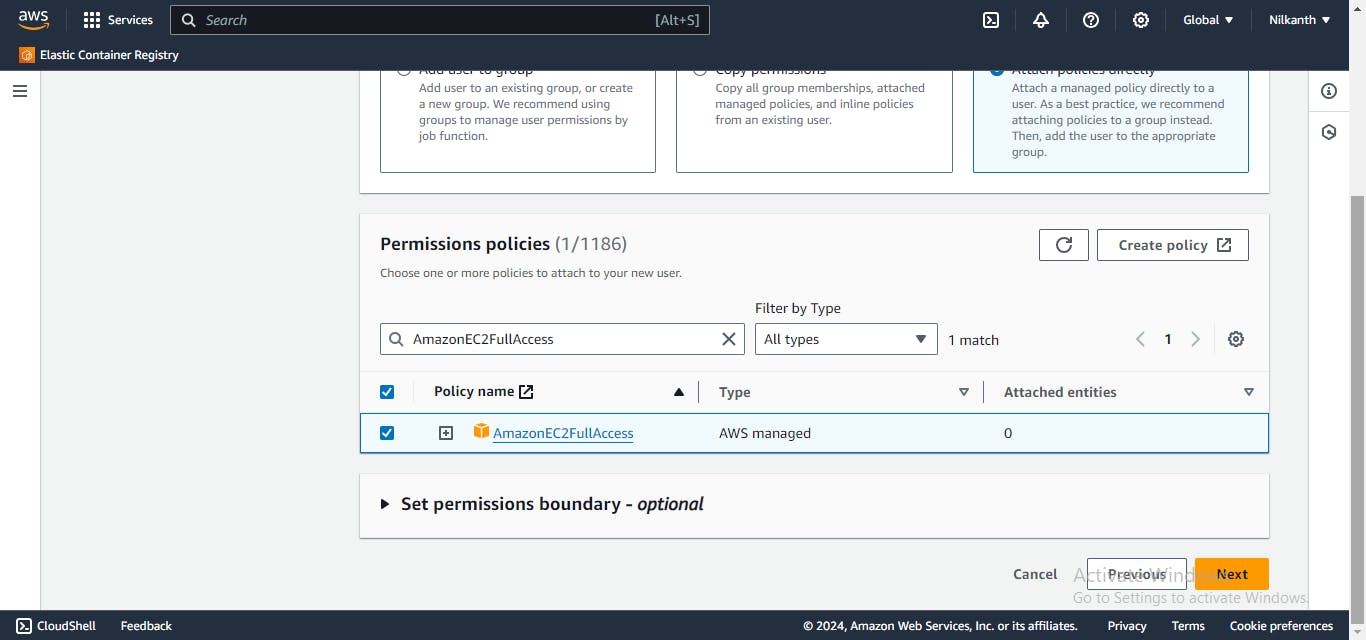
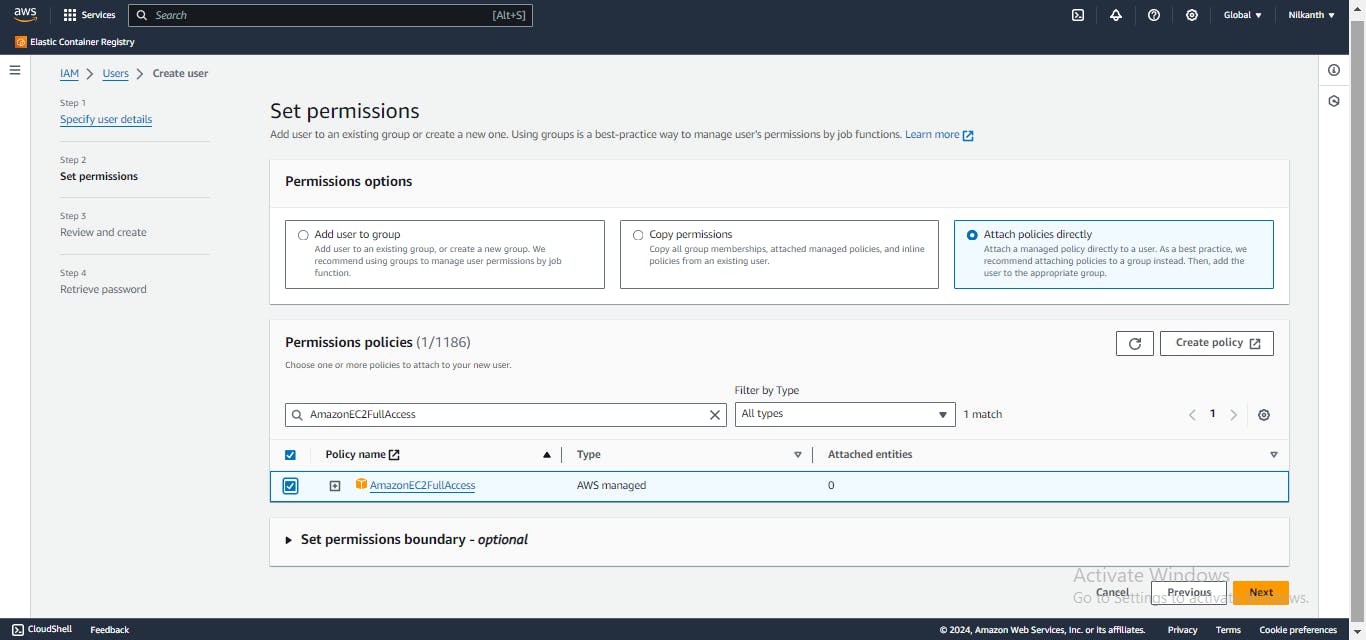
- Choose "Attach existing policies directly" and select
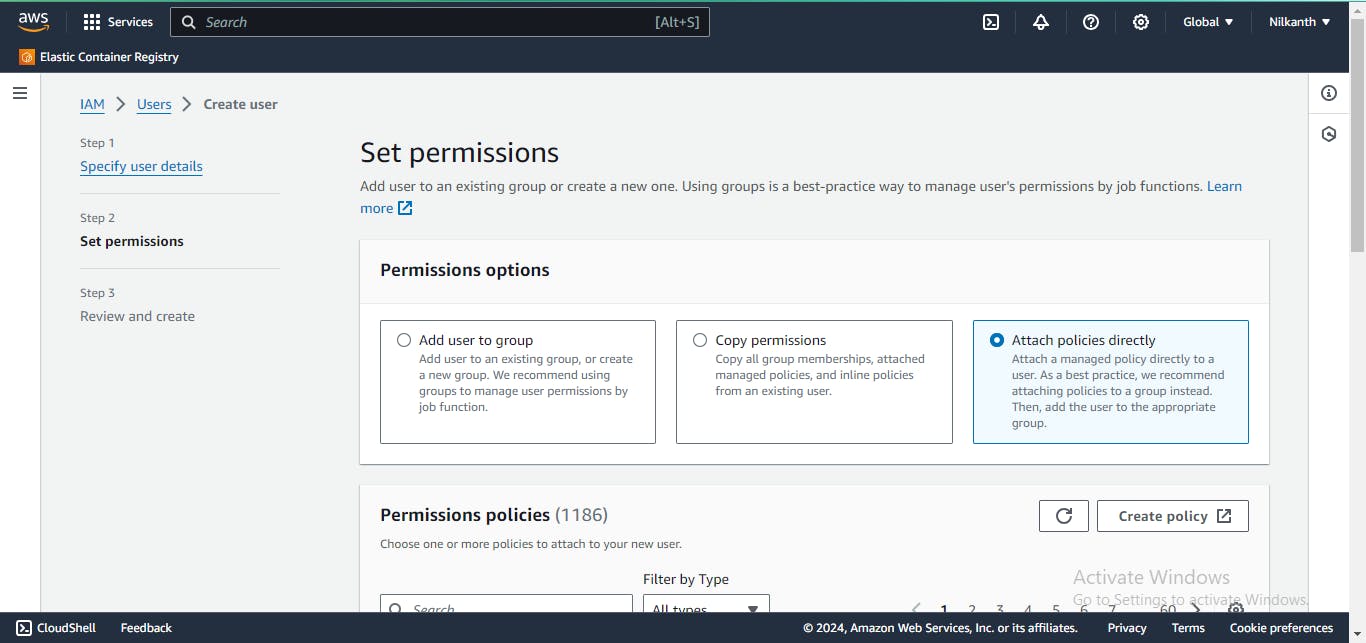
- "AmazonEC2FullAccess". Click "Next: Tags" and then "Next: Review".
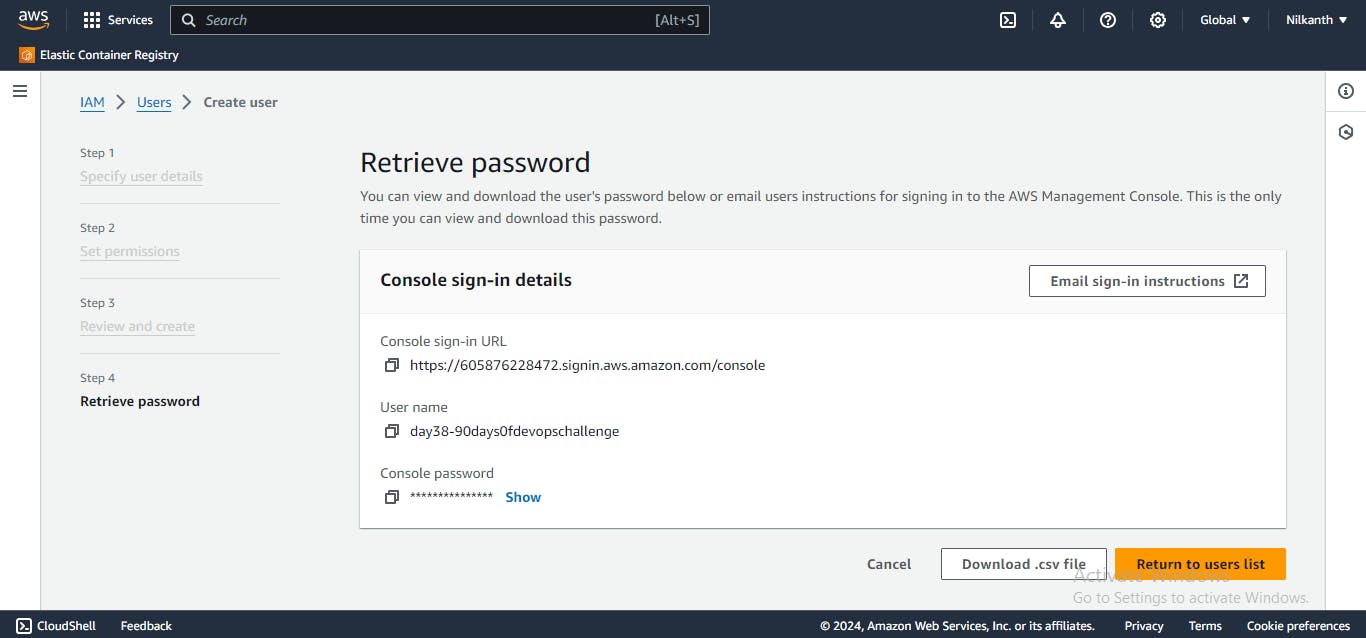
- Review the user details and click "Create user". Make sure to note down the access key and secret key. �
Launching a Linux Instance:
- Navigate to the EC2 Dashboard and click "Launch instance".
Choose an Amazon Machine Image (AMI) for your Linux instance.
Configure the instance details, such as instance type, network settings, and IAM role. Select the IAM user created earlier.
Add storage, tags, and configure security groups to allow SSH and HTTP(S) traffic.
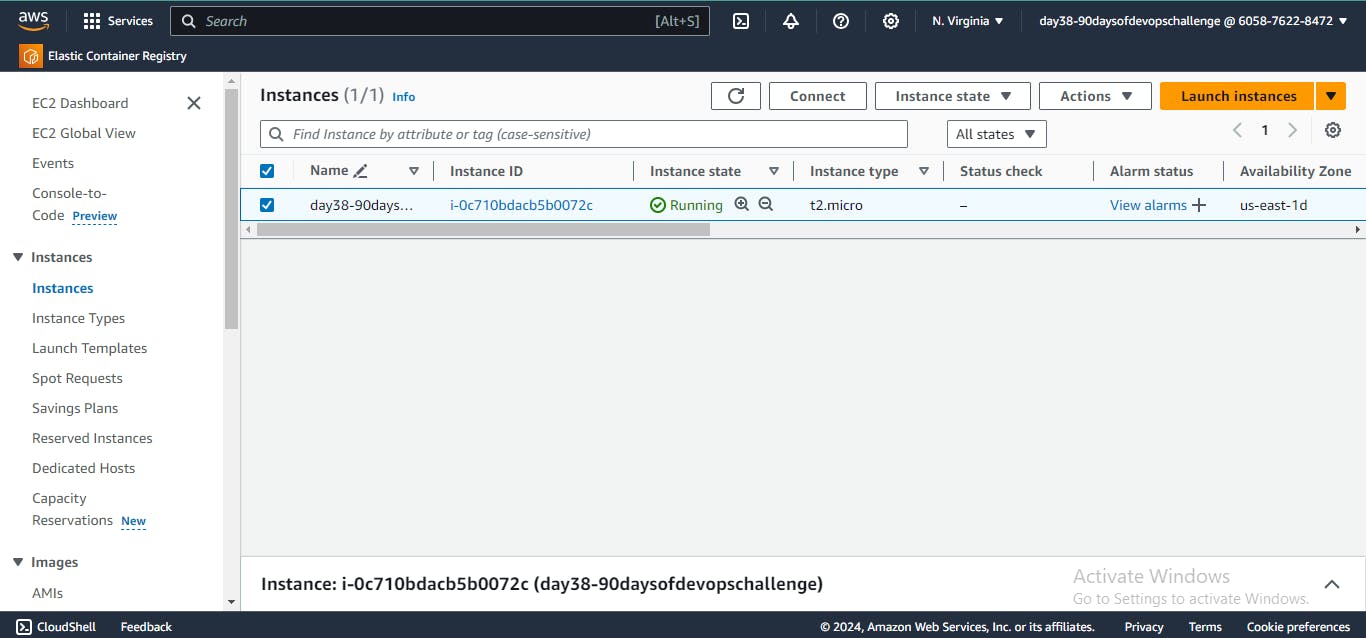
Review and launch the instance. Use the IAM user's access key and secret key to authenticate. 🚀
Installing Jenkins and Docker with a Shell Script:
Installation of Jenkins
Jenkins requires Java in order to run. There are multiple Java implementations that you can use. OpenJDK is the most popular one.
Update the Debian apt repositories, install OpenJDK 17, and check the installation with the below commands:
      sudo apt update
      sudo apt install fontconfig openjdk-17-jre
      java -version
      openjdk version "17.0.8" 2023-07-18
      OpenJDK Runtime Environment (build 17.0.8+7-Debian-1deb12u1)
      OpenJDK 64-Bit Server VM (build 17.0.8+7-Debian-1deb12u1, mixed mode, sharing)
Use the below command to install Jenkins from debian-stable apt repository:
      sudo wget -O /usr/share/keyrings/jenkins-keyring.asc \
        https://pkg.jenkins.io/debian-stable/jenkins.io-2023.key
      echo "deb [signed-by=/usr/share/keyrings/jenkins-keyring.asc]" \
        https://pkg.jenkins.io/debian-stable binary/ | sudo tee \
        /etc/apt/sources.list.d/jenkins.list > /dev/null
      sudo apt-get update
      sudo apt-get install jenkins
Enter the below code to launch Docker
  sudo apt-get update
  sudo apt install docker.io
Use the below command to check Jenkins and Docker is installed or not -
  -version
  docker --version
Jenkins and Docker is installed successfully in the machine through IAM User.
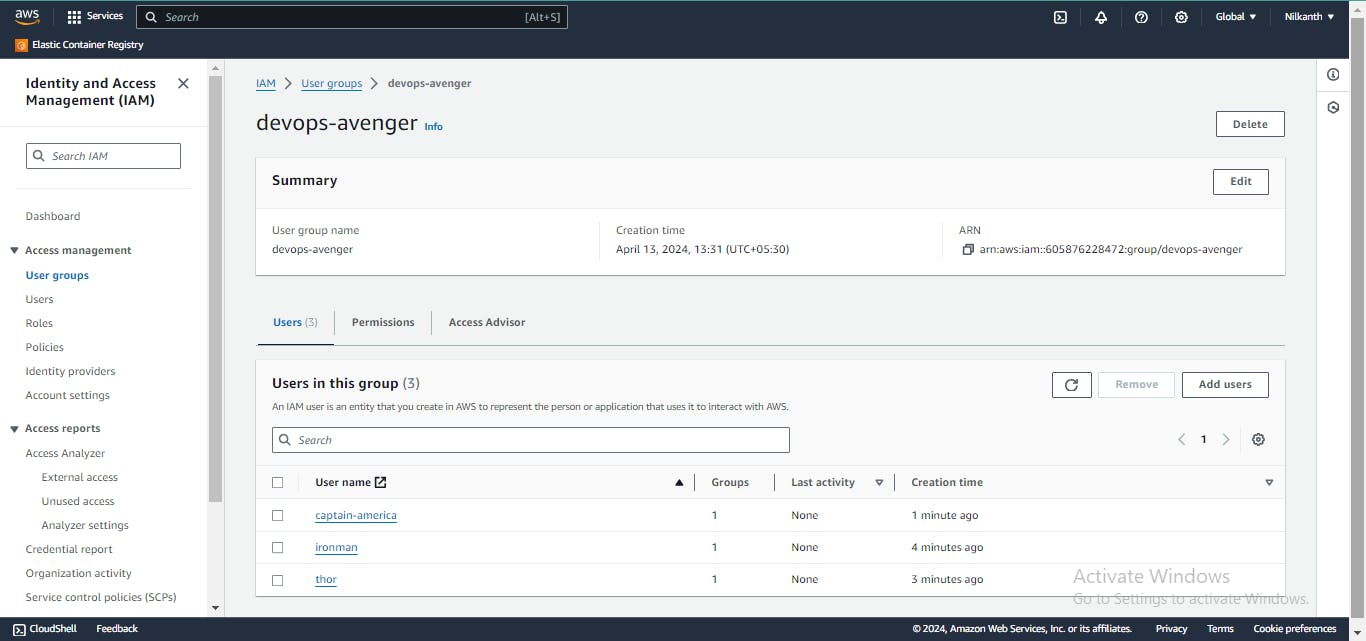
Task 2️⃣: Building the DevOps Team of Avengers
Creating IAM Users for Avengers:
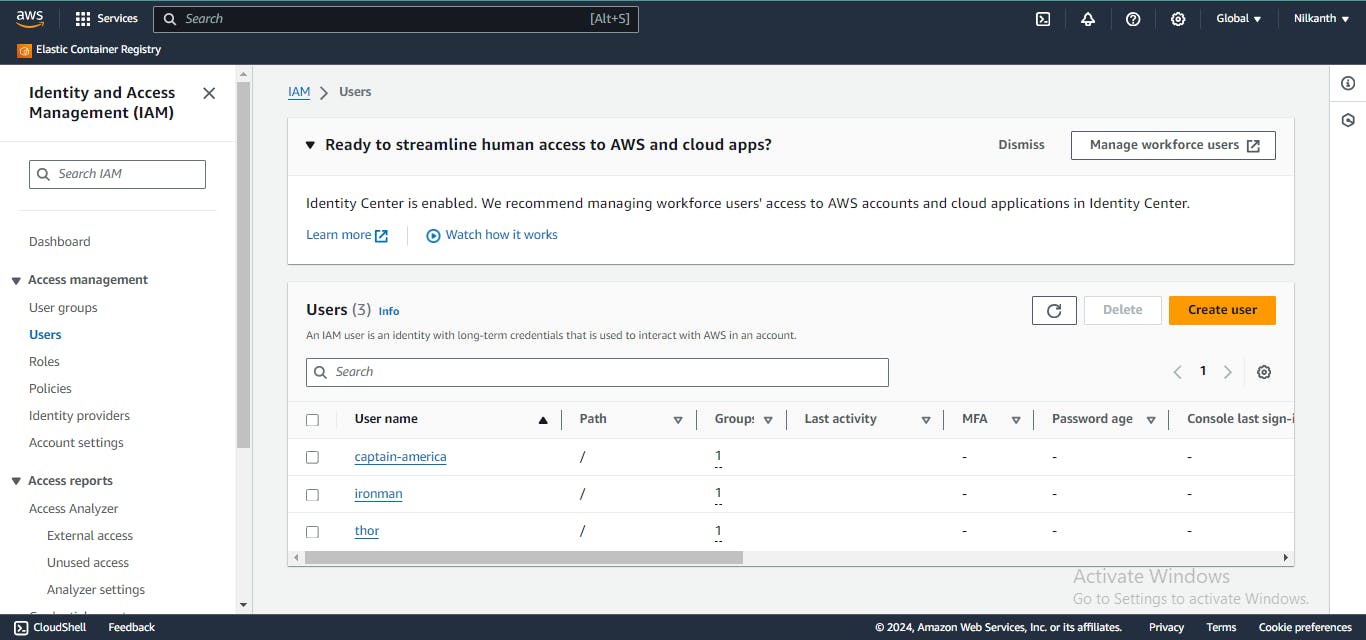
Follow the same steps as Task 1 to create three IAM users with unique usernames (e.g., ironman, thor, captainamerica).
Assign these users to appropriate IAM groups (e.g., DevOps) with custom IAM policies granting necessary permissions for DevOps tasks. 👥
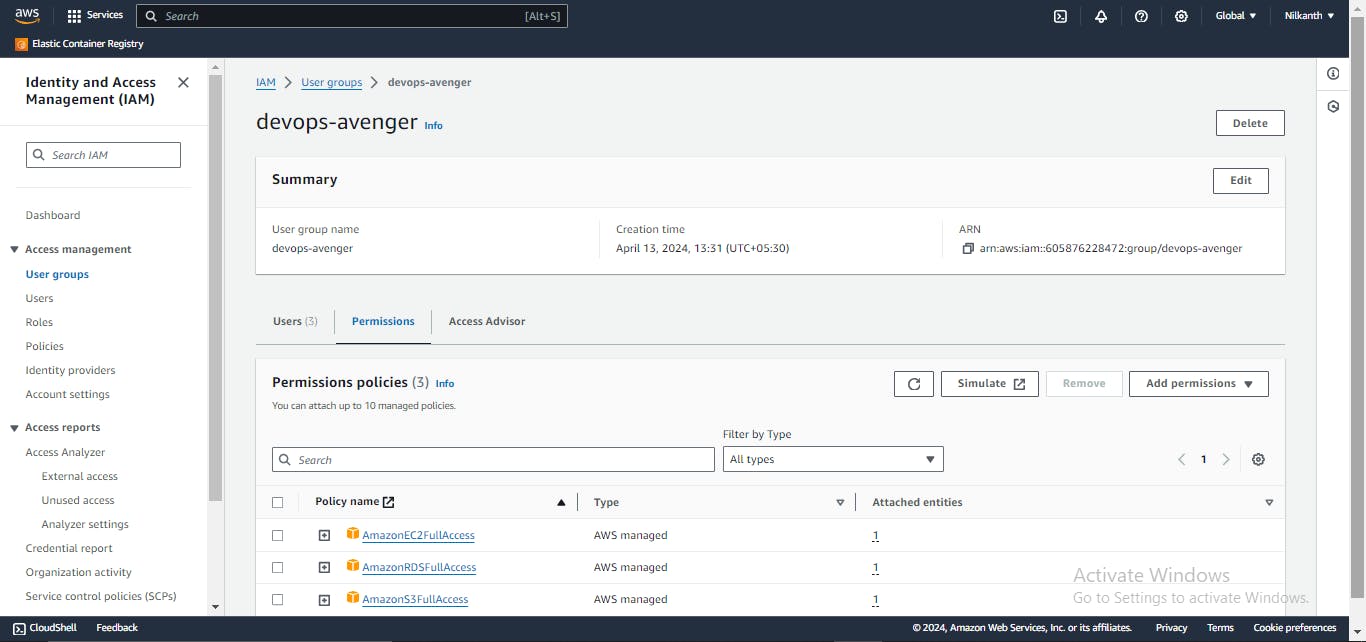
Assigning IAM Policies to DevOps Groups:
Navigate to IAM and select "Groups".🛡️
Create a new group named "DevOps" and attach policies like "AmazonEC2FullAccess", "AmazonS3FullAccess", and "AmazonRDSFullAccess".
Feel free to adjust the steps according to your preferences and requirements. 🌟🚀Happy Learning! 📚✨ #AWS #DevOps #LearningJourney #CloudComputing ☁🔧