Day 32 - Mastering Kubernetes Deployments: Launching Your Cluster with Ease! 🚀💡

🚀 Day 32 of #90DaysOfDevOpsChallenge: Today marks another exciting milestone as we delve deeper into Kubernetes by launching our cluster with Deployments! 🌟 But first, let's demystify what Deployment means in the world of K8s.
What is Deployment in Kubernetes?
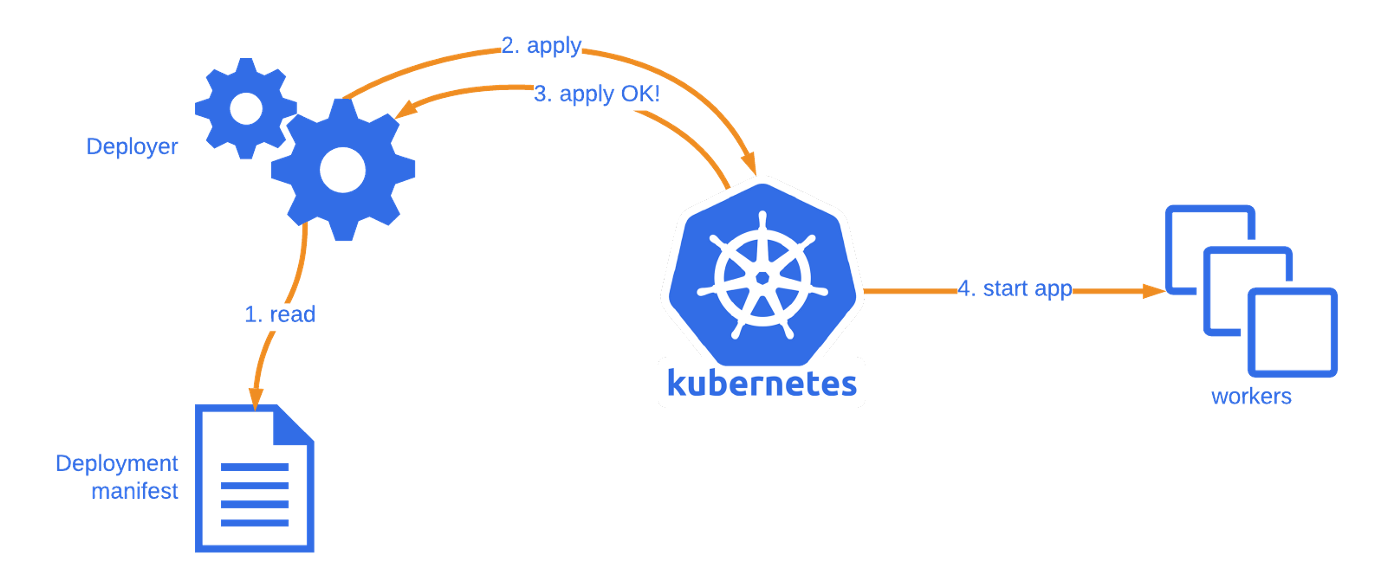
A Deployment in Kubernetes provides a blueprint for managing updates to Pods and ReplicaSets. It allows us to define a desired state, and the Deployment Controller ensures that the actual state aligns with this desired state. This means we can easily scale our applications by creating new replicas or replace existing ones seamlessly.

Kubernetes Deployment Commands Cheat Sheet 📋🚀
a) Create a Deployment:
kubectl create deployment <deployment-name> --image=<container-image>
b) Get Deployments:
kubectl get deployments
c) Describe a Deployment:
kubectl describe deployment <deployment-name>
d) Update a Deployment (Rolling Update):
kubectl set image deployment/<deployment-name> <container-name>=<new-container-image>
e) Rollback a Deployment:
kubectl rollout undo deployment/<deployment-name>
f) Scale a Deployment:
kubectl scale deployment <deployment-name> --replicas=<new-replica-count>
g) Pause/Resume a Deployment:
kubectl rollout pause deployment/<deployment-name>
kubectl rollout resume deployment/<deployment-name>
h) Rolling Restart (Force Restart):
kubectl rollout restart deployment/<deployment-name>
i) Delete a Deployment:
kubectl delete deployment <deployment-name>
j) Exposing a Deployment via a Service:
kubectl expose deployment <deployment-name> --type=NodePort --port=<port>
Save this handy reference for effortless Kubernetes deployments! 🛠️💡
Today's Task:
Let's keep things simple yet impactful. We'll create a Deployment file to deploy a sample todo-app on Kubernetes, leveraging its Auto-healing and Auto-Scaling features.
🛠️ Task-1:
Craft a deployment.yml file (you can find a sample in the folder for reference).

 apiVersion: apps/v1
 kind: Deployment
 metadata:
   name: todo-app  # The Deployment is named "todo-app-deployment".
   labels:
     app: todo
 spec:
   replicas: 2  # We want 2 replicas of the todo-app. Adjust this value based on your needs.
   selector:
     matchLabels:
       app: todo
   template:
     metadata:
       labels:
         app: todo
     spec:
       containers:
       - name: todo
         image: trainwithshubham/node-todo  # Image will be pulled from Docker Hub.
         ports:
         - containerPort: 3000
Apply the deployment to your K8s (minikube) cluster using the command:
kubectl apply -f deployment.yml.


Testing Auto-Healing 🛠️:
To validate the functionality of the auto-healing feature, remove one of the pods.
Subsequently, Kubernetes will automatically generate a new pod to substitute the removed instance. 🔄
kubectl delete pod <pod_name>
To set the CPU utilization target for auto-scaling in a Kubernetes Deployment, you can use the following commands:
kubectl autoscale deployment todo-app-deployment --cpu-percent=50 --min=2 --max=5
kubectl get hpa
These commands will enable auto-scaling for your Deployment based on CPU utilization, with the specified parameters. 🚀
Keep Learning and Growing! 🌱💻 #Kubernetes #Deployment #AutoScaling #AutoHealing #DevOpsJourney 🚀🔥
