

🚀 Day 31 of my #90DaysOfDevOpsChallenge is here, and today, we're diving into the exciting world of Kubernetes by launching our very first Kubernetes cluster with Nginx running! 🎉 Let's roll up our sleeves and get hands-on with Minikube, the tool that swiftly sets up a local Kubernetes cluster on macOS, Linux, and Windows! 💻
🔍 Understanding Minikube:
What's Minikube, you ask? It's a fantastic tool that simplifies the process of setting up a local Kubernetes environment, making it accessible to beginners and experts alike. Minikube deploys quickly as a VM, container, or on bare-metal, offering all the powerful features of Kubernetes with minimal effort. 🌟
🛠️ Features of Minikube:
Supports the latest Kubernetes release and multiple container runtimes.
Cross-platform compatibility for Linux, macOS, and Windows.
Advanced features like LoadBalancer, filesystem mounts, and network policy.
Easy installation of Kubernetes applications with addons.
Seamless integration with common CI environments.
👨💻 Task-01: Installation:
Start by installing Minikube on your local machine. You can follow the installation guide on the official Minikube page or explore alternative installation methods. Let's get our Kubernetes playground set up in no time! ⏱
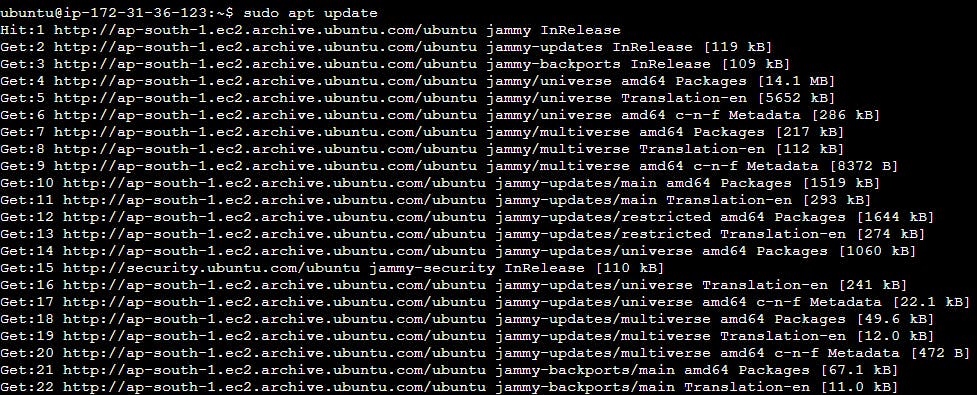
Step 1: Update Package Index
Update the package index to ensure you install the latest versions of packages:
sudo apt update
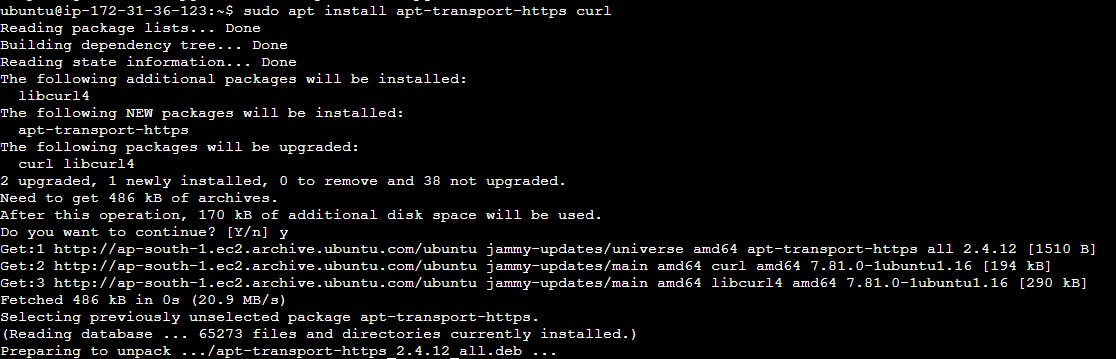
Step 2: Install Required Dependencies
Install dependencies needed for Minikube and Kubernetes:
sudo apt install apt-transport-https curl
Step 3: Install kubectl
Install kubectl, the Kubernetes command-line tool:
sudo snap install kubectl --classic
Step 4: Download Minikube
Download the Minikube binary from the official website:
curl -LO https://storage.googleapis.com/minikube/releases/latest/minikube-linux-amd64

Step 5: Install Minikube
Make the Minikube binary executable and move it to a directory in your PATH:
sudo install minikube-linux-amd64 /usr/local/bin/minikube
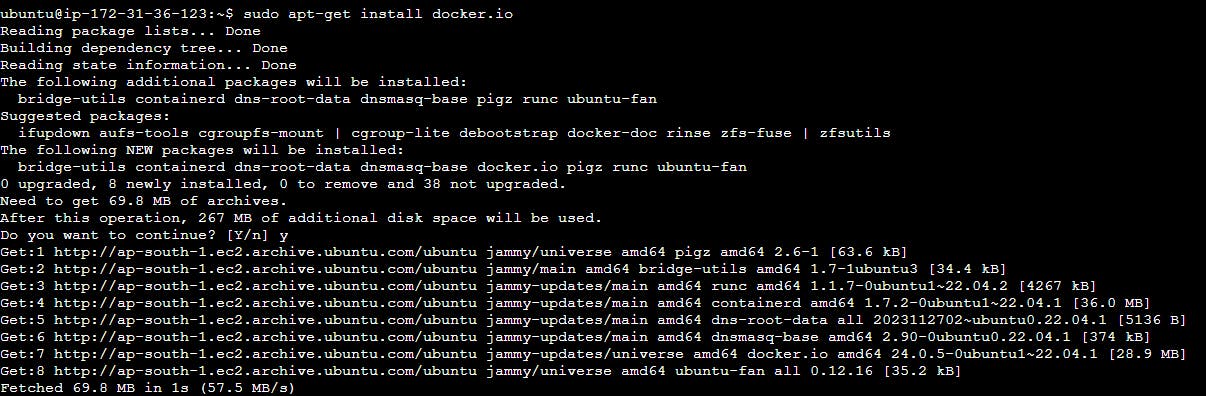
Step 6: Install Docker
Install Docker to run Minikube with the Docker driver:
sudo apt-get install docker.io
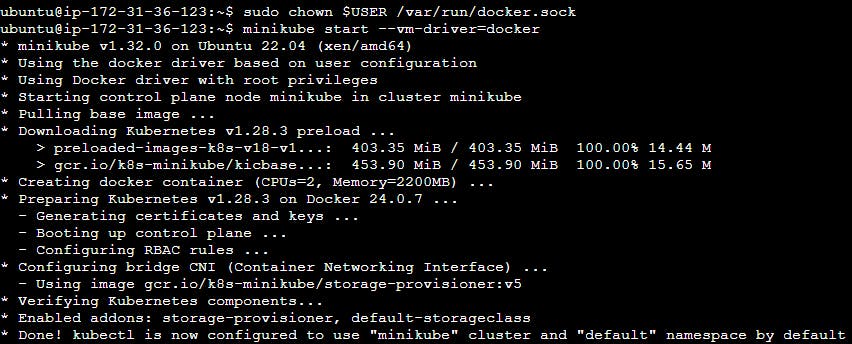
Step 7: Start Minikube
Start Minikube with the Docker driver:
minikube start --vm-driver=docker
Step 8: Configure Docker Permissions
Add your user to the Docker group and adjust permissions:
sudo usermod -aG docker $USER
sudo chown $USER /var/run/docker.sock

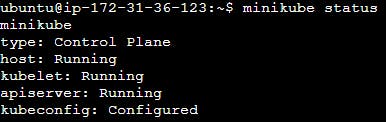
Step 9: Verify Minikube Status
Check the status of Minikube to ensure it's running:
minikube status
📦 Task-02: Creating Your First Pod:
Now, let's dive into the concept of Pods, the fundamental units of computing in Kubernetes. Pods encapsulate one or more containers, along with shared storage and network resources. We'll create our first Pod using Minikube, and for starters, let's spin up an Nginx Pod. Feeling creative? Feel free to customize and experiment with your own Pod configurations! 🚢
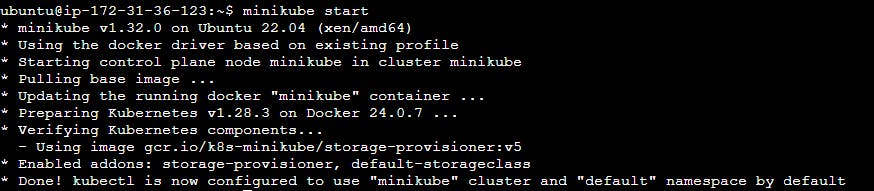
Step 1: Connect to Minikube
Ensure that Minikube is running and you're connected to it via your terminal. If you haven't started Minikube yet, you can start it using the following command:
minikube start
Step 2: Create a Pod Configuration File
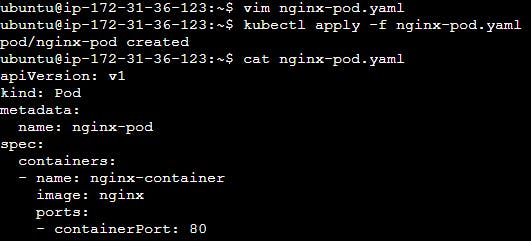
Create a YAML file describing the Pod you want to create. In this case, we'll create a Pod running an Nginx web server. You can create a file named nginx-pod.yaml with the following content:
apiVersion: v1
kind: Pod
metadata:
  name: nginx-pod
spec:
  containers:
  - name: nginx-container
    image: nginx
    ports:
    - containerPort: 80
This YAML file defines a Pod named nginx-pod with a single container running the Nginx image. It exposes port 80 for HTTP traffic.
Step 3: Apply the Pod Configuration
Apply the Pod configuration to the Minikube cluster using the kubectl apply command:
kubectl apply -f nginx-pod.yaml
Step 4: Verify Pod Creation
Check the status of the Pod to ensure it has been created successfully:
kubectl get pods

You should see the nginx-pod Pod in the list, and its status should be Running.
Step 5: Access the Nginx Service
By default, Pods in Kubernetes are not directly accessible from outside the cluster. To access the Nginx service running inside the Pod, you can use port forwarding. Run the following command to forward local port 8080 to port 80 of the Nginx service:
kubectl port-forward pod/nginx-pod 8080:80

Now, you can access the Nginx web server by opening a web browser and navigating to http://localhost:8080.
💡 Pro Tip: If you encounter any hurdles along the way, don't fret! We've included a sample YAML file for Pod creation to guide you through the process.
Excited to embark on this Kubernetes journey with me? Let's dive in, explore, and conquer the world of container orchestration together! Happy Learning! 🌐🔥 #Kubernetes #Minikube #DevOps #HandsOnLearning 🌈