

Understanding Jenkins Agents
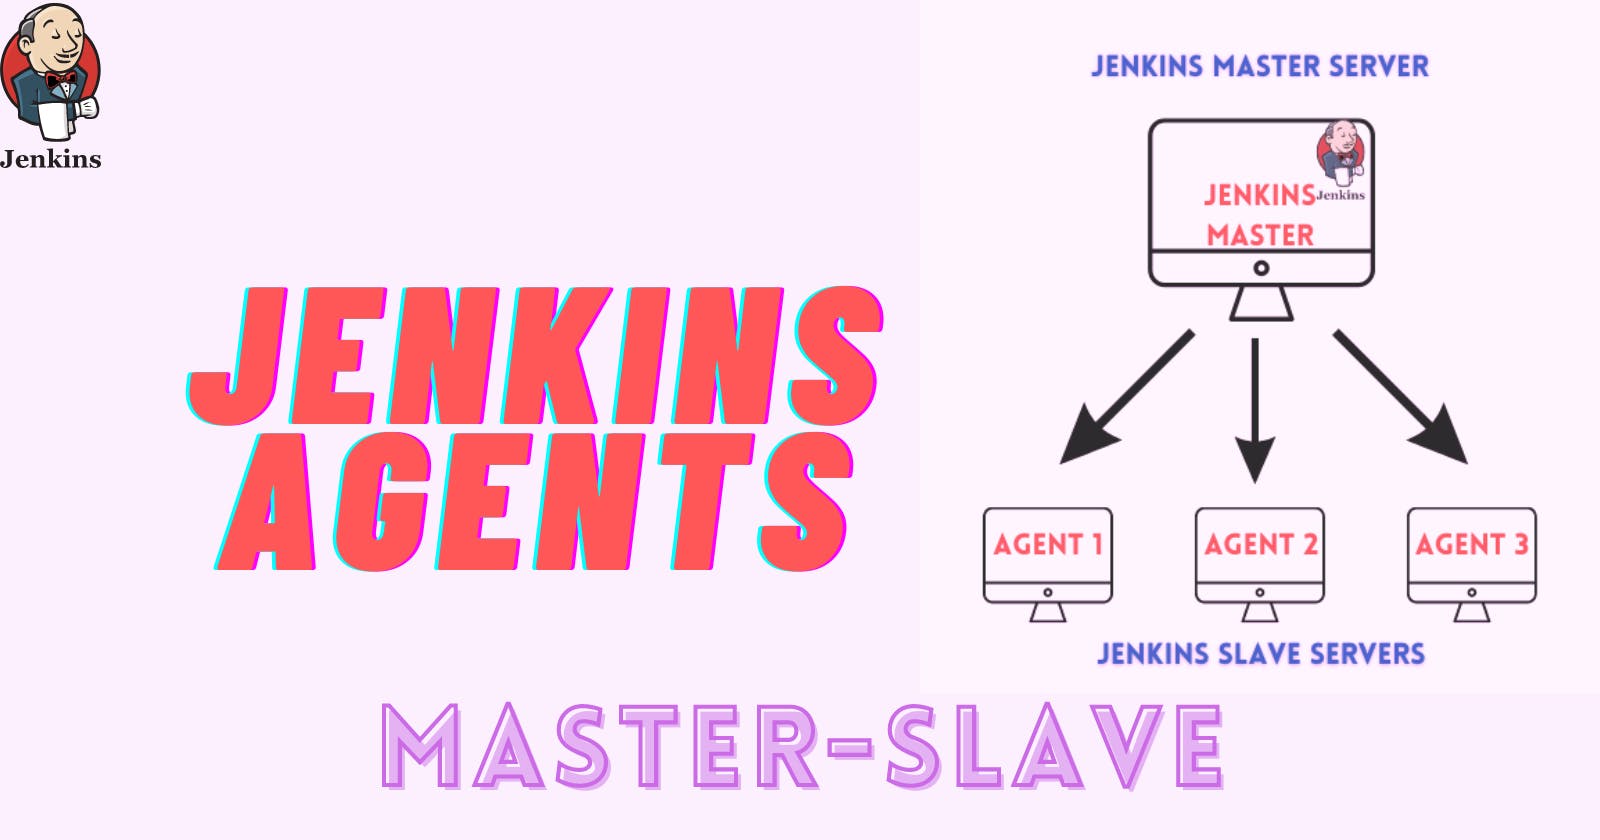
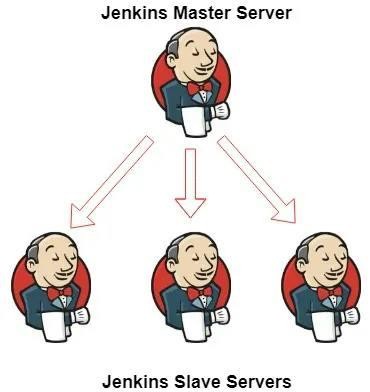
🖥️ Jenkins Master (Server):
- The Jenkins master server orchestrates all workflows and configurations. It schedules jobs and monitors their execution.
🤖 Jenkins Agent:
- An agent is a machine or container connected to the Jenkins master, responsible for executing job steps. Each agent is assigned a unique label for identification.
Scaling with Jenkins Agents
📈 Scaling Up:
- As project requirements grow, scaling becomes necessary. Jenkins facilitates this through master-to-agent connections, allowing distributed job execution.
Pre-requisites
🔧 Preparing the Environment:
Start with a fresh Ubuntu 22.04 Linux installation.
Ensure Java (same version as Jenkins master) and Docker are installed.
🛠️ Setting Up Agents:
- Agents need to be set up with separate rights, permissions, and ownership for Jenkins users.
Task-01: Creating Jenkins Agents

🚀 Step 1: Prepare EC2 Instances
Launch two EC2 instances on AWS: one for the Jenkins master and the other for the agent. Name them accordingly (e.g., Jenkins_master and Jenkins_agent).
  sudo usermod -aG docker $USER
  sudo usermod -aG docker jenkins
🔒 Step 2: Set Up Jenkins and Docker on Master
Install Jenkins and Docker on the Jenkins_master instance.
Add both your user and the Jenkins user to the Docker group for permissions.
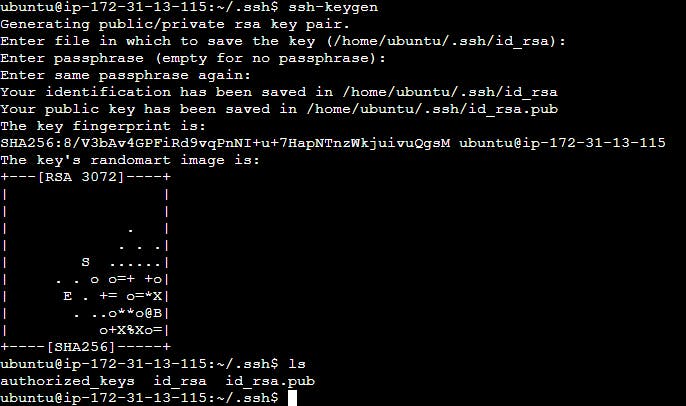
🔑 Step 3: Generate RSA Key Pair
Access the terminal on the Jenkins master server and generate an RSA key pair using
ssh-keygen.Retrieve the public key from the master server for later use.
🔗 Step 4: Add Master's Public Key to Slave
Copy the master server's public key and paste it into the
authorized_keysfile on the Jenkins_agent.Ensure the file is properly saved and exit the text editor.


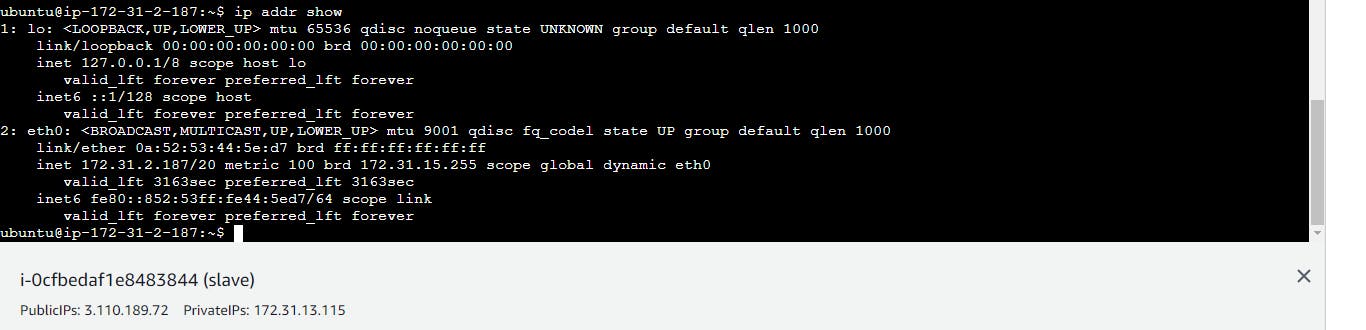
🔗 Step 5: Verify Connection
Attempt to SSH into the Jenkins_agent from the Jenkins_master to confirm successful connectivity.

🖥️ Step 6: Set Up Jenkins Agent
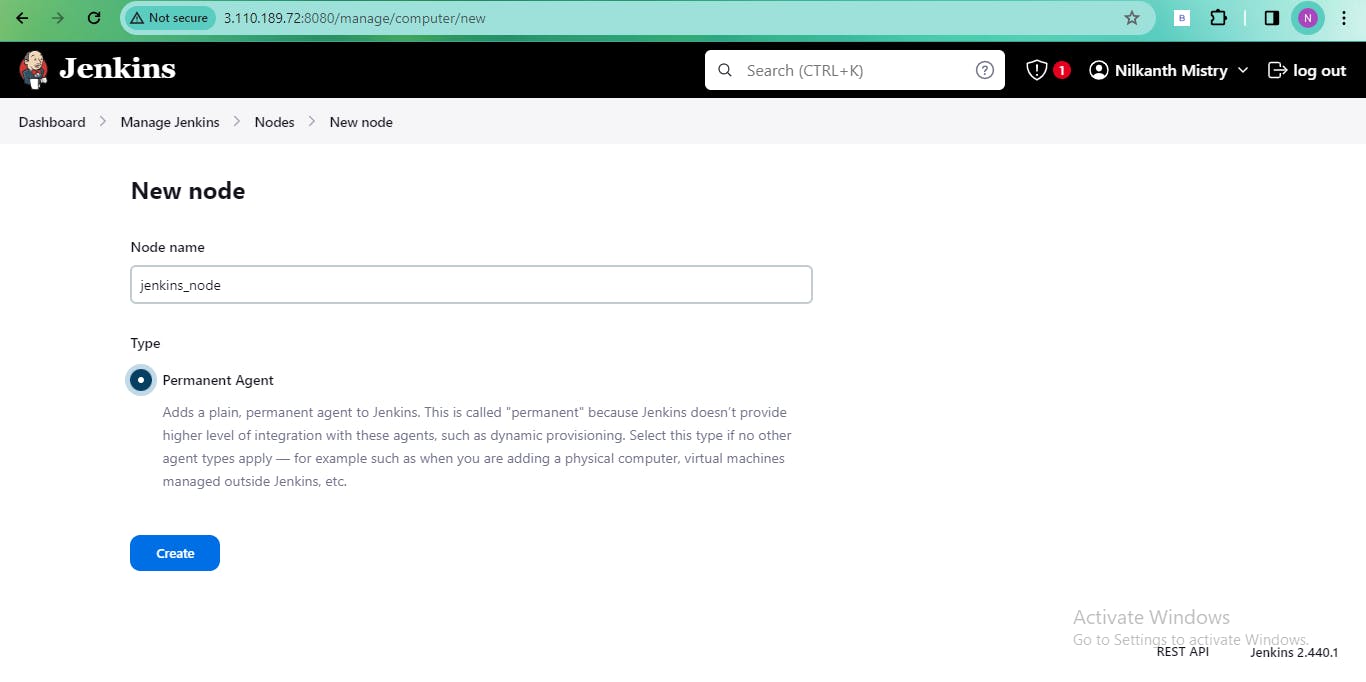
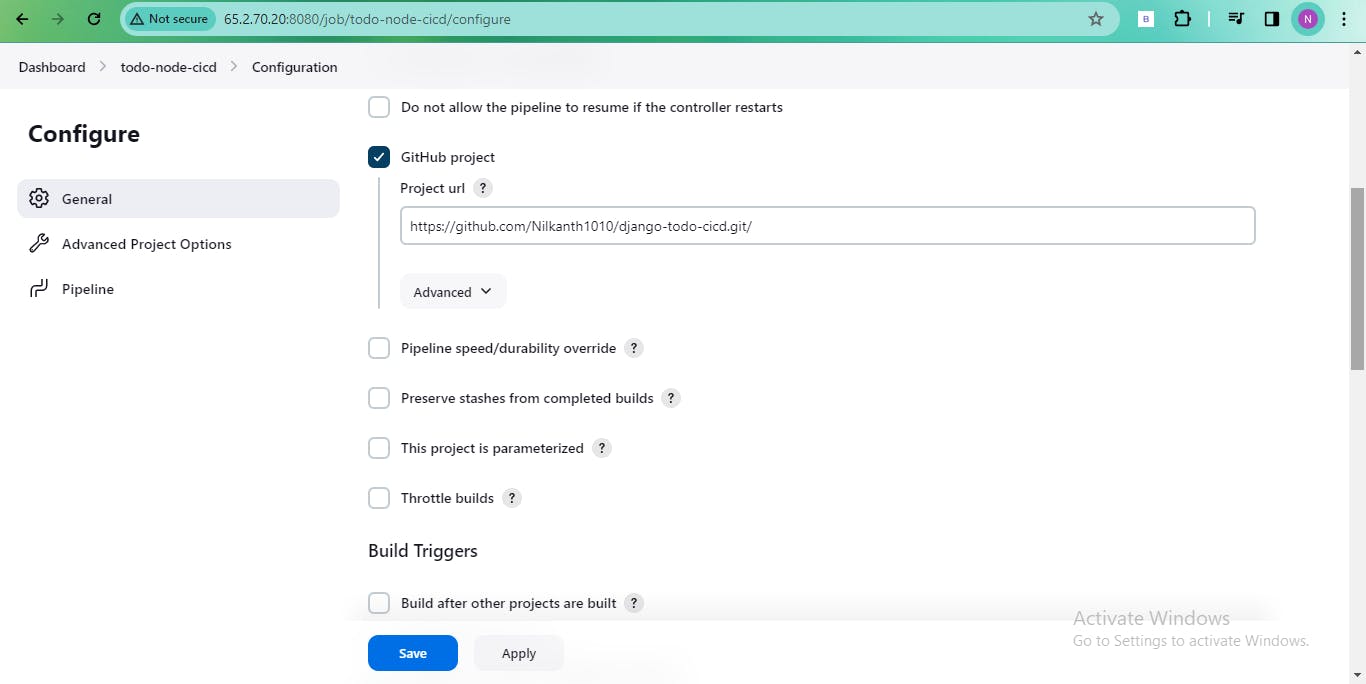
In the Jenkins dashboard, navigate to "Manage Jenkins" > "Nodes" and create a new node for the agent.
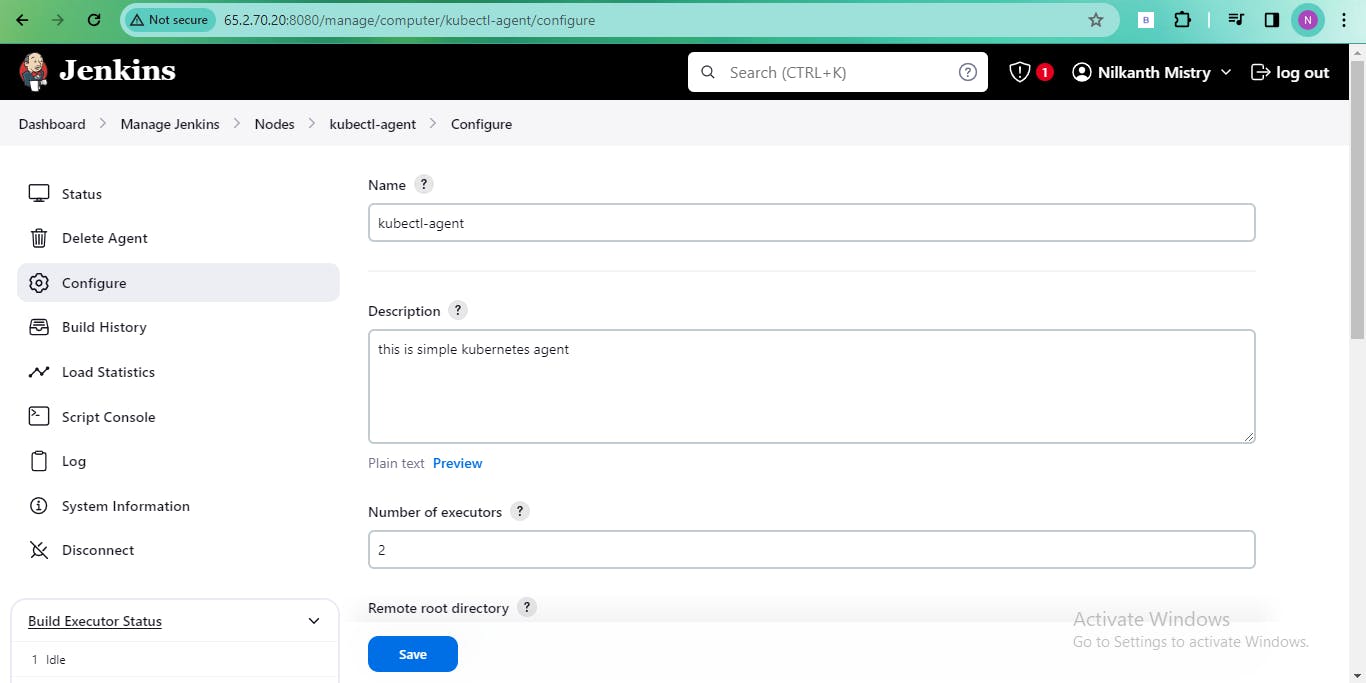
Provide details such as description, remote directory, host IP, and credentials.
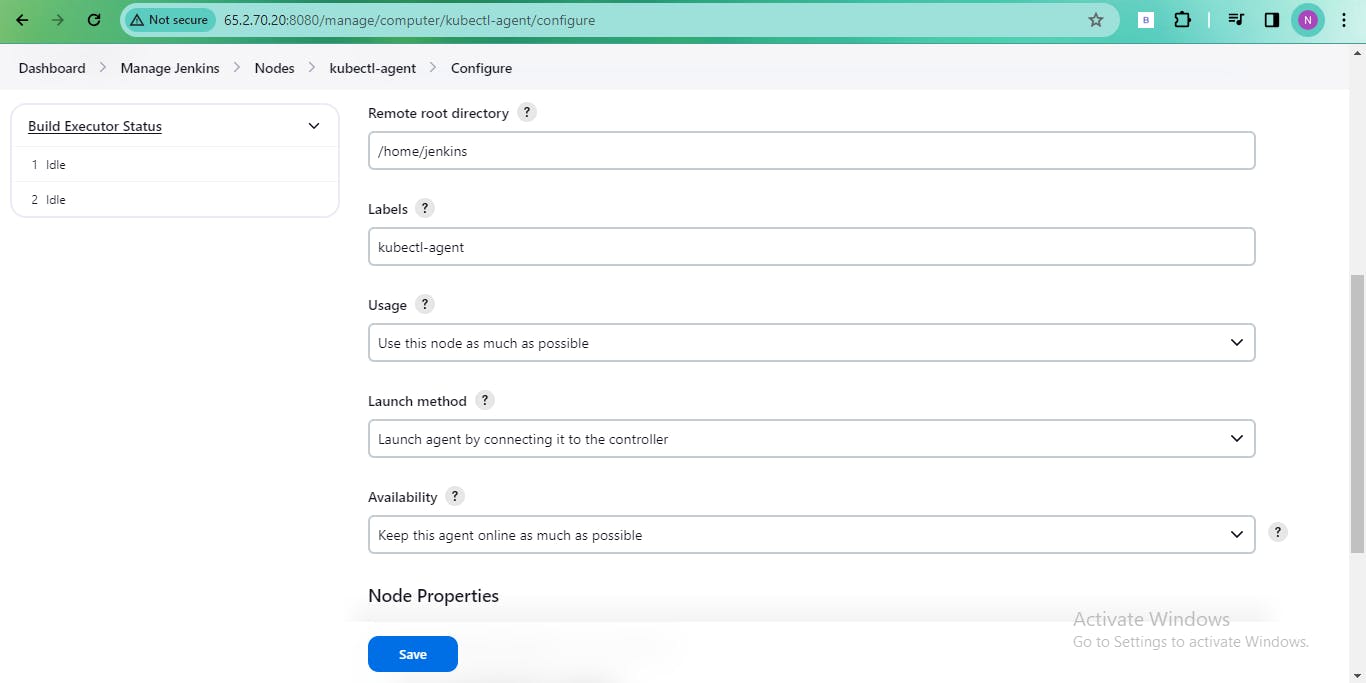
Configure the node settings, including the number of executors, remote root directory, labels, launch method (SSH), and host address.
Select the appropriate private key for authentication and choose the "Non verifying verification strategy" for host key verification


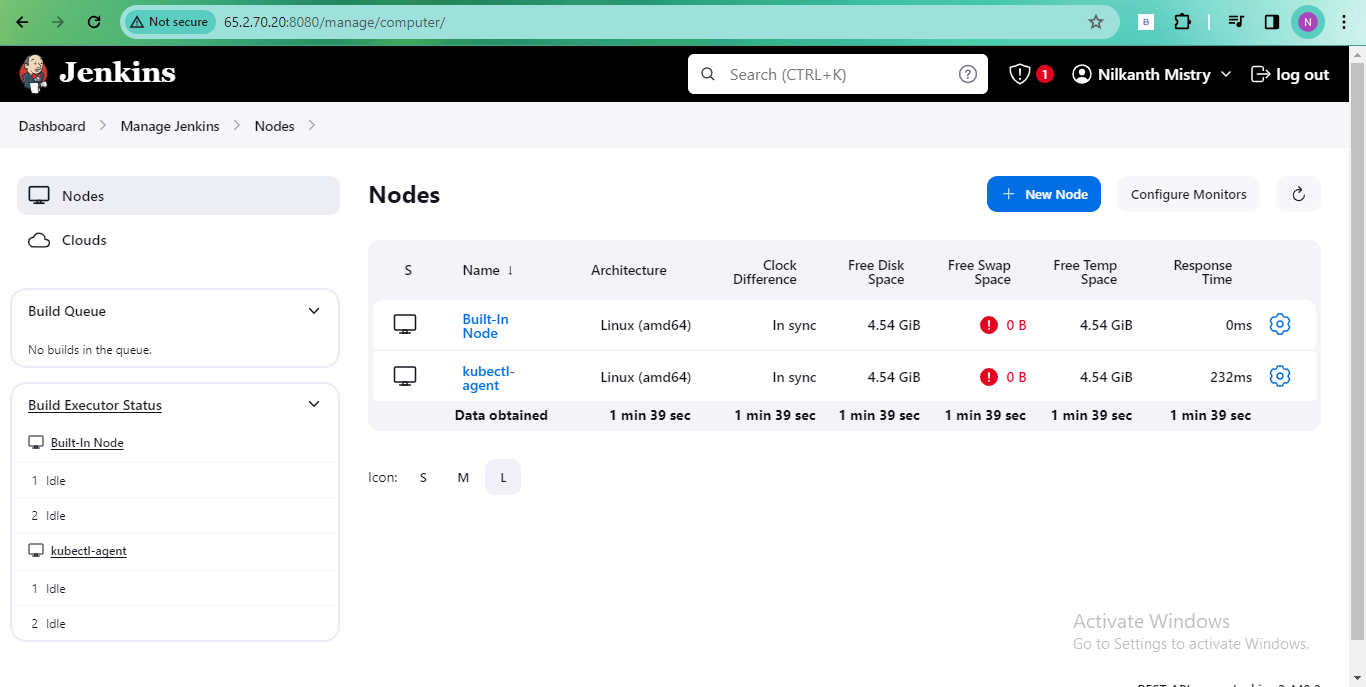
🚀 Step 7: Launch the Agent
Finally, click "Launch agent" to establish the connection between the master and slave.
With these steps, you've successfully set up a Jenkins master-slave architecture, enhancing your automation capabilities! 🎉
Feel free to customize and elaborate on each step based on your specific setup and requirements. Happy blogging! 🚀🔑🔗
Task-02: Running Jobs on the New Agent
🚀 Executing Previous Jobs:
Trigger builds for jobs created on Day 26 and Day 27 on the new agent.
Use labels to direct the master server to trigger builds on the agent.

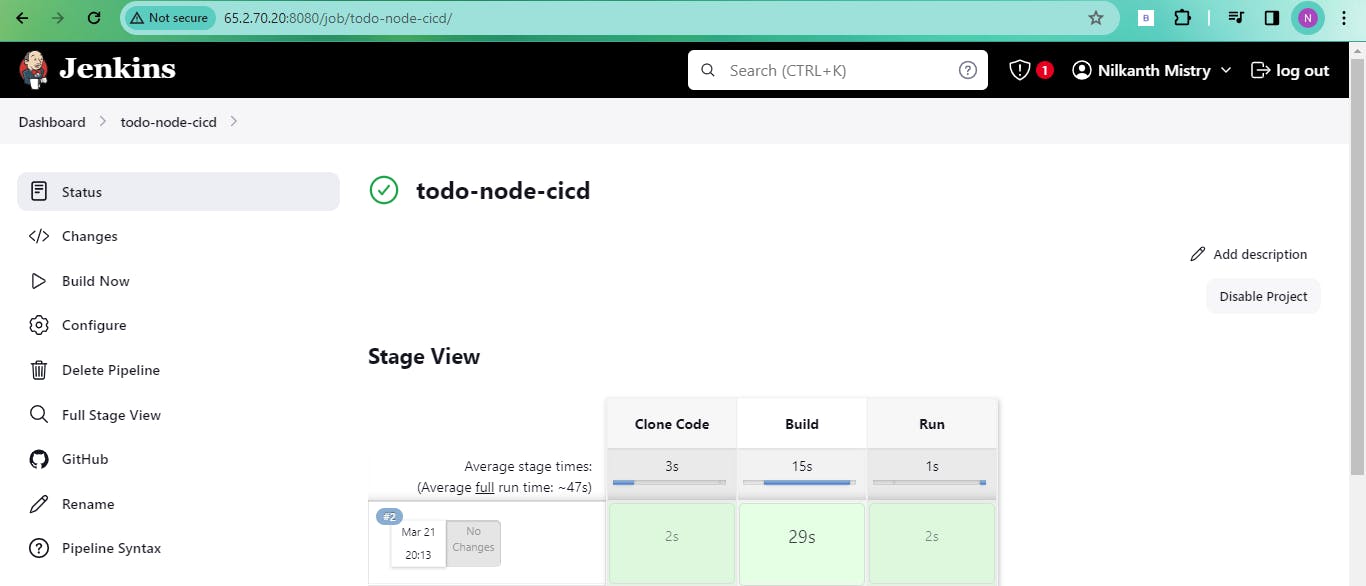
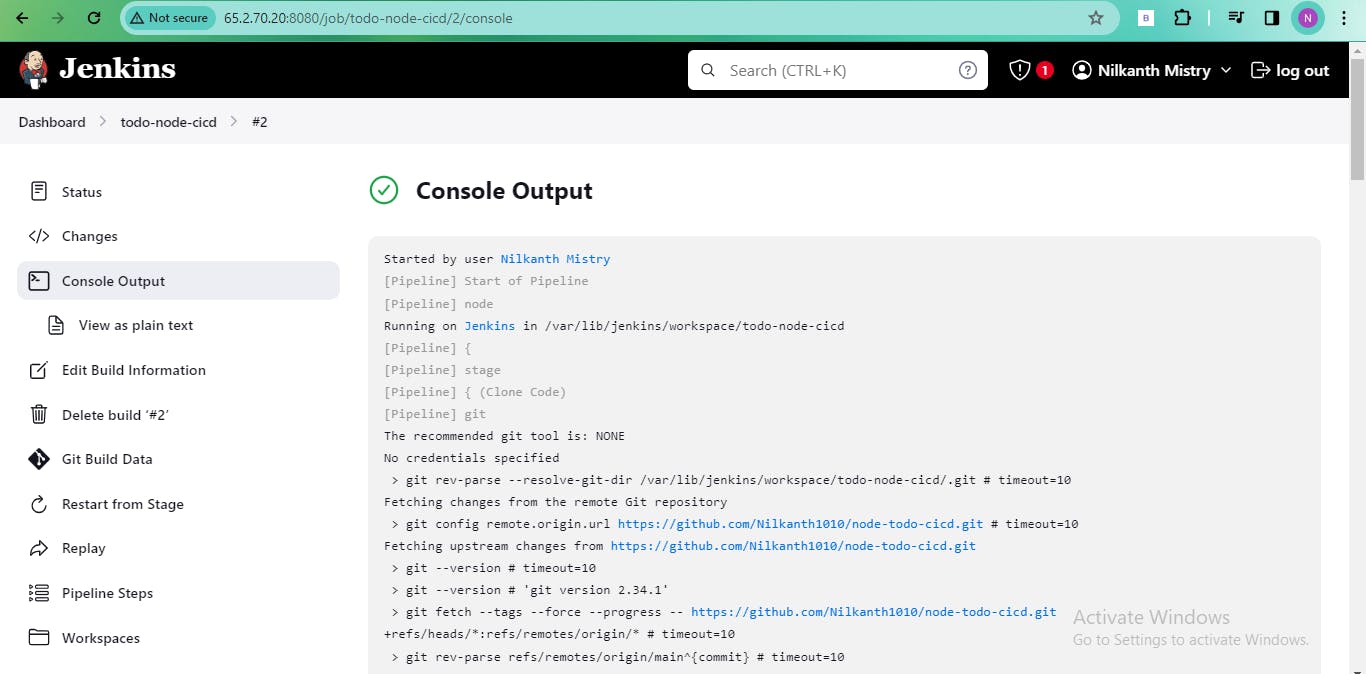
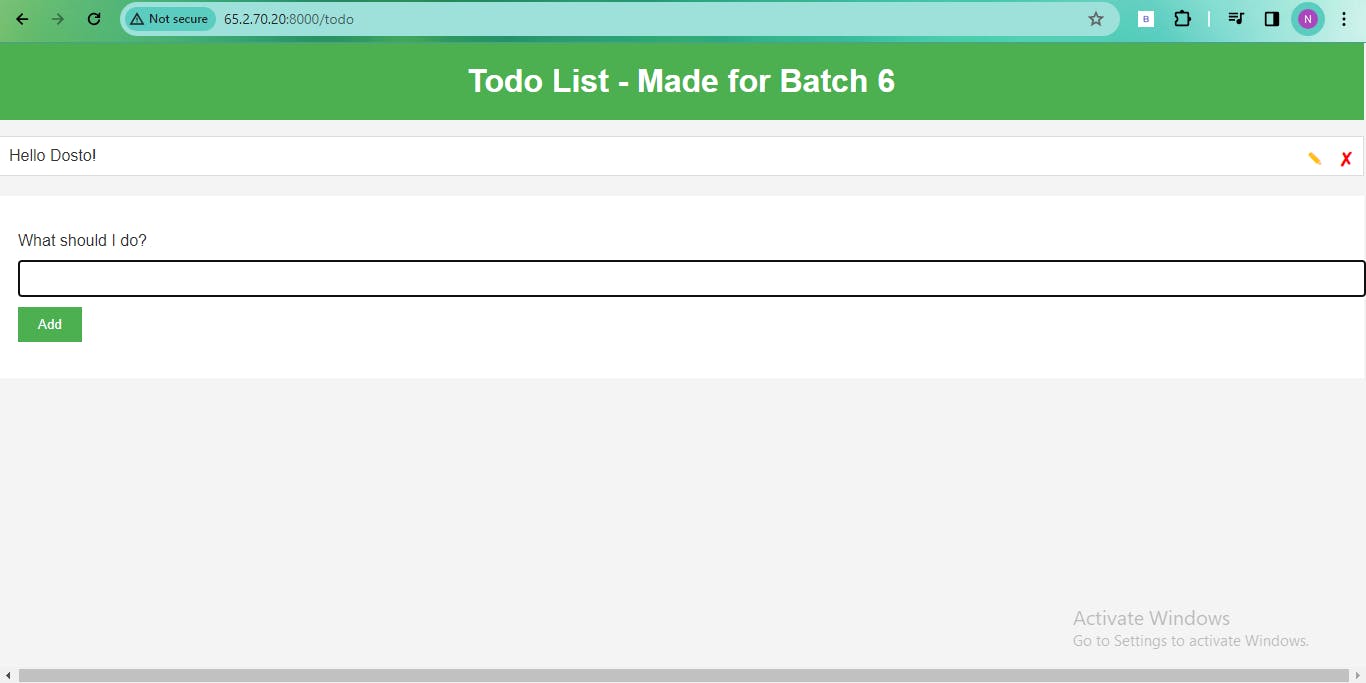
- Ensure the job runs on the slave machine. Save the pipeline configuration and execute it.

🔁 Troubleshooting:
- If encountering any issues, seek assistance from DevOps groups, Discord, or Telegram communities.
Reflecting on the DevOps Journey
🌟 Happy Learning:
- Keep up the enthusiasm and dedication to continuous learning! 🚀
By following these steps, you'll successfully set up Jenkins agents, enabling distributed job execution and scalability in your CI/CD pipelines. Happy learning and coding! 🎉🛠️