Hello Learners,
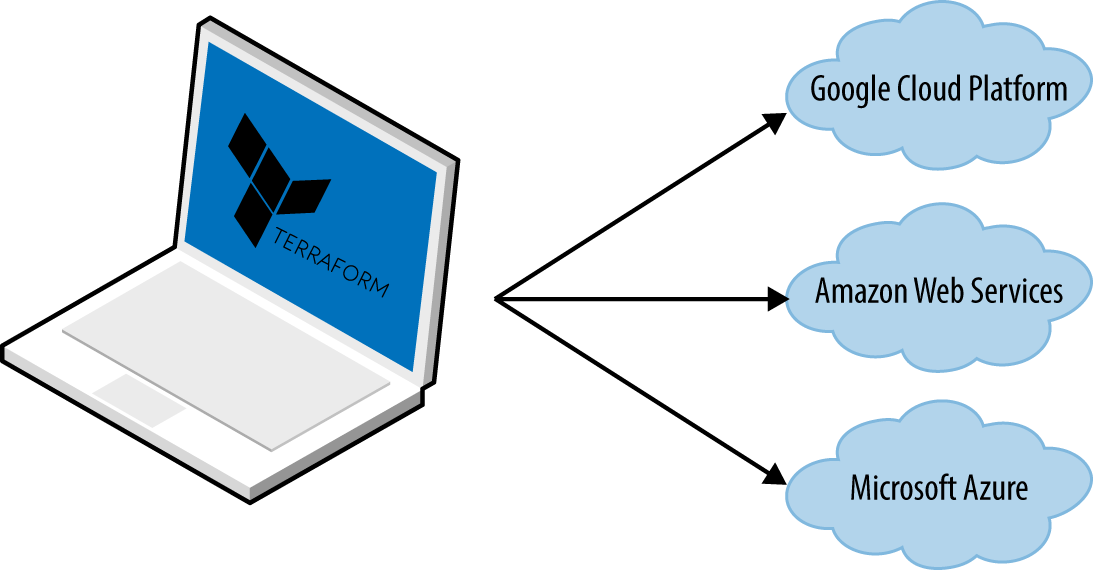
You guys are doing a fantastic job creating EC2 instances (mostly) manually. Today, let’s automate this process. How? Well, Terraform is the solution! 🌟
What is Terraform? 🌐

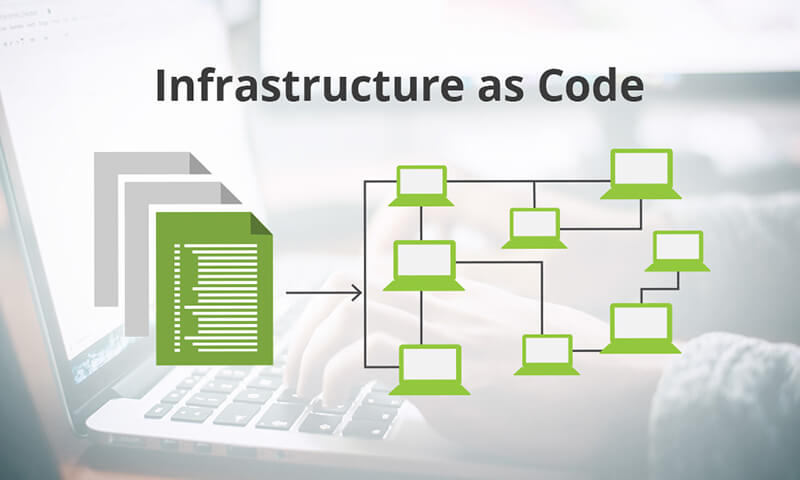
Terraform is an Infrastructure as Code (IaC) tool that allows you to create, manage, and update infrastructure resources such as virtual machines, networks, and storage in a repeatable, scalable, and automated way.
Task 1: Install Terraform on Your System 🖥️
Let's get Terraform installed on your AWS EC2 instance step-by-step. Follow these instructions to get up and running! 🚀🌟
Step 1: Launch an EC2 Instance 🌥️
Open the AWS Management Console:
Navigate to the EC2 Dashboard 🔍.

Launch a New Instance:
Click on "Launch Instance" 🆕.

Choose an Ubuntu AMI (Amazon Machine Image). For example, select "Ubuntu Server 20.04 LTS (HVM), SSD Volume Type" 🖥️.
Select the instance type (e.g.,
t2.microwhich is free tier eligible) 🆓.

Configure Instance Details:
Keep the default settings for "Configure Instance" ⚙️.
Add storage if needed (8 GB default is usually sufficient) 💾.
Add Tags:
- Optionally, add a tag to name your instance (e.g.,
Key: Name, Value: Terraform-Instance) 🏷️.
- Optionally, add a tag to name your instance (e.g.,
Configure Security Group:
Create a new security group or select an existing one 🛡️.
Add a rule to allow SSH (port 22) access from your IP 🔓.

Review and Launch:
Review your instance configuration 🧐.
Click on "Launch" 🚀.
Select an existing key pair or create a new one and download it 🔑.

Step 2: Connect to Your EC2 Instance 🔗
Open Terminal:
- If you're on Windows, you can use PuTTY . On macOS or Linux, use the terminal 🐧🍏.
Connect via SSH:
Use the following command to connect to your instance:
ssh -i /path/to/your-key.pem ubuntu@your-ec2-public-ipReplace
/path/to/your-key.pemwith the path to your key file andyour-ec2-public-ipwith your instance's public IP address 🌐.
Step 3: Update the Package List ⏳
Update the package list:
sudo apt-get update
- This command updates the list of available packages and their versions 🆙.
Step 4: Install Terraform 💻
Install the Required Dependencies:
Install software-properties-common package:
sudo apt-get install -y software-properties-common
This package allows you to easily manage your distribution and independent software vendor software sources 🛠️.
Add the HashiCorp GPG Key:
Add the GPG key for HashiCorp products:
wget -O- https://apt.releases.hashicorp.com/gpg | sudo apt-key add -
This key is used to sign the Terraform packages, ensuring their authenticity 🔐.
Add the Official HashiCorp Linux Repository:
Add the repository to your system:
sudo apt-add-repository "deb [arch=amd64] https://apt.releases.hashicorp.com $(lsb_release -cs) main"
This adds the repository for HashiCorp products to your list of repositories 📦.
Update the Package List Again:
Update the package list to include the new repository:
sudo apt-get update
This ensures the latest packages from the new repository are included in your package list 🆕.
Install Terraform:
Finally, install Terraform:
sudo apt-get install -y terraform
This command installs Terraform on your system, making it ready for use 🛠️.
Step 5: Verify the Installation ✅
Check the Terraform Version:
Verify that Terraform is installed correctly:
terraform -version
You should see the version of Terraform displayed in the terminal, indicating that the installation was successful 🎉.
Conclusion 🎊
Congratulations! 🎉 You've successfully installed Terraform on your AWS EC2 instance. You're now ready to start using Terraform to manage your infrastructure as code. Stay tuned for more tasks and happy automating! 🚀✨
Task 2: Answer the Following Questions ❓
Why do we use Terraform? 🤔

Terraform is used to automate the provisioning of infrastructure. It allows for the creation, updating, and versioning of your infrastructure safely and efficiently. By defining your infrastructure as code, you can easily replicate your environment and manage it with version control, reducing errors and manual intervention. 📈✨
What is Infrastructure as Code (IaC)? 💻

Infrastructure as Code (IaC) is the practice of managing and provisioning computing infrastructure through machine-readable definition files, rather than through physical hardware configuration or interactive configuration tools. IaC allows for consistency, repeatability, and automation in infrastructure management. 🛠️🔄
What is a Resource? 📦

In Terraform, a resource is a component of your infrastructure, such as a virtual machine, storage bucket, or network. Resources are the basic building blocks of your infrastructure, and Terraform allows you to define these resources in configuration files. 🏗️🔧
What is a Provider? 🔌

A provider in Terraform is a plugin that allows Terraform to interact with cloud providers, SaaS providers, or other APIs. Providers offer a set of resource types and data sources that Terraform can manage. For example, the AWS provider enables Terraform to create and manage AWS resources. 🌐☁️
What is a State File in Terraform? 📄

The state file in Terraform is a critical component that keeps track of the current state of your infrastructure. It records the mappings between the resources defined in your configuration files and the actual resources in the real world. The state file is important because it helps Terraform determine the changes that need to be applied to achieve the desired state of the infrastructure. 📊🔍
What is Desired and Current State? 📈📉
Desired State: This is the state defined in your Terraform configuration files, representing how you want your infrastructure to look. 📋✨
Current State: This is the state of your infrastructure as recorded in the Terraform state file. It represents the actual state of your managed resources at a given time. 📜🔄
Terraform compares the desired state with the current state to determine what changes are necessary to align the two. ⚖️🔧
You can prepare for tomorrow's task from here 🚀🚀
We hope these tasks will help you understand how to write a basic Terraform configuration file and basic commands on Terraform.
Sample Terraform Configuration File 📄
Here's a basic example to get you started:
provider "aws" {
  region = "us-west-2"
}

resource "aws_instance" "example" {
  ami           = "ami-0c55b159cbfafe1f0"
  instance_type = "t2.micro"

  tags = {
    Name = "example-instance"
  }
}
Basic Terraform Commands 📝
terraform init: Initialize a working directory containing Terraform configuration files. 🛠️
terraform plan: Create an execution plan to preview the changes that Terraform will make to your infrastructure. 🗂️🔍
terraform apply: Apply the changes required to reach the desired state of the configuration. 🚀🔧
terraform destroy: Destroy the Terraform-managed infrastructure. 💥🗑️
By following these steps, you’ll automate the process of creating and managing your infrastructure, making it more efficient and less prone to manual errors.
Happy automating with Terraform! 🌟🤖
#DevOps #Terraform #90DaysOfDevOpsChallenge 🚀
